mR_CaESaR said:
My options are:
- Find a proper blast city tube A68LBT696X (2931 tube) or A68KZN696X (2930 tube)
- Find a donor tube in one of the following consumer tvs and do a yoke swap
- Toshiba super crystal 2988UE
- NEC SF-6804
- Symphonic model ST427F (don’t think this is found in Australia,think this is an American only brand)
- Find an NEC XM29 PVM which is apparently a direct swap – yoke and all! But doing this would probably cost way more than the price of the cab 😀
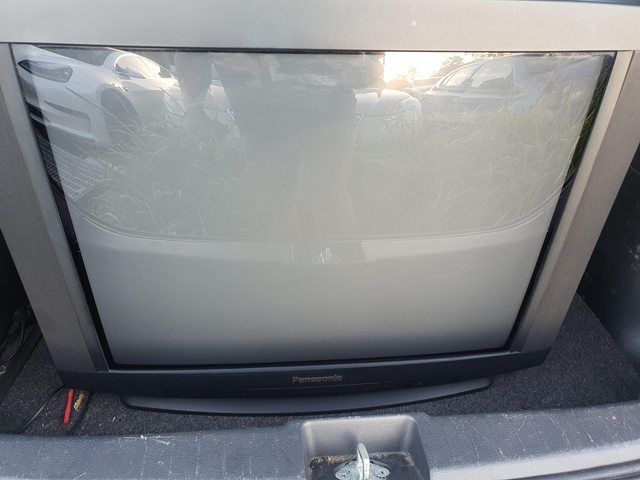
Shortly after posting this, I was sent a message by a friend to try a Panasonic TC-68GS71A for a consumer tube swap. Whilst not 100% perfect, he previously used it on a tube swap for the blast city and yielded acceptable results. I was able to purchase the TV from FB market place and picked it up around early December.
Here comes the most daunting task I’ve ever completed in this hobby! Yoke and Tube swap with a consumer TV 😀
After a solid few days worth of reading, watching youtube vids and general research, it was time to disassemble! The first thing I noticed was, this tube was CLEAN!! (compared to any arcade tube – but that’s expected given the totally different environments they were in)
![[IMG]](https://i.imgur.com/obyccSLl.jpg)
Tube is an M68KTY167X
![[IMG]](https://i.imgur.com/SWwbZ3pl.jpg)
Disassembly wasn’t too bad, I had to use the frame screw to discharge as there’s no metal frame like a normal arcade setup. Before you know it, the yoke was on and the chassis was installed!
![[IMG]](https://i.imgur.com/JICQ3mZl.jpg)
One thing that would’ve caught me out hadn’t I been told, is that the convergence rings for the tube is best kept and used as the convergence rings – I would’ve disposed of the rings and used the one from the old tube to match the 2931!
First major test – turn her on and hope nothing explodes, shorts or burns! *fingers crossed*
She’s turned on without any breaks! Popped a test pattern to first see how the purity is to determine what I needed to do with the yoke. So much discolouration so I needed to start mucking around with the yoke location 😮
![[IMG]](https://i.imgur.com/So4w8Pel.jpg)
Safety first before touching the yoke and rings live! 😀
![[IMG]](https://i.imgur.com/L0VxuvZl.jpg)
This was the best I could get after a solid couple of hours s**tting myself moving the yoke and convergence rings whilst the monitor was on – I decided to call it a day and come back at a later time
![[IMG]](https://i.imgur.com/QASCbzcl.jpg)
The last couple of days have been spent on trying to do fitment testing with the original frame, used a number of different ways to space out the monitor with the frame as the rabbit ears didn’t have the same spacing
![[IMG]](https://i.imgur.com/FNTz1scl.jpg)
With the spacing I used, the fitment ended up like this
![[IMG]](https://i.imgur.com/Lzdj7kPl.jpg)
Red denotes there’s no more space on the corners to push forward, yellow has a bit of a gap and green has a larger gap than the yellow
The green gap
![[IMG]](https://i.imgur.com/v8t21CSl.jpg)
The yellow gap
![[IMG]](https://i.imgur.com/0cJFDrcl.jpg)
I think once it’s turned on and I’m actually playing the gap wont’ be so bad and tolerable
![[IMG]](https://i.imgur.com/f74xRQ6l.jpg)
It’s not a perfect fit… But it’ll suffice for now.. 90% fit and working bright tube is better than 100% fit and unplayable 😀
After some more chassis tweaking I couldn’t get the geometry perfect (well who can tbh? 😀 – especially on a donor tube). I have this bowing across all edges (drawing of lines are exaggerated, but it’s there)
![[IMG]](https://i.imgur.com/S1bN14Gl.jpg)
Tried to straighten it up with some magnets, but I just couldn’t get it straight, so I’ve just increased the h and v size to try and hide the imperfections, it will suffice until I come across an original tube (if it ever happens).
Now the monitor looks like this – which I will say looks MUCH better than what I started with and what the tired tube looked like.
![[IMG]](https://i.imgur.com/VjnZWuGl.jpg)
![[IMG]](https://i.imgur.com/JwhrNa0l.jpg)
![[IMG]](https://i.imgur.com/eb7up0zl.jpg)
I dare say 15khz is done! I will do the same process for 31khz and hope I can get it to somewhat look like the 15khz one as I’m hoping to use this cab for Monkey Ball 🙂