Into the final stages of this project.
It took a couple of attempts, but I’ve come to the conclusion when I use a NetDimm on the Blast City PSU, I can’t use it on a single PSU. I’ve been told to do a re-cap on the PSU which “should” fix it, but we will see (cap kit has been ordered).
When I was testing the Naomi using the Sega 001 loom, using a Sega to JVS Jamma IO, every time a game loaded, I would get this error and doesn’t show up in the test menu
![[IMG]](https://i.imgur.com/tQ1KRyKl.jpg)
The moment I use a separate Sun PSU, everything is seen correctly as expected
![[IMG]](https://i.imgur.com/YKvH3rrl.jpg)
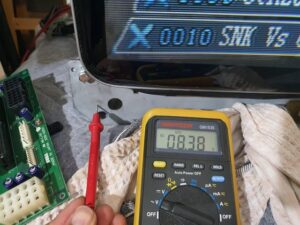
PSU is reading exactly 5.0v and 3.3v
![[IMG]](https://i.imgur.com/eORGmOql.jpg)
![[IMG]](https://i.imgur.com/eqItNEDl.jpg)
If I take out the NetDimm and use a normal cart, the IO is seen using the Sega 001 loom. Since the NetDimm is a power hungry unit, I will try the re-cap when I get it, but as an interim, I’ve installed the Sun PSU with an inline switch I’ve thrown into the control panel so when I turn the machine on, I can also turn the Naomi on.
Now I’ve sorted the Naomi out, it’s time to finally put them all together. During this point, I was literally humming the gameboy tetris music

. It took a number of tests, but I eventually got there! Made use of the 5v on CN12 of the Naomi to power the Raspberry Pi
![[IMG]](https://i.imgur.com/S76BY98l.jpg)
![[IMG]](https://i.imgur.com/0FxsqbGl.jpg)
The first pcb is the Sega I/O. I attached it to a fingerboard so I can do a “kick harness” style as this particular I/O normally sees buttons 4, 5 on the Jamma edge and the normal working I have for my harnesses are B1, B2, B3 and then kicks for B4, B5, B6 (not that I need 6 buttons for a shumps cab, but since this cab will also be using a 360, navigation purposes I need an “a and b” which are B4 and B5).
The next pcb is another fingerboard to provide power to the UVC and also use the JAMMA edge to connect to my “PS360 arcade box” which I made a few years back for this exact purpose – using a 360 controller with a jamma edge using Sega wiring schematics.
![[IMG]](https://i.imgur.com/i6IcDUUl.jpg)
The wires plug directly to the 12 way connector coming out of the fingerboard and the kick harness goes directly to the kick harness on the cab. The kicks are mapped to (A, B and RT)
Inside that box, there is a spaghetti of wire hidden well
![[IMG]](https://i.imgur.com/B7UpGjil.jpg)
The 3rd pcb is the unicorn of a pcb that down scales the 480p signal from the 360 to 240p RGB goodness! Why would I downscale 480p when the Blast City takes 31khz? Simple, I want to see those scanlines for the shmups on the 360
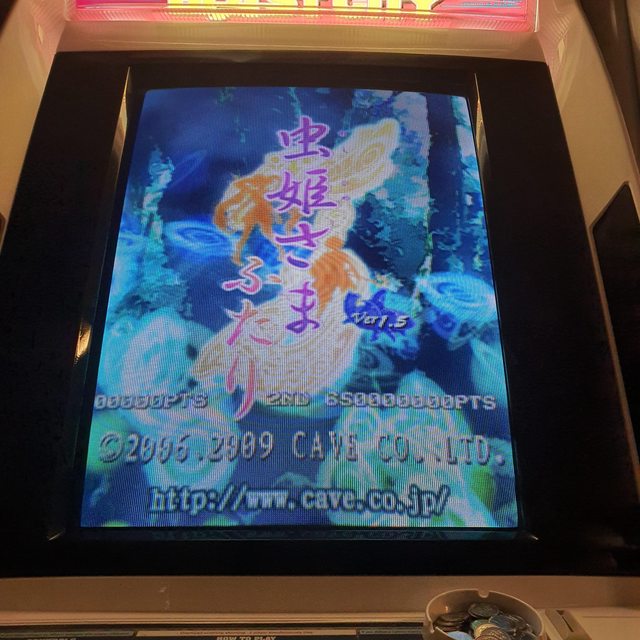
This is the closest I can ever get to a CV1K game in 15khz
The price of DDP SDOJ is out of this world and I’m far from skilled enough to be able to tell you the difference between arcade pcb and port, so this method will do
")
![[IMG]](https://i.imgur.com/nIitqg9l.jpg)
With all that said and done, once all placed in the cab, she looks like this!
![[IMG]](https://i.imgur.com/8GGL7pql.jpg)
Only thing left for this cab is for me to order some side decals from Noodleshirt.
Playing games on this unit is quite satisfying and has slowly become a favourite