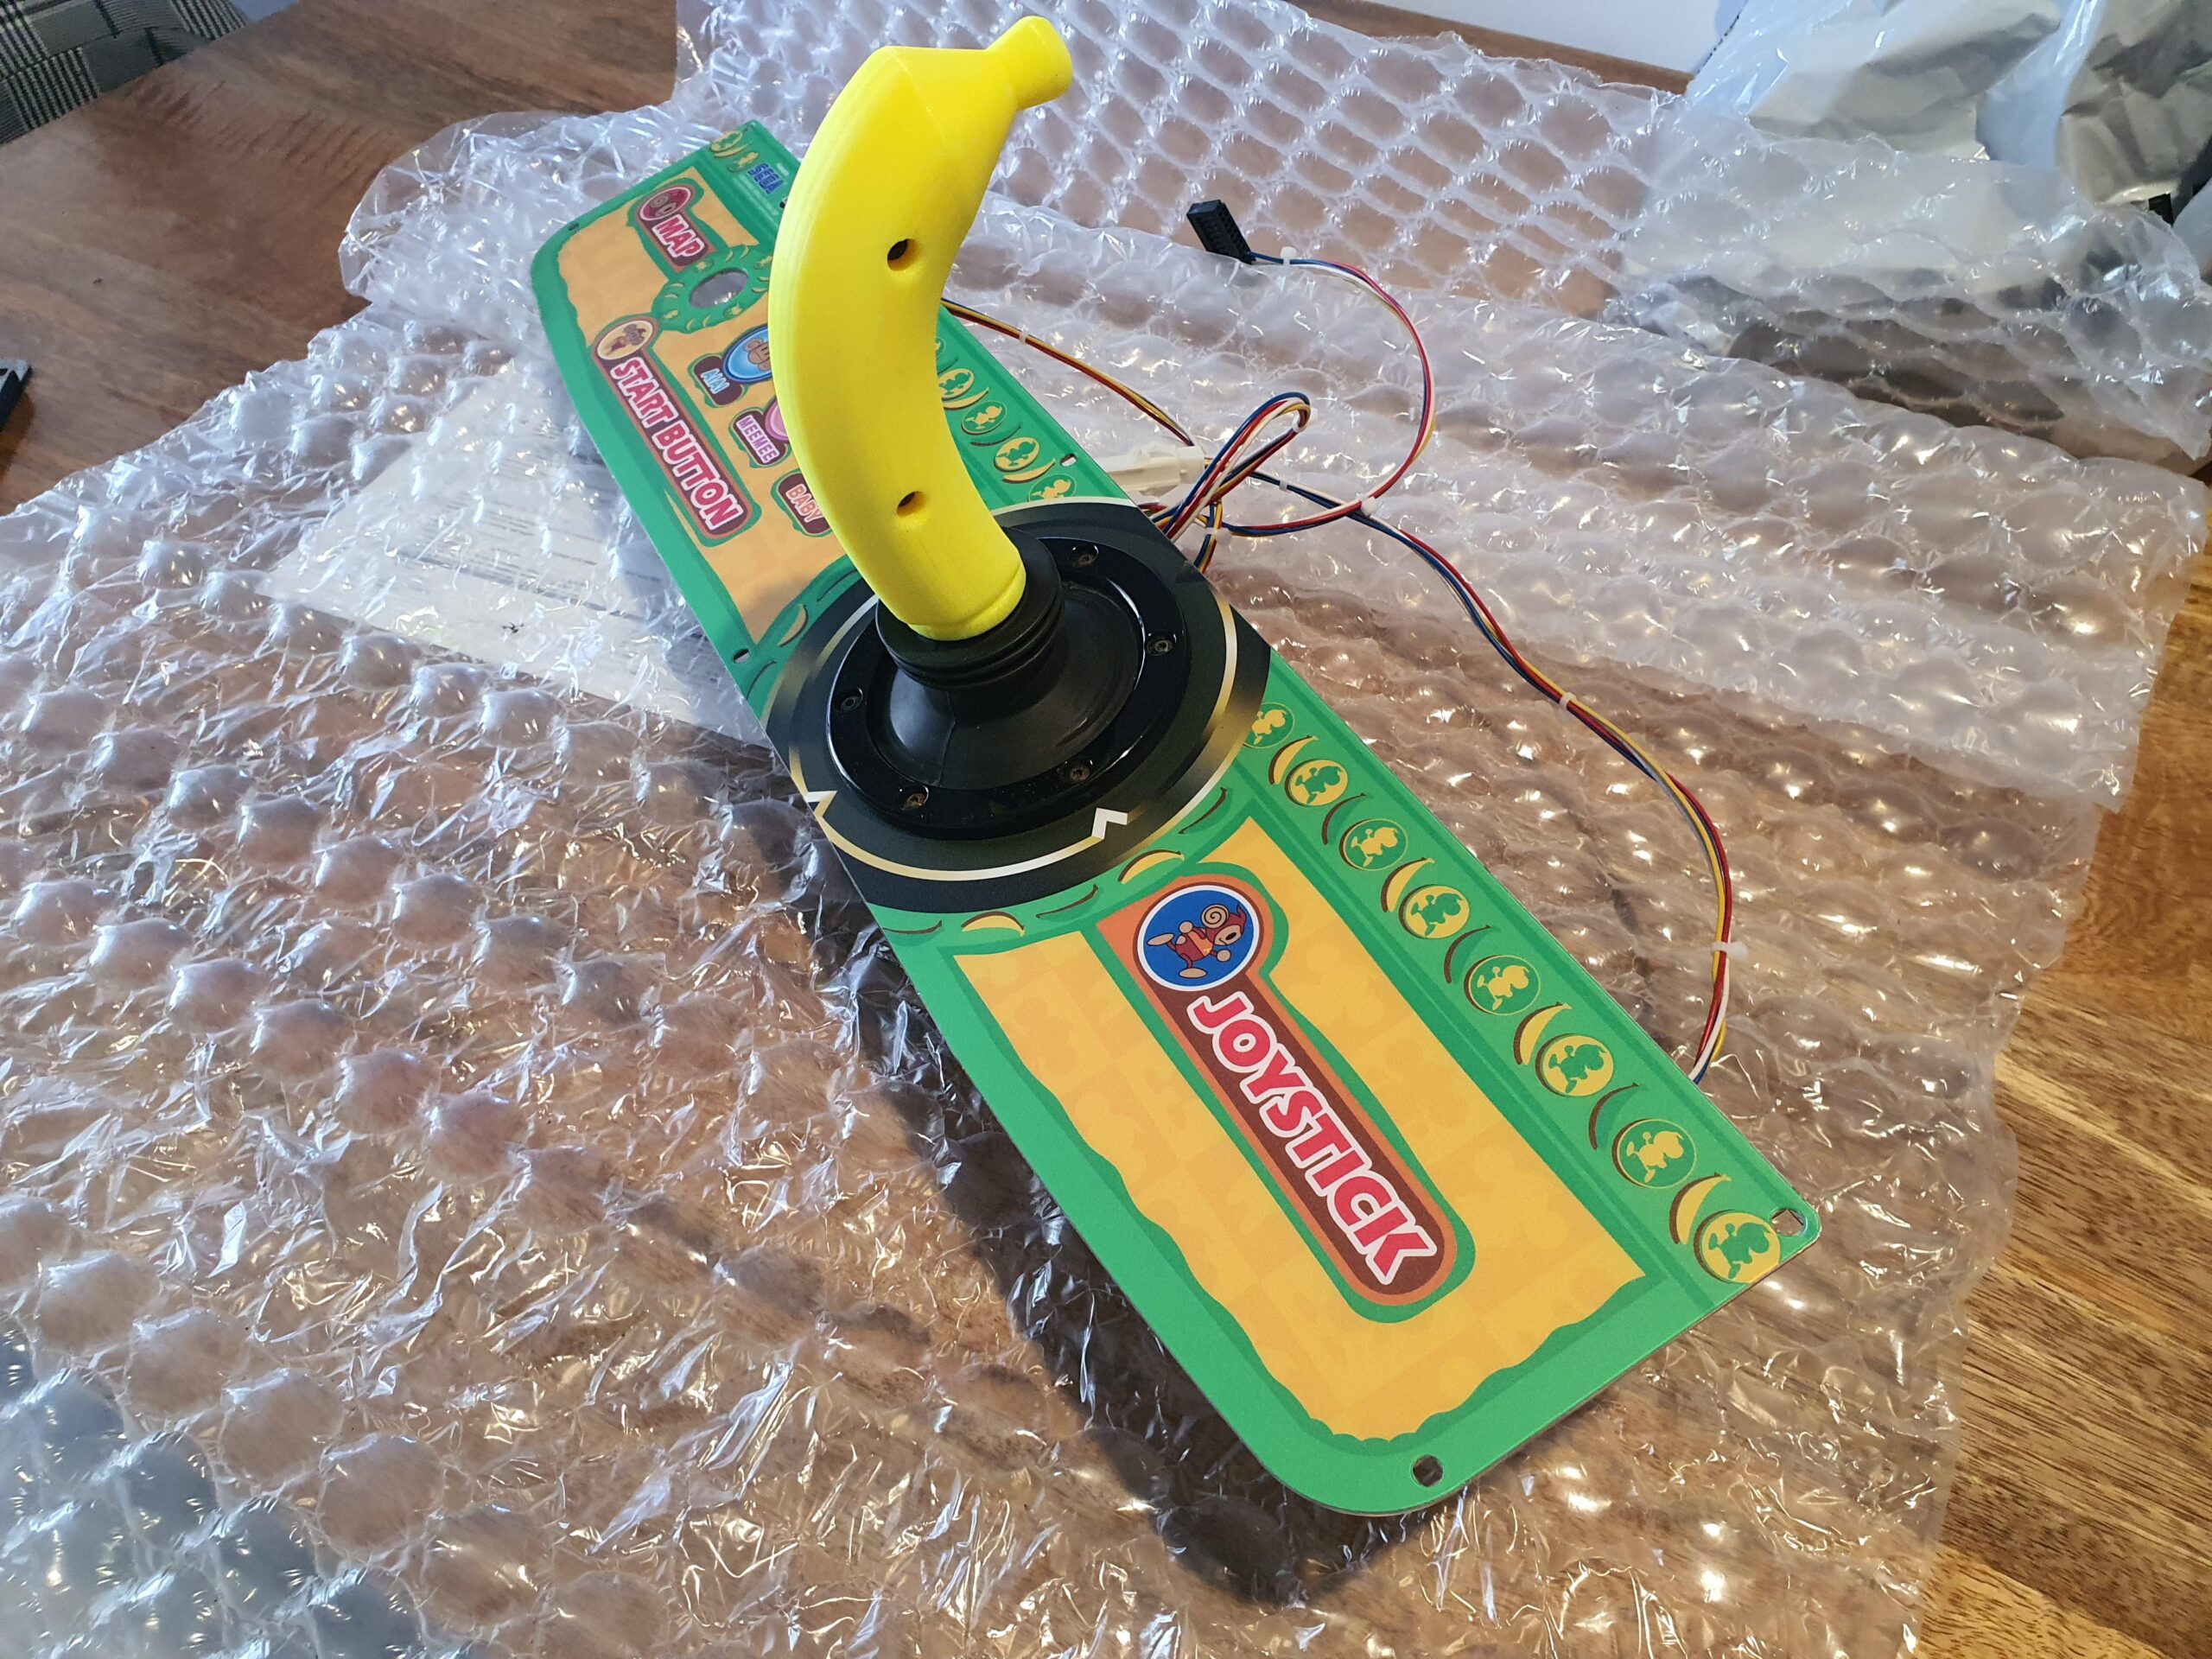
An interim banana was 3d printed to use for the time being until I am able to get the proper banana from the guys on Arcade Projects – let the innuendo begin!! 😀
![Click this image to show the full-size version. [IMG]](https://i.imgur.com/ngCrWBJl.jpg)
I got my Output Amp back in Feb with all the relevant components and built it as best as I could with the parts I have.
![Click this image to show the full-size version. [IMG]](https://i.imgur.com/TXpx2YZl.jpg)
I also got my panel yesterday, thanks to alberto1225 for making it and djsheep for sending it down. Also have to thank Lemony Vengeance for sending me some 6 way JST connectors and headers – otherwise, my op amp would be a hack job 😀
The panel was pretty much the missing piece for me to start making the necessary harnesses for the control panel.
Look at her! It’s gorgeous!
![Click this image to show the full-size version. [IMG]](https://i.imgur.com/w4ijZDMl.jpg)
It took me a little while to figure out how Alberto designed the mount and how to install it, but I eventually got there
![Click this image to show the full-size version. [IMG]](https://i.imgur.com/fSeIcS5l.jpg)
I used m4 spacers and nut, but using this was slightly too big and as a result didn’t fit properly, so I needed to use some m3 spacers which was smaller in height and didn’t touch the stick
![Click this image to show the full-size version. [IMG]](https://i.imgur.com/ThZoJsol.jpg)
Because I’m a visual guy, I mapped the information above from the diagram above to exactly where what pins need what and colour coded it accordingly 😀
Excuse the MS Paint job, but I think it’s a good representation of what needs to be done haha
![Click this image to show the full-size version. [IMG]](https://i.imgur.com/SUhvKrLh.png)
First step was to desolder the wires from the pots
![Click this image to show the full-size version. [IMG]](https://i.imgur.com/vToI7Dvl.jpg)
Because I opted for the “option 2” as per this post, I needed to put 2k resistors inline for pins 1 and 3 of both pots.
![Click this image to show the full-size version. [IMG]](http://i.imgur.com/bnmm2qel.jpg)
I removed all the existing Gundam stick wiring and kept the sleeve to use and I tried to make it look as “oem” as I possibly could, I think it’s turned out great 🙂
![Click this image to show the full-size version. [IMG]](https://i.imgur.com/0VU0mrZl.jpg)
Rather than putting the 4way JST NH directly to a JST RA 26 pin, I put the 26 way into a TE Amp Up 4 way female, just as it would if there was a slot connected at the back plate on the blast city, I know I could’ve just gone direct, but for “completeness sake” 😀
![Click this image to show the full-size version. [IMG]](https://i.imgur.com/YnYGV8Dl.jpg)
My setup is almost there, I’m just in between some shuffling of the space and restore of another cab, so I won’t get to properly test this for a little while, if my diagram is correct, then it should work fine.


