Here I upgrade an old, cheap and useless Naomi DIMM that is on version 1.02 to 4.02 so I can turn this cheap DIMM into a useful DIMM that can be used for Compact Flash
Why:
You might ask yourself why would you want to do this process instead of just netbooting, for me personally, it was all about “just wanting to try it out”. For others, it might be a much cheaper alternative than purchasing a NetDimm and RaspberryPi for netbooting.
The price of a DIMM that’s on 1.02 is very cheap and you can also get cheap CF Flash Card readers from Aliexpress for relatively cheap. If you have the correct tools, you can create you own games on CF cards which you may have laying around from old cameras and what not (512mb is all you really need for Naomi).
This is also a cheaper replacement for dying GD Roms provided you have all the necessary tools to complete it all.
What is required:
- An EPROM programmer
- A TSOP48 to DIP48 adapter (for mine programmer I needed this – TOP 3000)
- The Binary F/W for 4.02 – you’ll have to google this
- A 29LV160 Flash
- A Sega Naomi
- Heatgun
- Soldering stuff (iron with proper tip – I used a bevel tip, solder, flux, IPA and solder braid)
- Ability to SMD solder

Process:
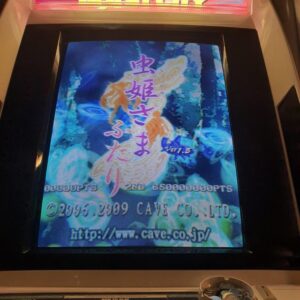
- Ensure your DIMM is operational via the test menu
![[IMG]](https://i.imgur.com/SK7W2E6l.jpg)
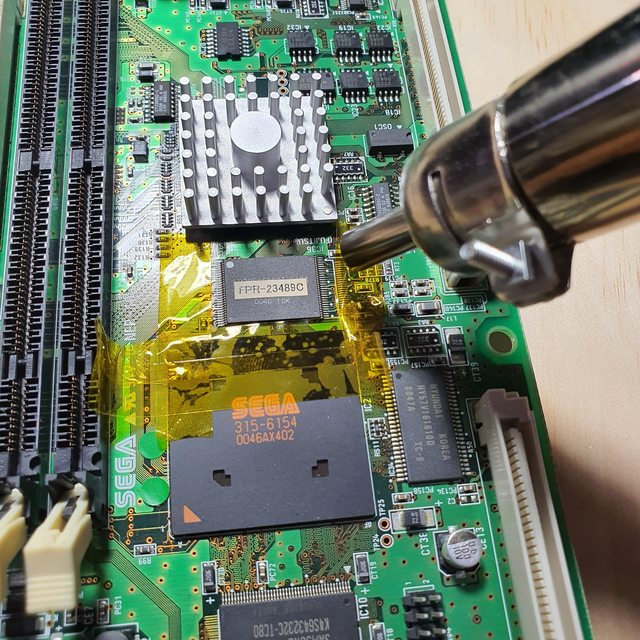
- Remove the 1.02 flash from the board using your heat gun
![[IMG]](https://i.imgur.com/GRUSavCl.jpg)
- Once the flash is removed, clean out your surface with flux, solder braid and IPA ensuring that the surface is nice and flat
![[IMG]](https://i.imgur.com/Mi6LnLwl.jpg)
- Prepare your new BIOS and make sure you’re able to erase, write and verify within your program
![[IMG]](https://i.imgur.com/jdJofGrl.png)
- Solder your freshly written BIOS on the board ensuring there are no bridges- don’t be shy on flux! Flux is your best friend for this process, you only need a little amount of solder, but flux will save you
 I do the “dragging” method, which is why I prefer the bevel tip. Ensure
![[IMG]](https://i.imgur.com/VMNs0SNl.jpg)
![[IMG]](https://i.imgur.com/vysWJYTl.jpg)
- If you’re happy with the soldering, re-assemble the DIMM and if you boot up without getting Error 22, then it’s a good sign! Load the test menu and confirm you are now on 4.02
![[IMG]](https://i.imgur.com/Yid6AaNl.jpg)
Now you have 4.02 F/W, you can use the card reader instead of a GD Rom drive. Unfortunately with my current setup, the card reader protrudes out quite a bit so I’m looking for a Male to Female SCSI 50 cable so I can route it better and not protrude out like it currently does
![[IMG]](https://i.imgur.com/RDscicxl.jpg)
- Games are simply loaded by burning it onto the CF a particular way and loading it up
![[IMG]](https://i.imgur.com/KBxmd9Nl.jpg)
Troubleshooting:
- If you get Error 22, there’s a high probability that you’ve incorrectly soldered the flash, make sure you check your pins and they’re not bridged – remember, flux, flux and more flux!
- If you still get Error 22, make sure you’re using a 29LV160 flash. I made the silly mistake of thinking all TSOP48 chips were all the same – I had burned the BIOS onto a 29400T (same one used for the CPS3 BIOS) and I kept getting error 22. After reading the spec sheet, I found there were a number of pins that are “n/c” on the 29400T, but is required for the 29LV160
![[IMG]](https://i.imgur.com/laJgBLLl.png)