A couple of weeks ago, I mentioned that my old Sega Rally driving cab was off to a new home to be replaced by a Red Ferrari, well here it is!  It wouldn’t be a cab for me without a respective worklog
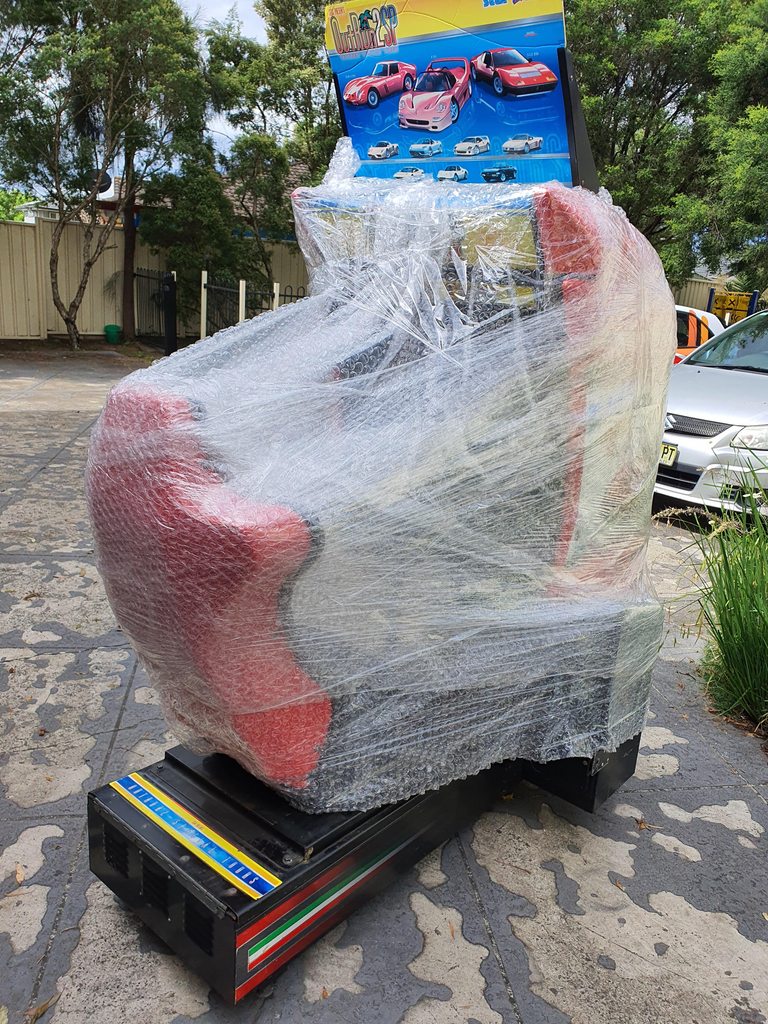
Yesterday Mark from need a courier delivered the OR2SP cab that I had purchased from DRAGONKZ who has somewhat become my cabinet whisperer – the last 5 cabs have been because of him (2x NNC’s, 2x Aero’s now OR2SP).
Nothing like seeing a cab come out the back of a truck with your name on it

The cab pretty much slotted right in where Sega rally left off except I needed a few more cm’s worth due to the coin box, pushed TC over to pretty much touch the side wall and she’s in!

DRAGONKZ and I pretty much went through both cabs a few weeks ago and confirm basic functionality so we already knew what were in for..

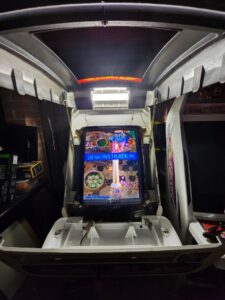
First order of business was to get to the monitor control board to adjust the monitor. This is how it was when I got it, it was dark, dull and the contrast was all over the shop – I couldn’t even see the options on screen because it wasn’t configured the best.

To get to the control board though, you needed to take the whole wheel assembly (holy sh*t that was deceivingly heavy).
Here’s a good 18+ years worth of dust – I can’t see the dash being removed for it to be cleaned..

Since this is the japanese version of the cabinet, we are lucky enough to have Toshiba PF’s in it and I already had the “custom remote board” to get to the additional settings which allow me to get to the RGB cutoffs and gains to really be able to tweak. I eventually got to this:

Next on the list was to look at the marquee, I assumed they were busted globes. It took a while to figure out how to get to the globes because the perspex lid wouldn’t just come off and I was worried I would break it. All it needed was a solid push to access the light box.
It’s a shame that these had the fluro unit removed and just have 240v batten fixes with bayonet lamp holders, but it does the job. LED GLS globes added and we have light!

After inspecting the marquee, you soon realise why it was “stuck” – there’s a good amount of “coke juice” making it very sticky

After all that was done, I called it a night and had a good 30-40 mins playing

Attract mode
Things to do:
– Speakers. They used Blast City speakers on this cabinet  , the soundtrack on this game is so good that they need to have good working speakers. This one had only the left side working and DRAGONKZ only had the tweeters working. I’m deciding if I should put 2.1 logitech’s in or not – part of me is wanting to keep it as original as possible, but the other part of me is thinking how can this soundtrack be wasted on such a POS speaker setup.. we’ll see. Fortunately the speakers aren’t too much of a PITA to get to compared to the blast city which needs half the cabinet to be taken off.
– Purchase Decal for the back seat with OR2SP
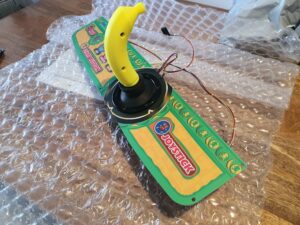
– Purchase Ferrari emblem for the wheel
– Ideally fit new cushions for the seats
– Maybe update the side art as it’s OR2 not OR2SP, but it’s a decent amount of coin for very little value.. the cab is wedged in and you can’t really see that artwork at all.
– Further cleaning. Of course, a deep clean is always good
– Test Naomi 2 and confirm functionality with Initial D
– Burn another Chihiro driving game and confirm functionality
– Learn to 1cc every part of game whilst drifting hairpins and S bends
Overall, this cab is in fantastic condition given the years it would’ve been onsite, but since this isn’t “daytona” or “initial d”, I don’t think it would’ve been as abused as those games – great for us who bought the machine, very little repairs required