For a long time, the “Undamned USB Decoders” have been synonymous with the arcade community in particular the Fighting Game Community (FGC) as a way to use USB Arcade Sticks on a Supergun/Arcade Cab setup
Most modern day FGC focused places have USB ports on their cabinets so players ca “Bring Your Own Controller” to connect their preferred controller.
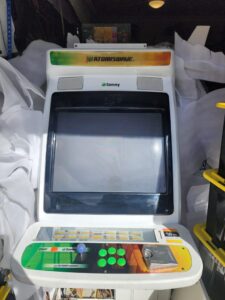
I obviously don’t run an arcade shop, but my cabs are FGC focused and like most of the projects I’ve taken on, it’s always “why not?” I’ve always wanted to put USB ports on my Astro Cities but the availability and cost of the Undamned is what has turned me off purchasing them.
Enter the Joypad OS. An open source project with multiple use cases, but the one I’m going to be using is the Neo Geo/ Supergun adapter.
Making this solution is a two stage process
- Building the USB Adapter
- Making a pass through harness from the USB adapter to the control panel
Let’s build the adapter.
I didn’t realise how small the RP2040 Zero was so I ended up using 30 awg wires rather than the normal 22 awg I would use for harnesses, it’s just a lot easier to use for something this small.
Soldered the wires onto the required GPIO pins, for this project there’s only 14 wires.
I don’t have a 3D printer so the next best solution I had was to purchase a DB15 shell and use that as a case. I purchased some DB15 solderless breakout pcbs on Aliexpress but when it arrived, I realised I couldn’t use those empty DB15 connectors to install on the case as it was too small. If I used the DB15 solderless pcb, it wouldn’t fit proper since I still needed space for the RP2040. I needed to improvise.
The screw terminals take up the most space, and being through hole, these things are easy enough to desolder. I initially started with low melt solder, but that’s a messy exercise and I also ran out so I had to pull out the desoldering gun.
With the right tools, jobs are made so much easier. Clean desoldered joints!
4 pairs removed!
Quick test fit with some ever faithful blue tac holding it altogether! 😀
Wired up to it’s respective DB15 pin location as per the schematic
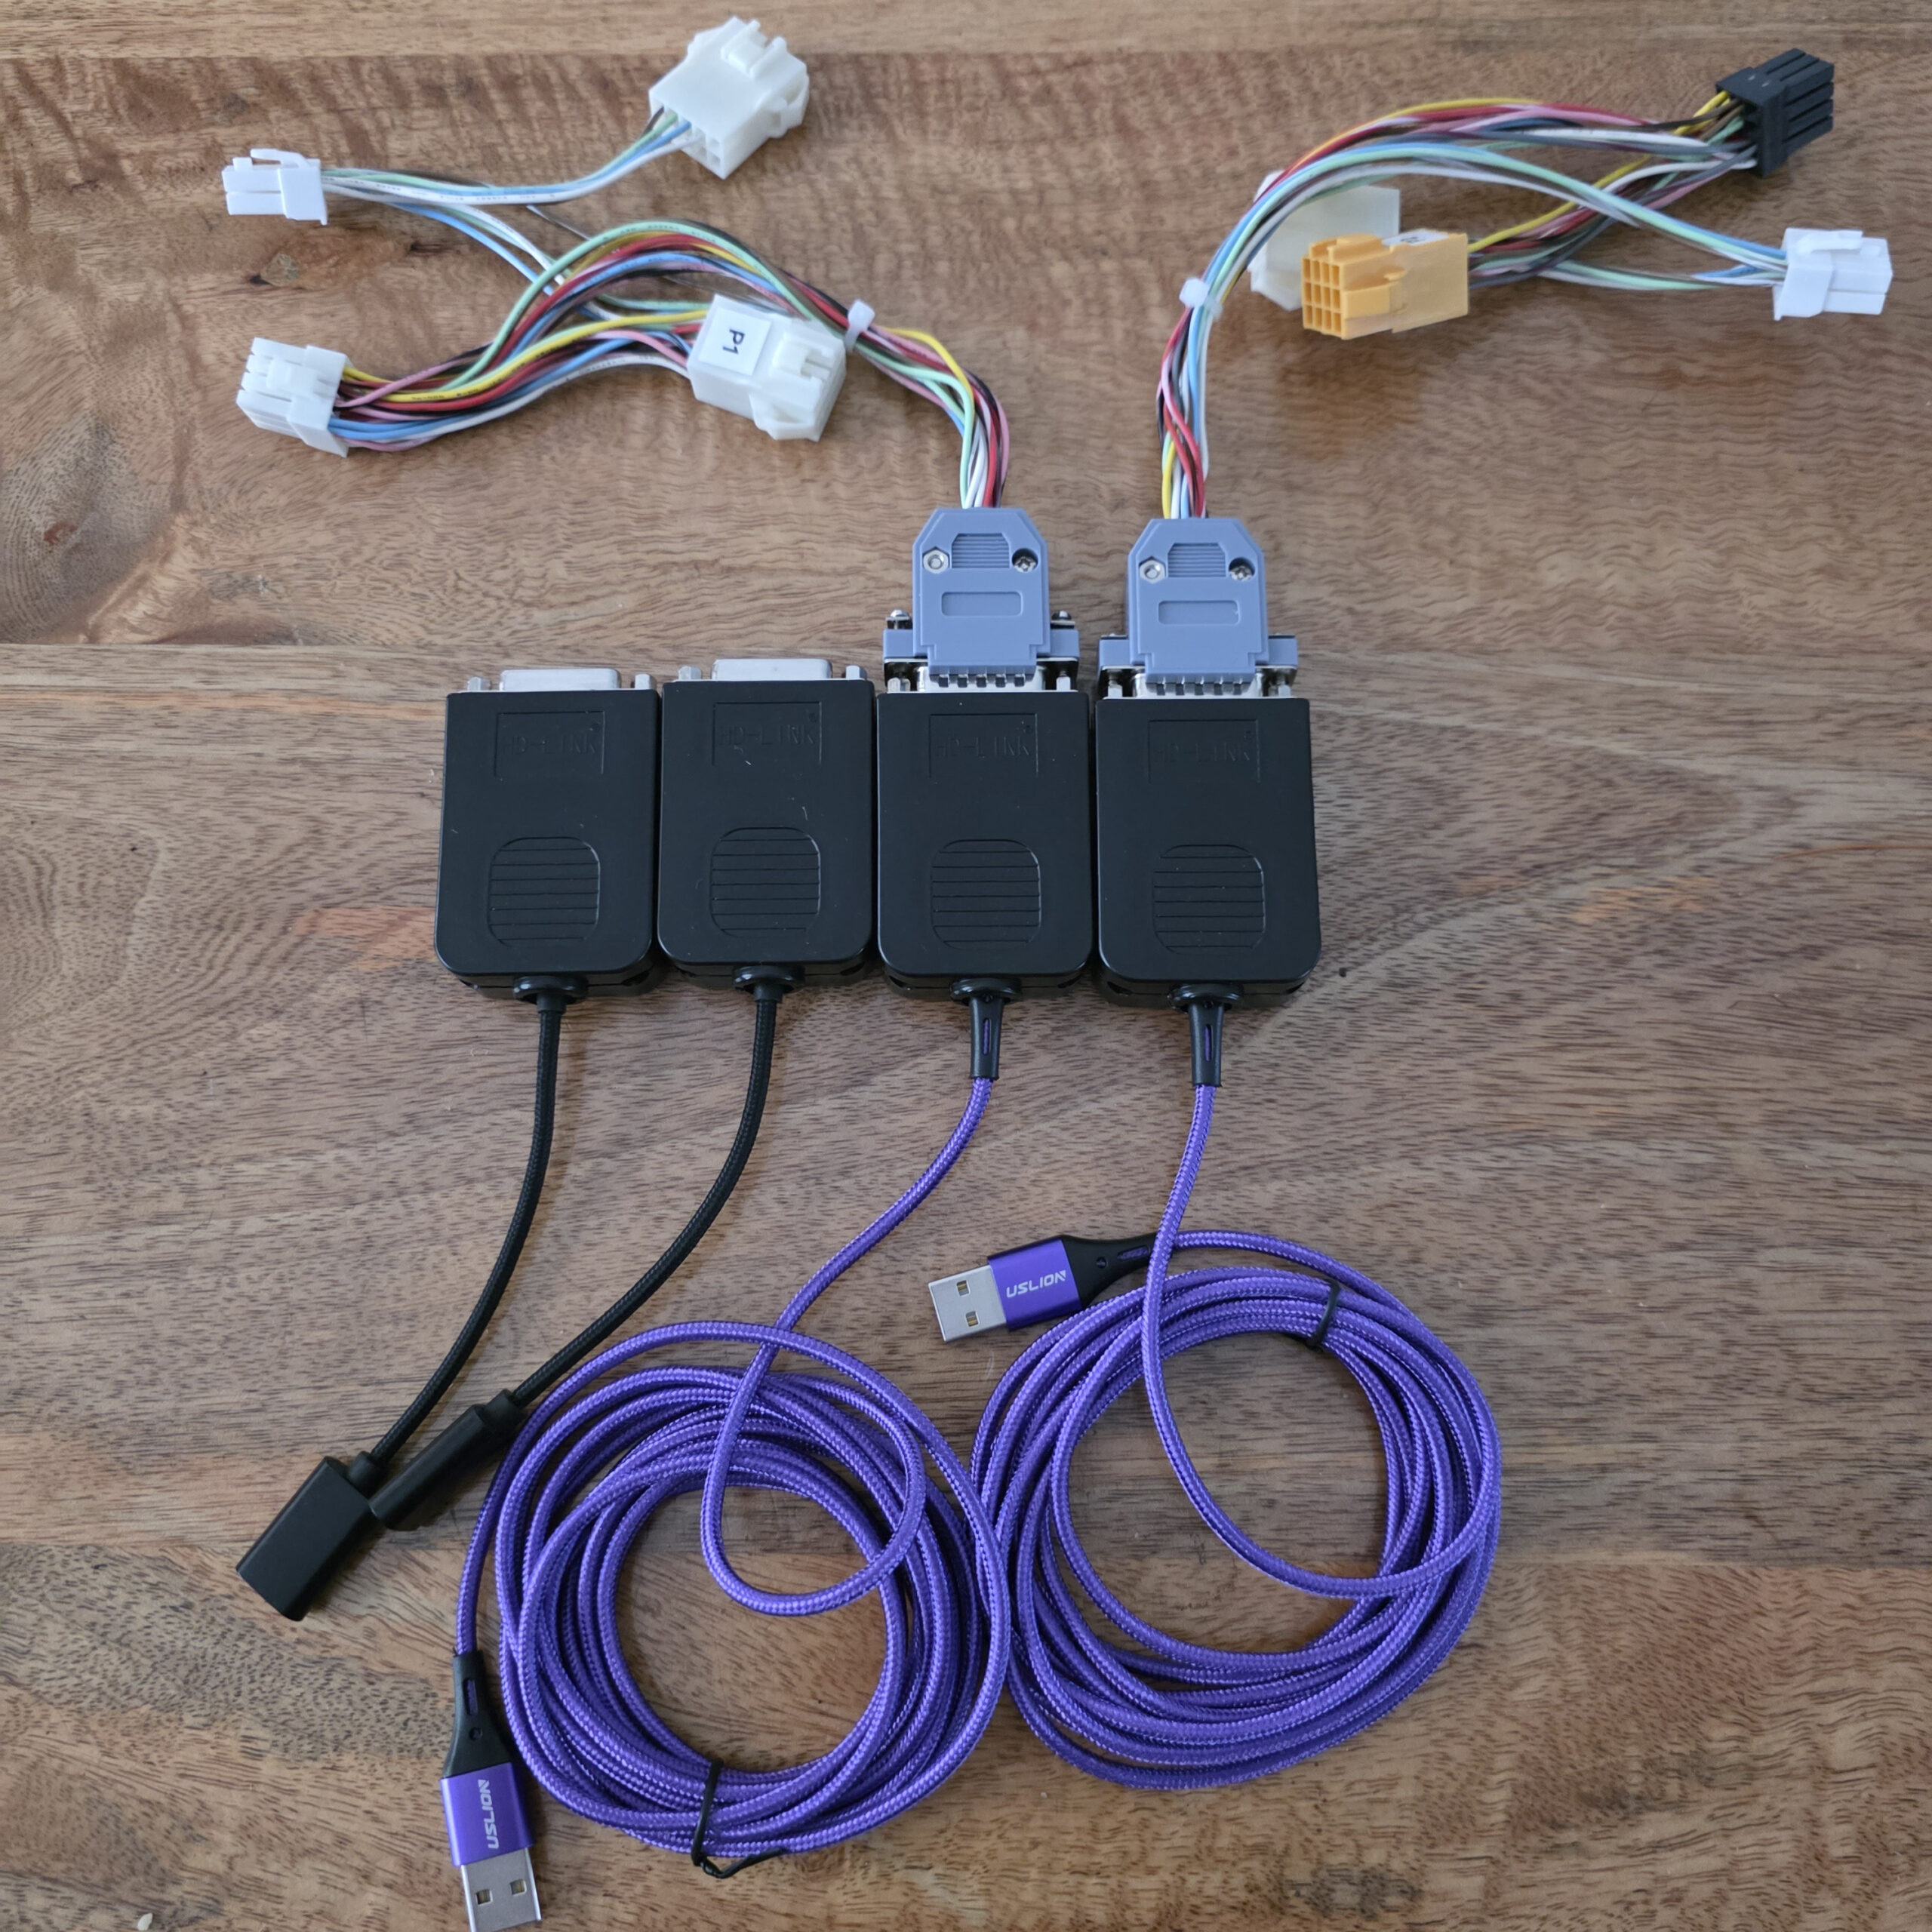
Now the DB15 USB adapter is built, before I can test, I need to build the harness to connect to the control panel of the cabinets.
Using old parts/connectors, it’s easy enough to use the same colour coding as I’ve used for the last few projects.
The most time consuming part of the harness was soldering the wires to the DB15 male connector. Once that was done, we of course need to do a test fit! 🙂
Software was installed on the RP2040 Zero and the moment of truth
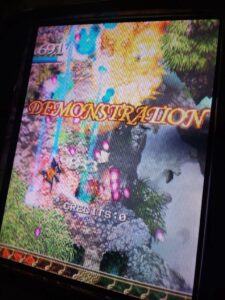
Success!! We are using a generic leverless USB controller (Haute46 T16 to be exact) on the cab running a CPS3
The Sega AIME panel imo is the most “modern” control panel you can have. The AIME card reader is a perfect place to put a wireless charger for mobiles and has a 24mm button perfect for the USB port.
Rinse and repeat the process another three times and I’ve got 4 of these units
2 to be kept permanently inside the Astro Cities and 2 to be used for Supergun setups.
I wish I could 3D model and had a 3D printer so I could design something that would fit the DB15 connector, the RP2040 and a slim line USB C to USB A OTG in a much smaller profile, but this solution will work just fine.
Also, shoutout to the developers as they fixed an issue with the Victrix Pro FS fight stick which had some compatibility issues when in “PS4/PS5” mode, but on “PC” mode it worked flawlessly. This should be updated with the next release.