I hadn’t touched the cab at all this week as I only really wanted to “get into it” once the CRT was replaced. I did try to turn on the cab, but it was definitely dead, it also didn’t make a sound so I was slighly concerned, but that was another day’s problem.
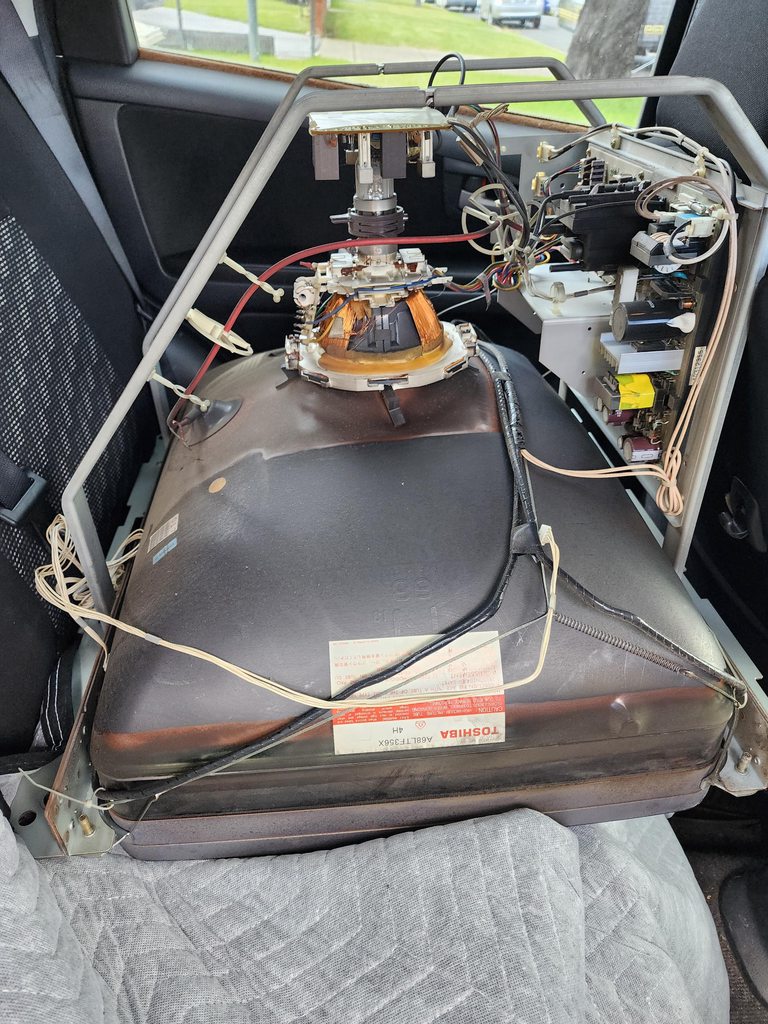
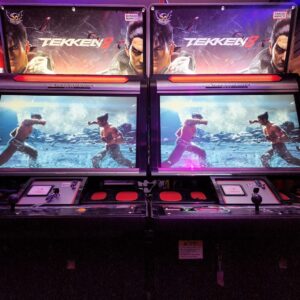
The primary focus last weekend was to secure the Toshiba PF! I was lucky enough to secure a PF from one of DRAGONKZ’s friend. Sure enough I got it in my possession and the typical “insert coin” burn in is located on the monitor, but I’m at a point where I just care for a working setup vs an “immaculate” setup that’s pretty much impossible to get.
![[IMG]](https://thingsgeek.net/wp-content/uploads/2024/11/image-106.jpeg)
Thinking I’ll give it a test later on the week, I got home on Saturday night having a real itch that I needed to scratch as I wanted to confirm how it would look, I quickly rigged up a power cable to connect to the cab. Since I didn’t have the jamma to vga breakout, I couldn’t test with a JAMMA board, so I just used the DC to test. VOILA! She fired up perfectly!
![[IMG]](https://thingsgeek.net/wp-content/uploads/2024/11/image-107.jpeg)
Knowing it was working fine, I could rest easy and take my time……. so I thought 
I woke up yesterday still having a bit of an itch that I needed to scratch, so away I went, I started building a harness to use the input from the monitor directly to the little JST connector on the cab.
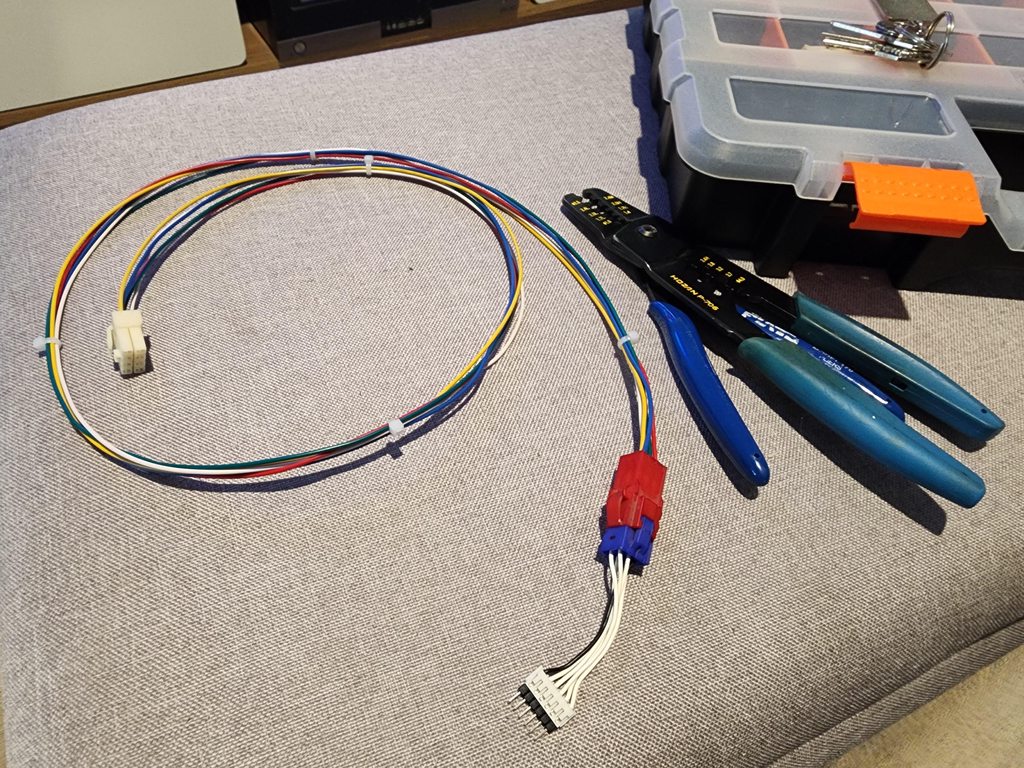
The temporary harness took a lot longer than I expected as the monitor would continually show no signal and was completely stumped. I tried other PCBs and still was getting no signal, re-read the wiring diagram and I was adamant that everything was correct.
I then realised, I should probably do my PSU tests to confirm the voltages were set correct. After doing this, I then realised why no PCB was working and why I was playing with no video or sound…. the damn voltages were TOO DAMN LOW!!
5v was showing as 4.31
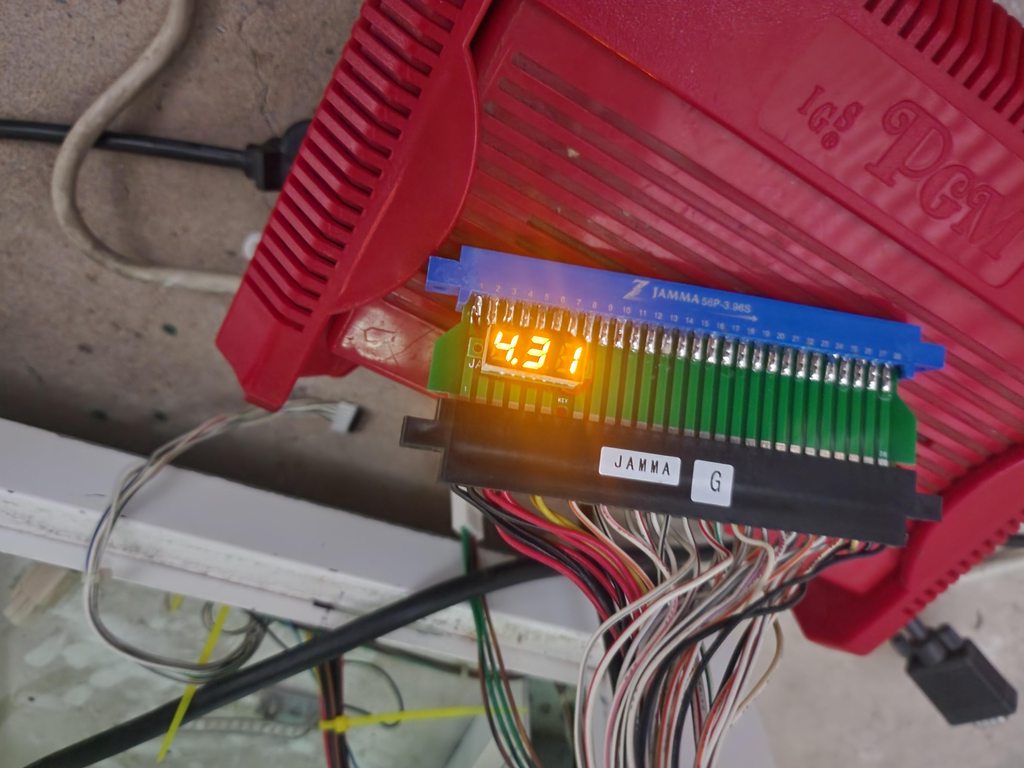
What a rookie! First test I should’ve done was PSU test. Once 5v was sorted, 12v and 3.3v were also changed, I eventually got sound but still no picture.
I got my trusty DMM out to confirm the different points had continuity, I eventually found that my video ground was wired to pin 4 on one end, but pin 6 on another end *face palm*
Once that was swapped over, I got beautiful 15khz image!!
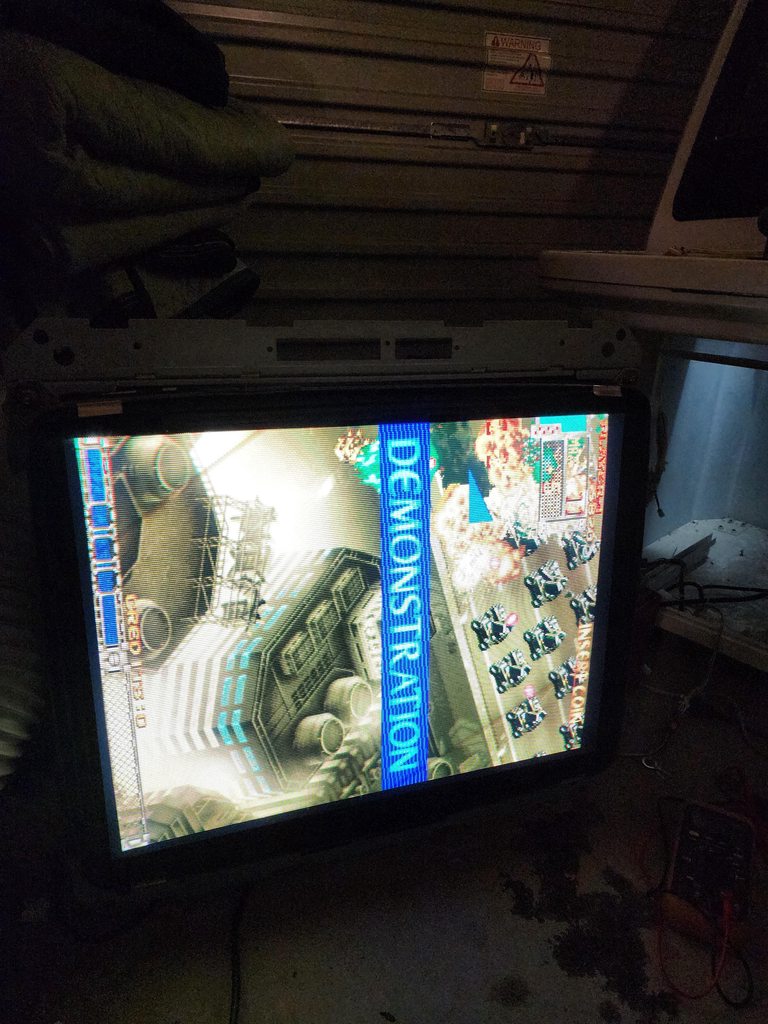
Thinking I was done for the day, I figured, why the hell not do the tube swap now? 
Wheeled out the cab on the drive way as there was no way I could do this in the garage, got my trusty eski’s as my work benches
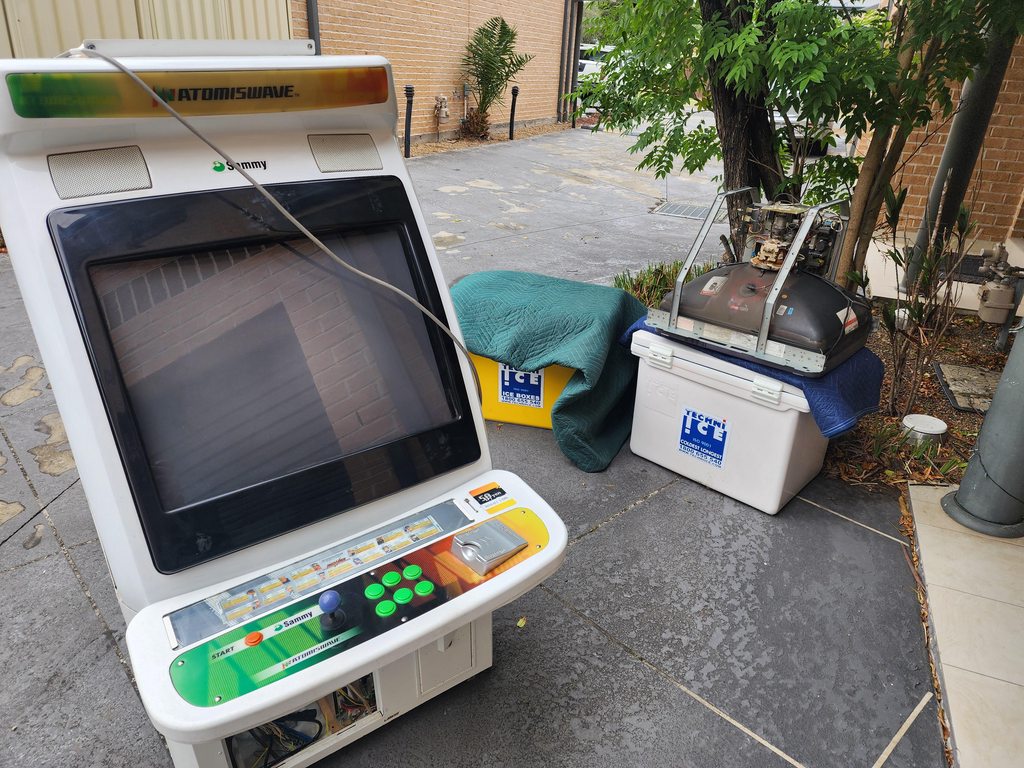
I don’t know if I was dreaming it, but the Samsung tube seemed quite a bit heavier than the toshiba tube.. it might have been because I couldn’t carry it from the top like I normally do with the sega frames. In hindsight, I probably shouldn’t have done this myself as there was probably a decent risk of screwing up a few things, fortunately we got there in the end 
Tube out!
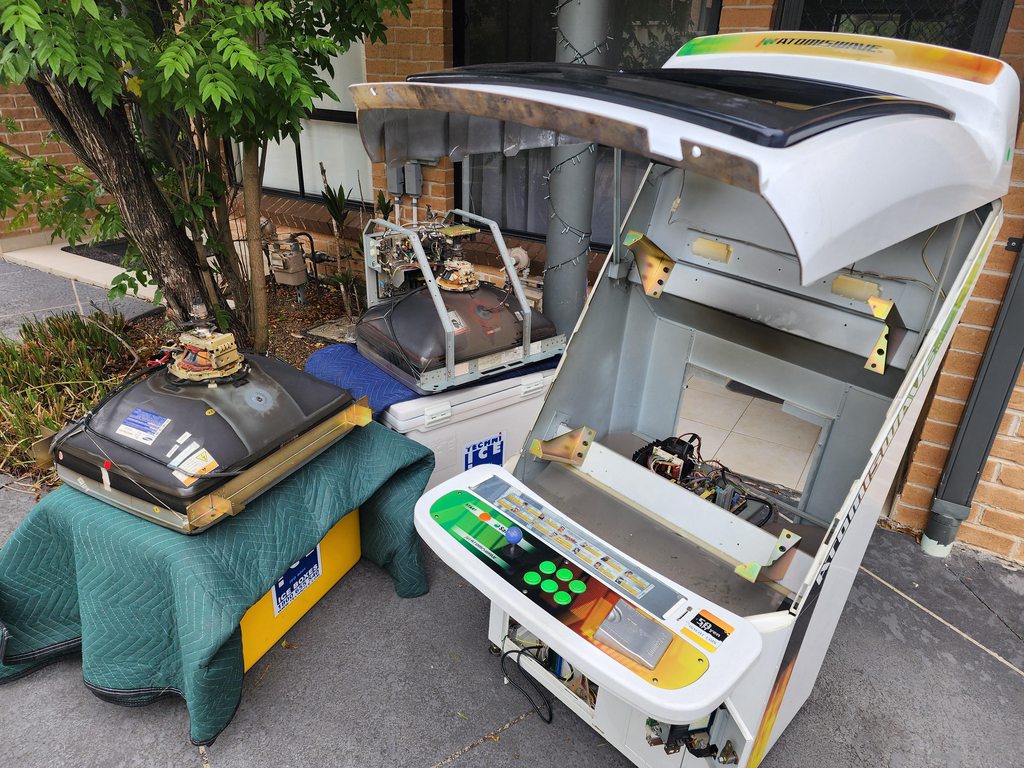
Since I’ve heard of some earlier E3/AWSD’s having this same model monitor/chassis setup, I figured the chassis plate would fit the PB9929, I was hoping it would also fit the mounting plate as it has the nice bracket for VGA, RGB/DEGAUSS and POWER connectors. Sadly, the plate is just too big, so I’ll have to figure something out with those particular connectors or just leave it dangling out.
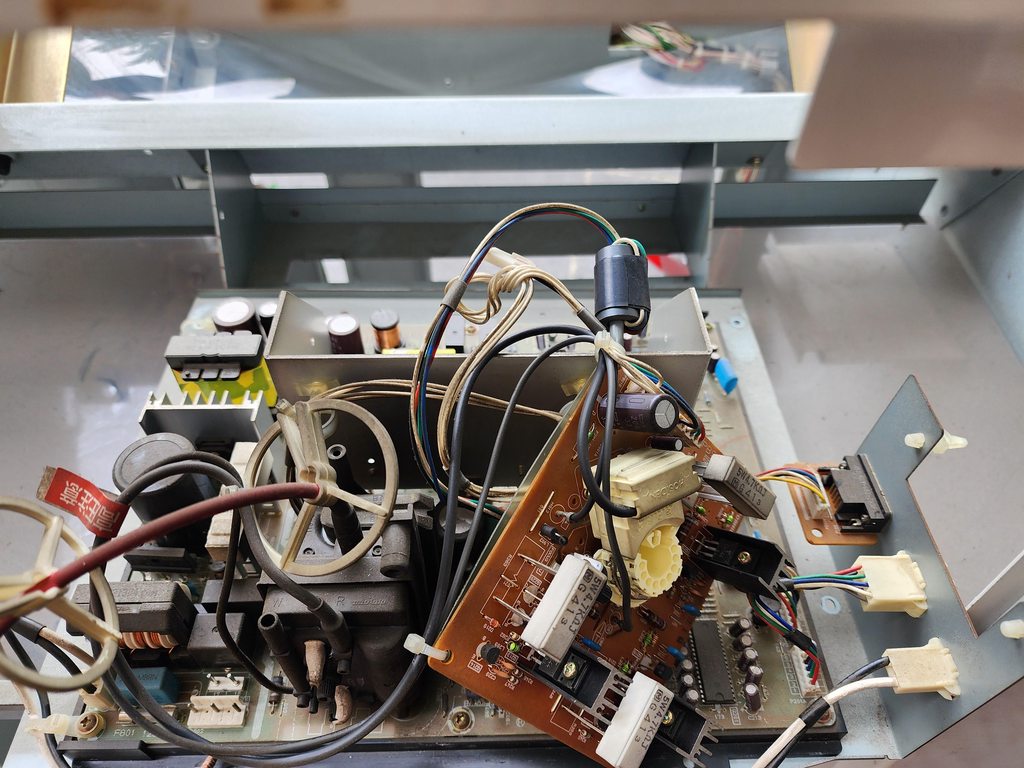
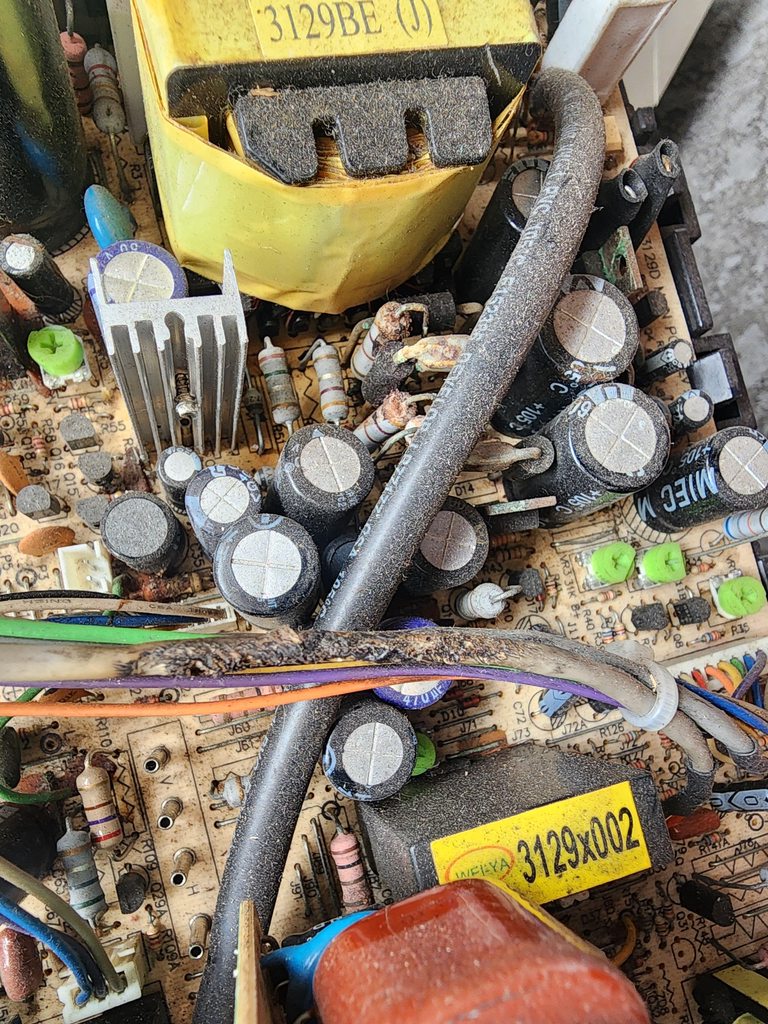
Removing and inspecting the Wei Ya, it was definitely FUBAR  a number of resistors and caps were quite corroded on the board and one of the cables (I think this was the HV cable?) seemed to have burn marks on it. Safe to say, this won’t be going in for repair as I was explicitly told if it was corroded, it’s not worth being put on the work bench. Maybe I can one day look for a spare chassis to have that “backup” throwing out the Samsung tube seems a bit of a waste.
Once the PB9929 was removed from its original mounting plate, the chassis fit on the existing stock plate with ease, fit like a glove! There was one screw hole that lined up to the chassis, but I drilled another hole (right screw) to allow me to use a second screw to secure the chassis in place.
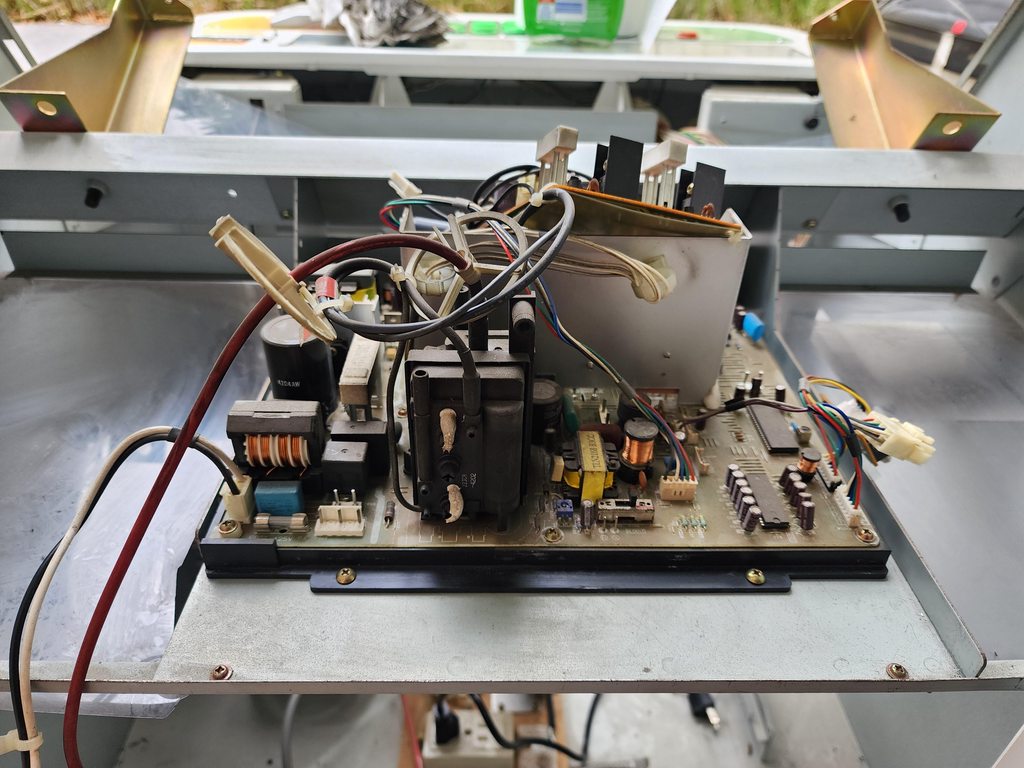
Frames swapped and tube installed!!
I was originally going to make this my “novelty” cab and re-wire Tengoku and Monkey Ball on it, but I figured, the Sega panel on this particular control panel is not going to look great with gaps and the ocd will trigger me (after all this is the whole reason i ended up with an Atomiswave  ) so I will swap out my current Tate NNC with a TTX3 for 31khz shmups and put the TTX3 into this making this my 31khz shmup cab. The NNC will be rotated back and become my novelty cab, I will figure out the wiring for that another time
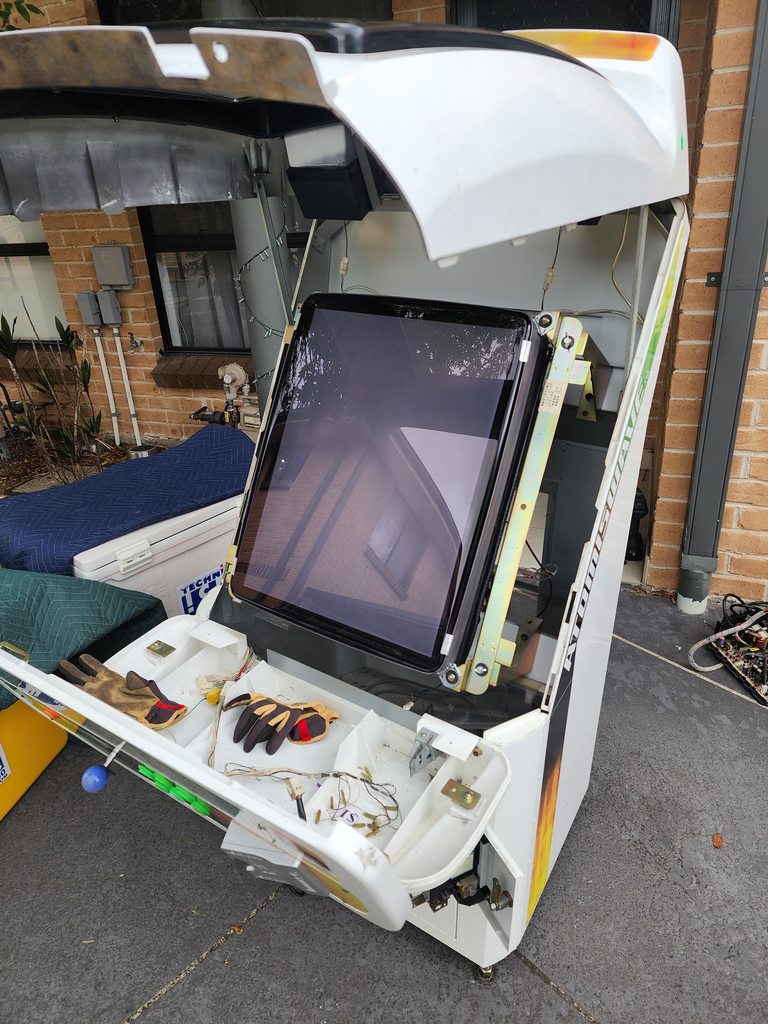
When I first tried closing it, the bezel would close properly and I thought, crap, this tube isn’t designed for this cab, but I know early E3’s had this same tube so it had to fit. I simply adjusted by a cm or two where the rabbit ears are mounted and I was able to close bezel successfully.
She fits like a glove! Introducing, my “New Atomis City!” 

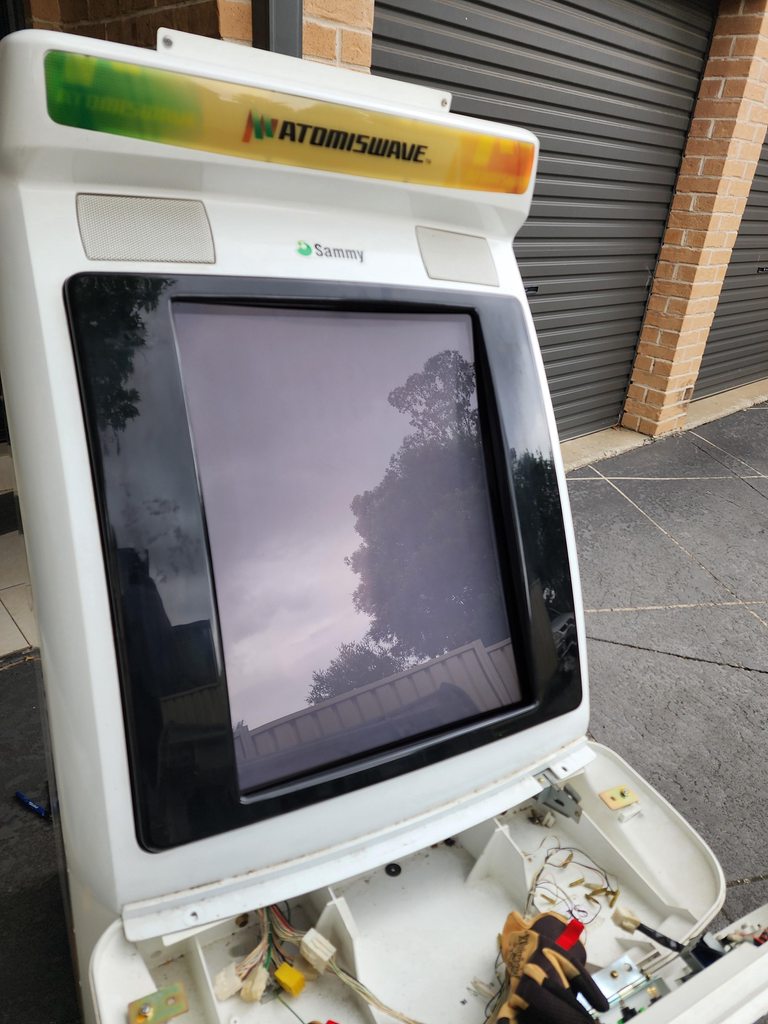
Got it all wired up and the Toshiba PF into the AWSD is now officially complete! Boy am I happy.. this is one hell of a screen. I have it on my NNCs and my OR2 and I absolutely frigging love it!
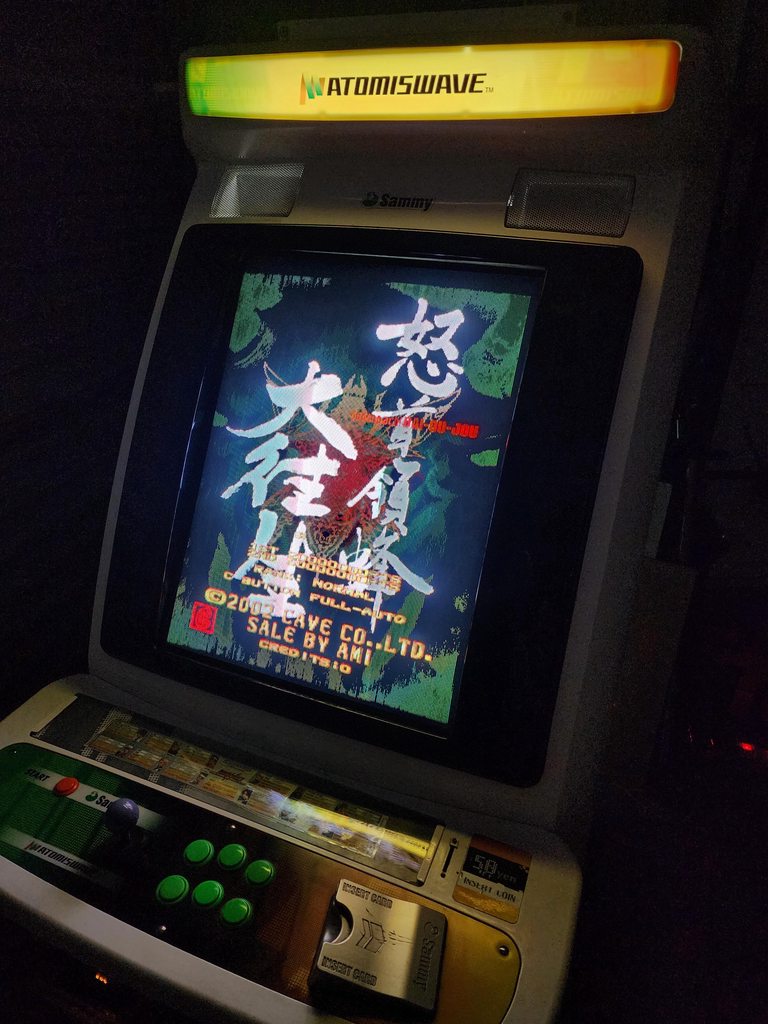
Now the hard part is done, the other things to do for the cab is quite trivial and can take my time on it.
I’ll purchase the sega amp in the cage like I did for the E2 and install stereo in it. I the panel is in great condition, but will need to figure out how to mount an LS-32 onto the CP without having to buy a new panel from alberto.
This cab is probably one of the easiest cabs I’ve worked on. It was just a matter of installing the monitor, giving it a good clean, installing a new cable harness. Everything else seems to be working fine, sound works, psu works (but will probably look into doing the meanwell upgrade at some point), light works, jamma harness is intact, wires aren’t hacked, no rust. I honestly couldn’t be happier with the purchase.
