This weekend that just passed, I set myself the goal of “just getting the shell screwed in to the base” as the shells had “dried*”
*more on that later.
The wiring deceivingly took WAAAAY longer than I expected as I decided I would take out all the old clips and put some double sided gorilla tape on them so I could reuse them… some 3 hours later I ended up with this – and it still wasn’t done complete!
Once the wiring was done, I thought yeah why not, let’s put the two shells back together. Voila!
Remember the “dried” comment earlier? Well there’s a couple of spots that have my fingerprints on it as I pressed on it too hard when I was screwing the shells back together – I’m guessing 1 week in the garage hasn’t really “cured” the whole paint job – fmd. I wasn’t going to sand it down and re-paint – I’m well and truly over it! I just want to play on this cab! The show must go on  but it was well past 1am so I called it a night.
Saturday morning came around and I thought “I’ve done my goal of putting the shell together, why not clean the marquee, install the led and test the bezel out in Tate mode”
Marquee cleaned up and installed the DDP artwork from sellsells2000 (will eventually change to Esp Ra.De or if he makes a Futari one)
Marquee and bezel installed! Not too shabby! Was very happy with the results
That was pretty much my Saturday as I had to adult 
Sunday morning… I thought,”only thing let is really the monitor, I’ve got a spare few hours in the morning, why the hell not!”
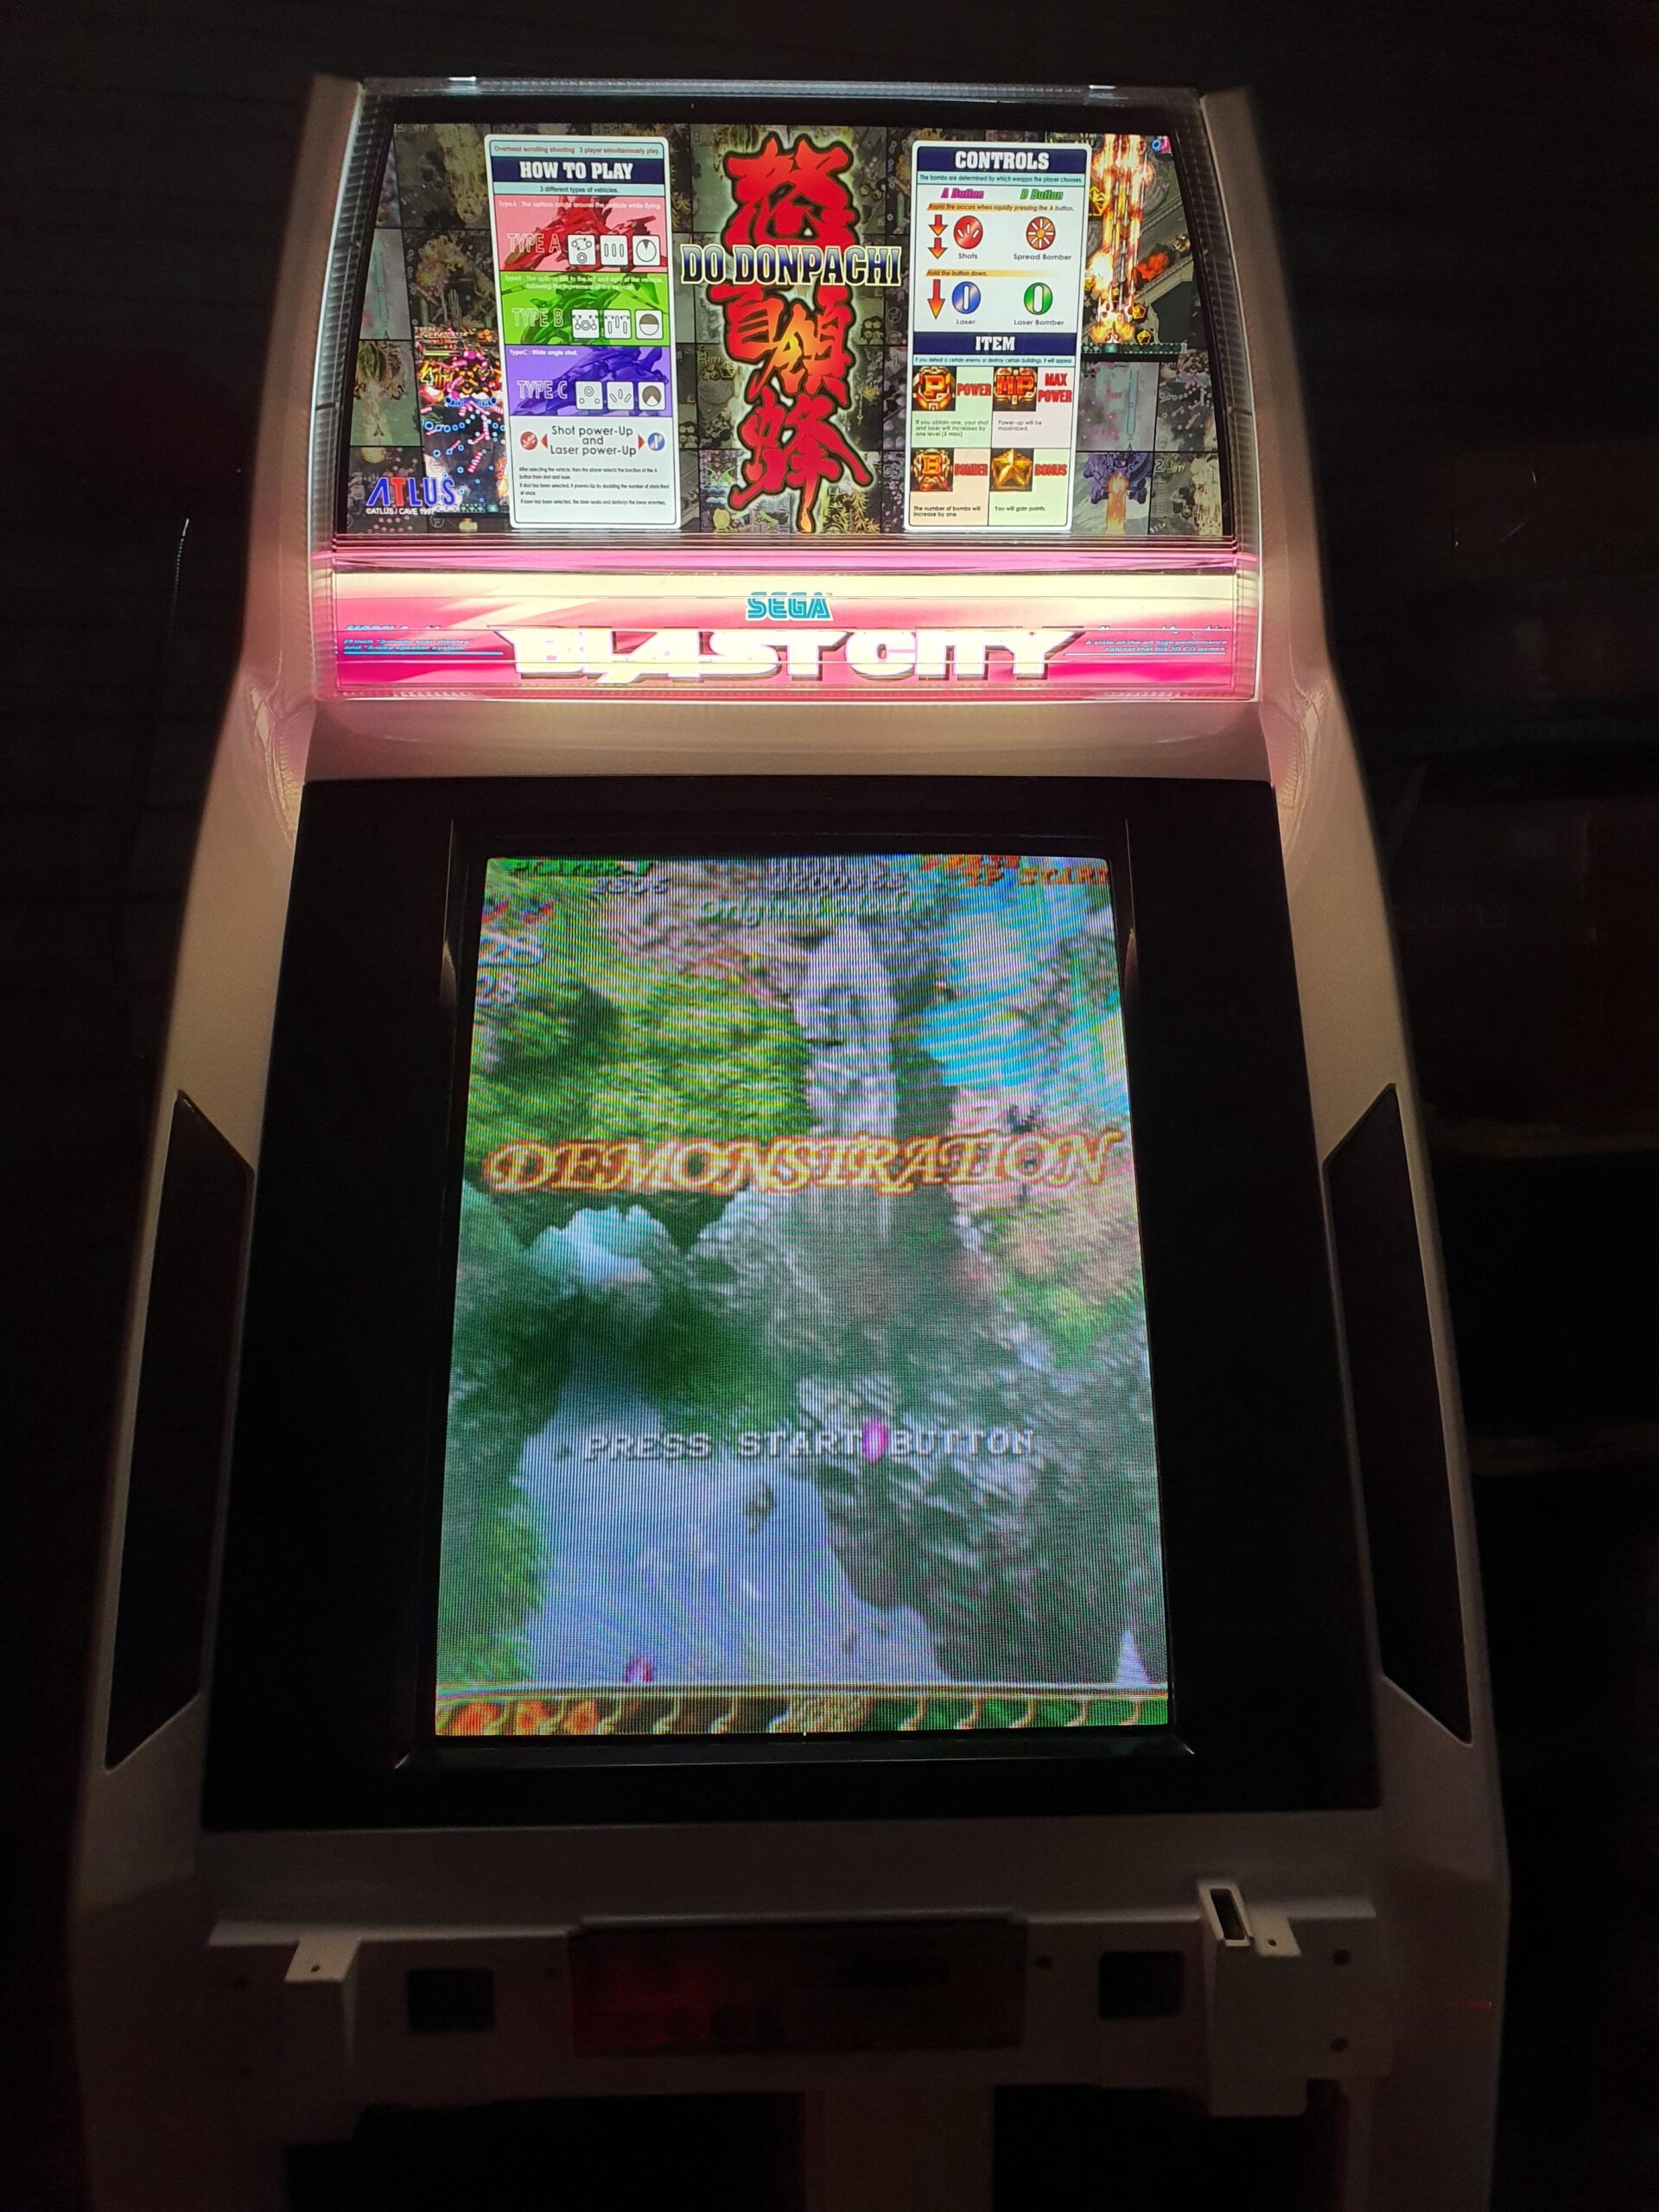
What an absolute debacle getting the monitor lined up properly to get those bolts exactly in place. I had a 30 minute attempt, but my arms needed to rest. Spent another 30 minutes trying to line it all up and eventually got there. The geniuses (or is it genii?) at Sega decided to make bolts shaped in a certain way and can only go in a certain way – why not stick to circular like the astros?! Anyway, the monitor was finally in, wired her all up, triple checked the connections, crossed my fingers and hoped for the best as she was being turned on for the first time!
It’s aliiiiiiive!!!
Then I noticed only ONE speaker was working! What?! Are you f***** kidding me?!?! I haven’t done anything since November, how the hell could the speaker not work? I thought maybe I wired the loom incorrectly or the cps2 board wasn’t connected to the stereo plug. Tried another PCB and it was the same issue. Insert a couple of profanities at this point because I knew what I needed to do.. take the monitor out again to investigate further FML
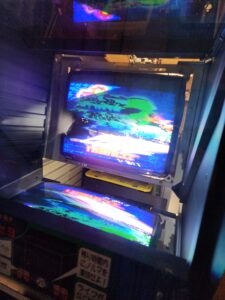
With the monitor out, I quickly made an extension wire to commence the trouble shooting
Wired the right channel to the left speaker which wasn’t working – she worked!
I then wired up the left channel to the right speaker which I knew 100% worked – didn’t work. So it became evident the left channel is the issue.
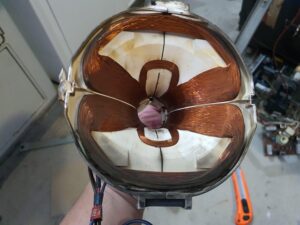
Grabbed the trusty multi meter and tried to translate the wiring diagram
Continuity was confirmed against all points on the left speaker and connector so it wasn’t the wiring. I placed the psu back and to see how it was touching and it didn’t “look” right, so I unscrewed the connector and just straightened it a little and then gave the psu a good push to make sure the connection was secure.
Gave it a whirl, and boom!! Both speakers were working perfectly!!
[MEDIA=youtube]J7pfhLlOJ70[/MEDIA]
View: https://www.youtube.com/watch?v=J7pfhLlOJ70
At this point I had a massive sigh of relief that I didn’t have to take the whole cab apart I was not looking forward to that.
Next on the list is the cp… the cp has been sitting for a couple of weeks now so I figured it’s time to put it back together.
The bare cp
A new 100 yen sticker, the cp and the move list DDP art with the glass cover all installed
I had already modified the coin mech to accept the capcom tokens, but I didn’t realise the token didn’t fit the coin slot!
Easy enough fix with some filing to extend the cut and a number of different tokens will now go through instead of just 100 yen and the smaller namco/taito tokens.
Final testing was to put the 360 and see how it looks, of course the first game to load is Futari!
I need to fix the geometry of the monitor, but if I can’t fix that immediately, I will park it and look into it at a later point so I can finish the cab.
The end is soooooo close!