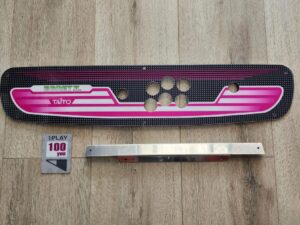
My to do list was as follows:
- install Sega AMP (part ordered from zax) – still need to install this. I received it yesterday, crimped the connectors up along with the volume pot, but will need to wire it all up and test.
- Maybe upgrade the speakers? – thinking about it. the stock speakers are pretty solid, but we’ll see
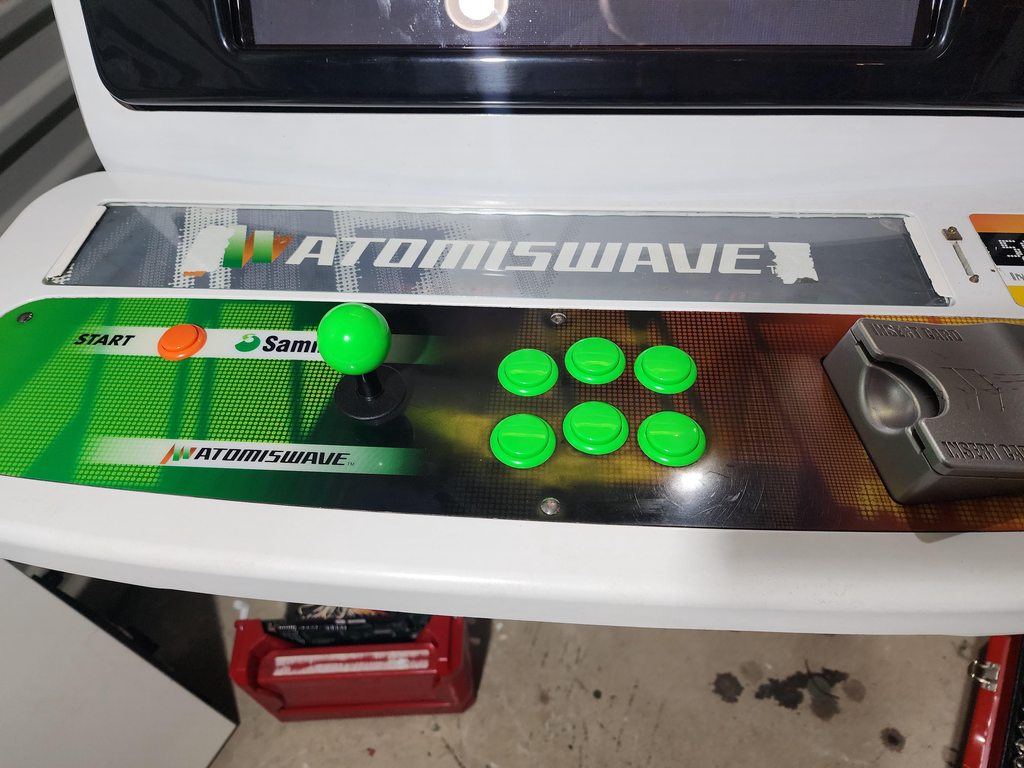
- order and install LS32 and sanwa buttons – stick and buttons were ordered from CQB, but I stuffed up and ordered the old school LS-32 without the 5 way JST connector. It was the one with the .187 connector so I had to make a whole new harness. Fortunately I still had some parts to do this
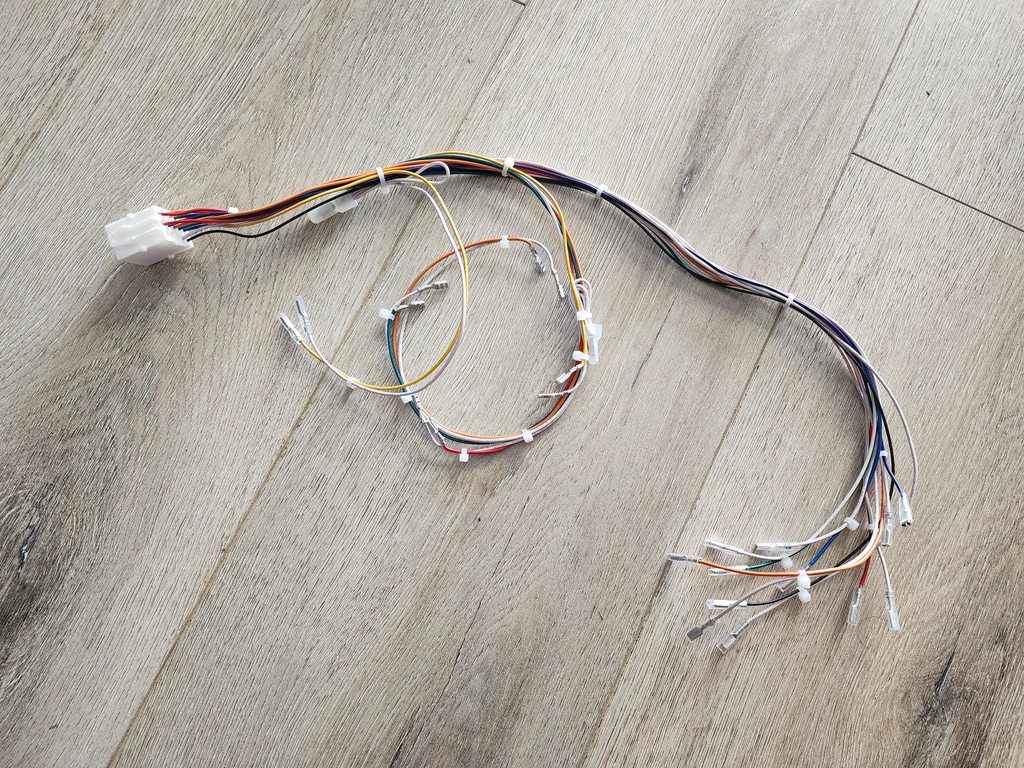
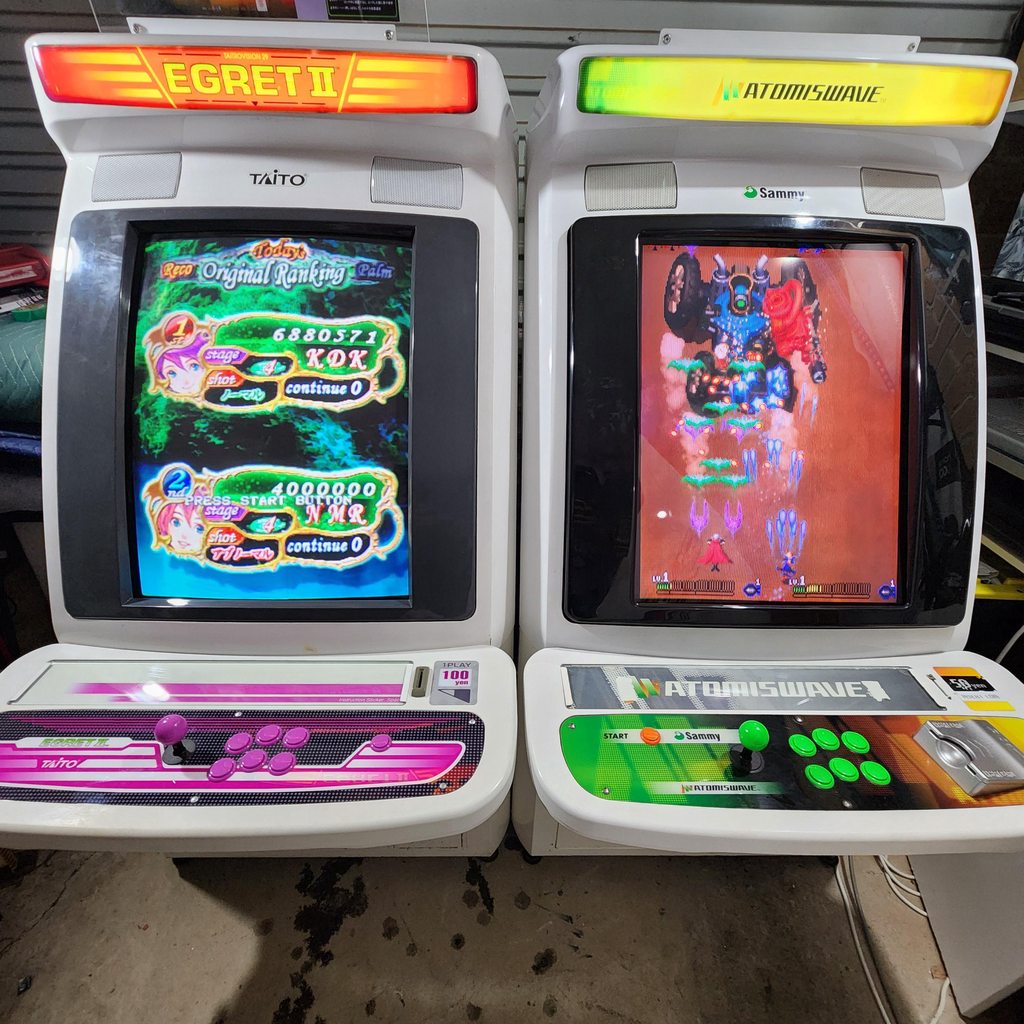
Stuck with original colour scheme and the CP is looking FRESH!
- make a finger board for the kick harness – like the E2, grounds on the jamma edge aren’t “common” ground so I had to piggy back the “e” section of the JAMMA edge to another ground as the ground from the P1 harness went into “e”. The fingerboard has been wired up so buttons 4 and 5 are not only coming from the JAMMA edge, but can also be split up to a normal 3 way kick harness making it much easier for CPS2/CPS3.
I know 6 buttons isn’t required for a vertical cab, but I figured I might as well do it from the beginning and have it ready if ever this cab goes back to horizontal. I have 6 buttons on my E2 as that’s primarily used for XBOX360 Cave Shmups, it makes navigation much easier.
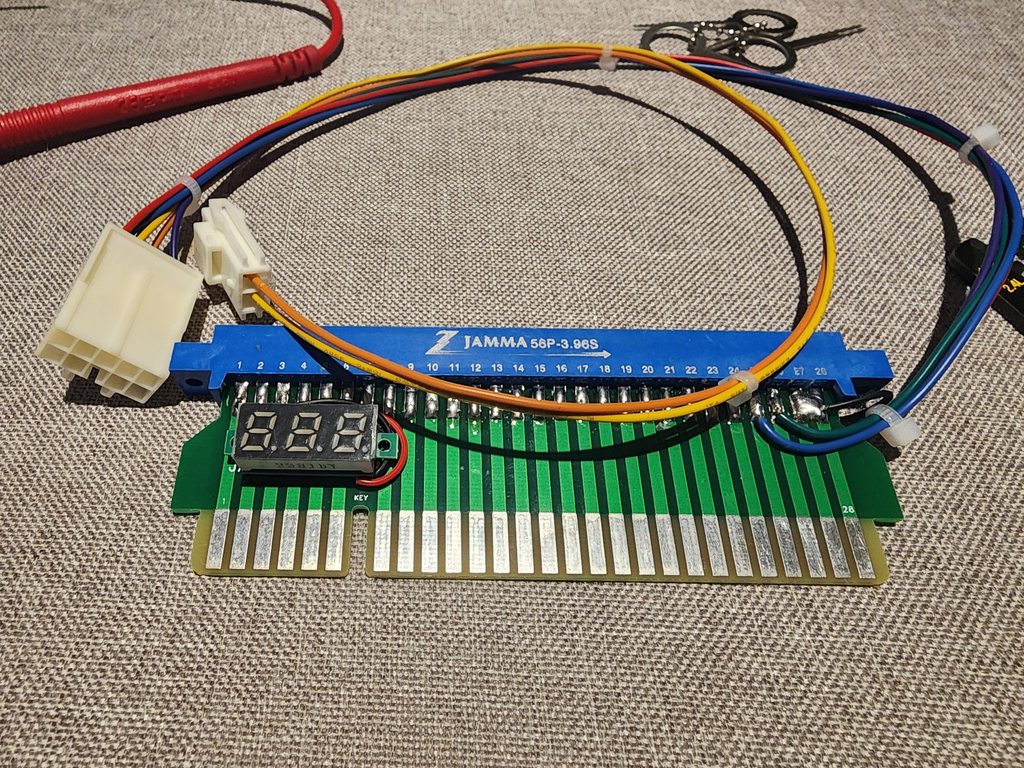
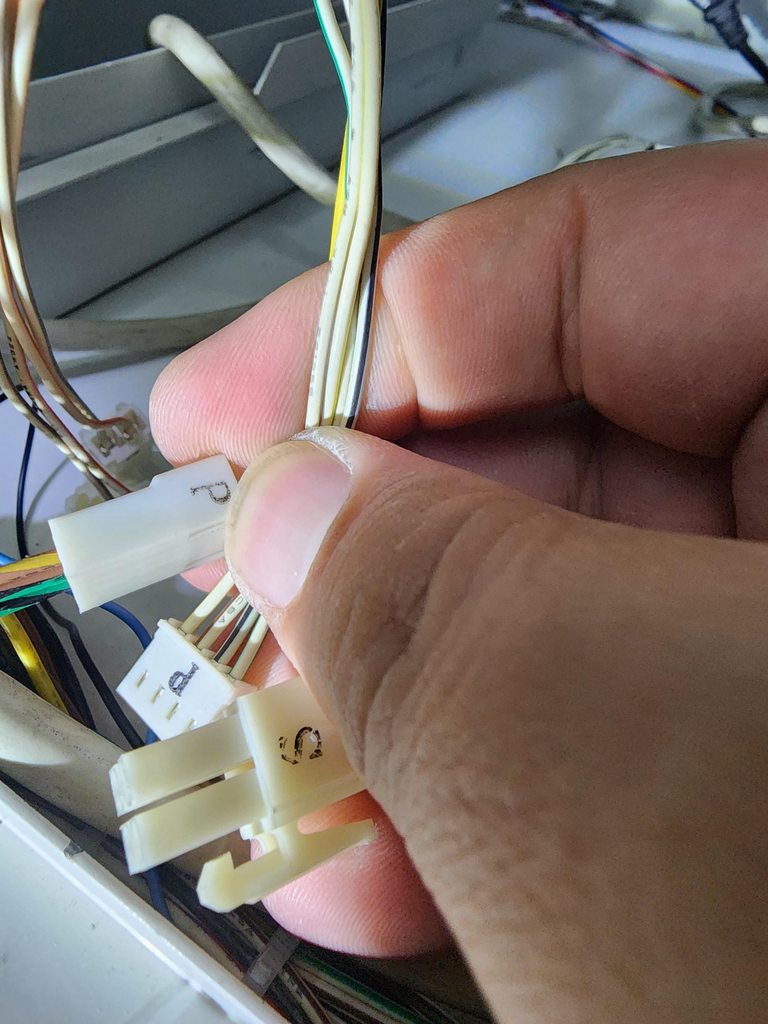
- probe wires for an “S” connector that is not documented anywhere in the manual. The normal S connector is P1 and P2 button 6 – this was a weird one, what I found was the 4 way S connector is just a “pass through” for another “P” connector. This P connector was a male connector that went straight into the female P connector. My assumption is, this was just another way Sammy decided to connect stereo sound to another system board (assuming Namco? as they seem to use the same molex connectors in my time crisis cabinet.
- replace all the adhesive backing on all the wire management ties that are loose in the cab – done
- get the VGA breakout board (unless I just keep my rigged up harness?) – for completeness sake, I would like the VGA breakout board. Still waiting to get one
- Fix scratches on the bezel – I’m delaying this process quite a bit, I might just put “decals” on it so I don’t have to do it.. but I will eventually get to it
- order/install new locks – I found some spare locks in my stash and they’re all keyed the same. They are exactly the same size as the ones in the cab so these will work until I order some proper LY-1153 locks from Taito.
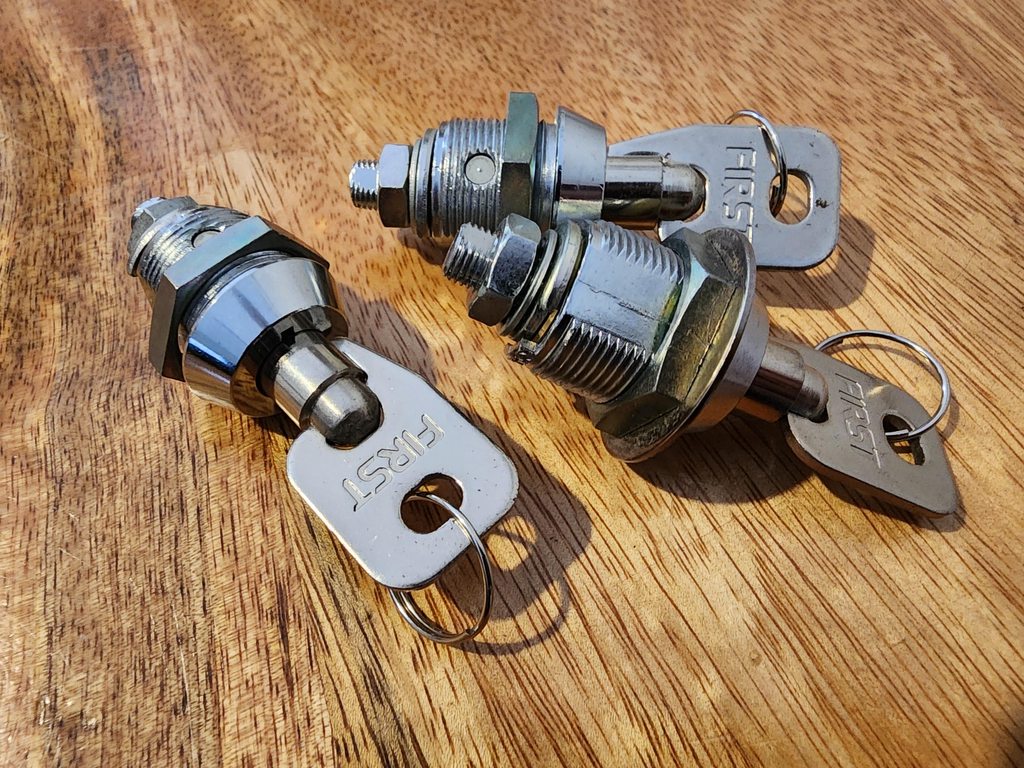
I found the reason the coin bucket tang was the way it was when I got the cab. It was because the cam lock that was installed wasn’t the correct size.
This is how the locking tang was
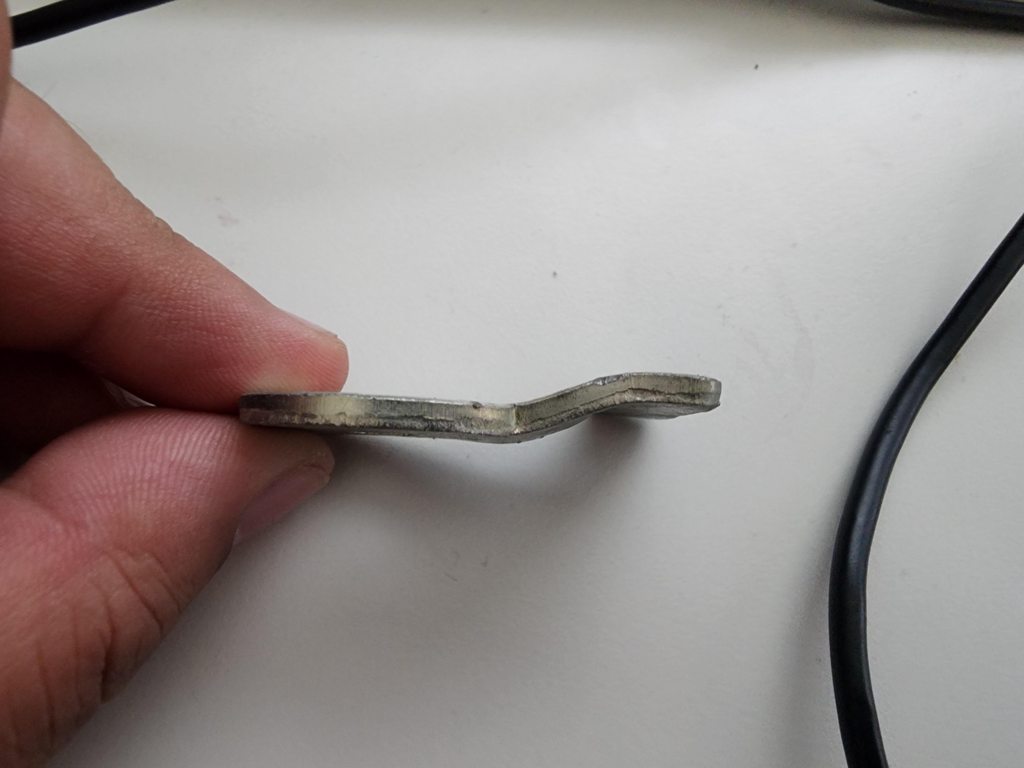
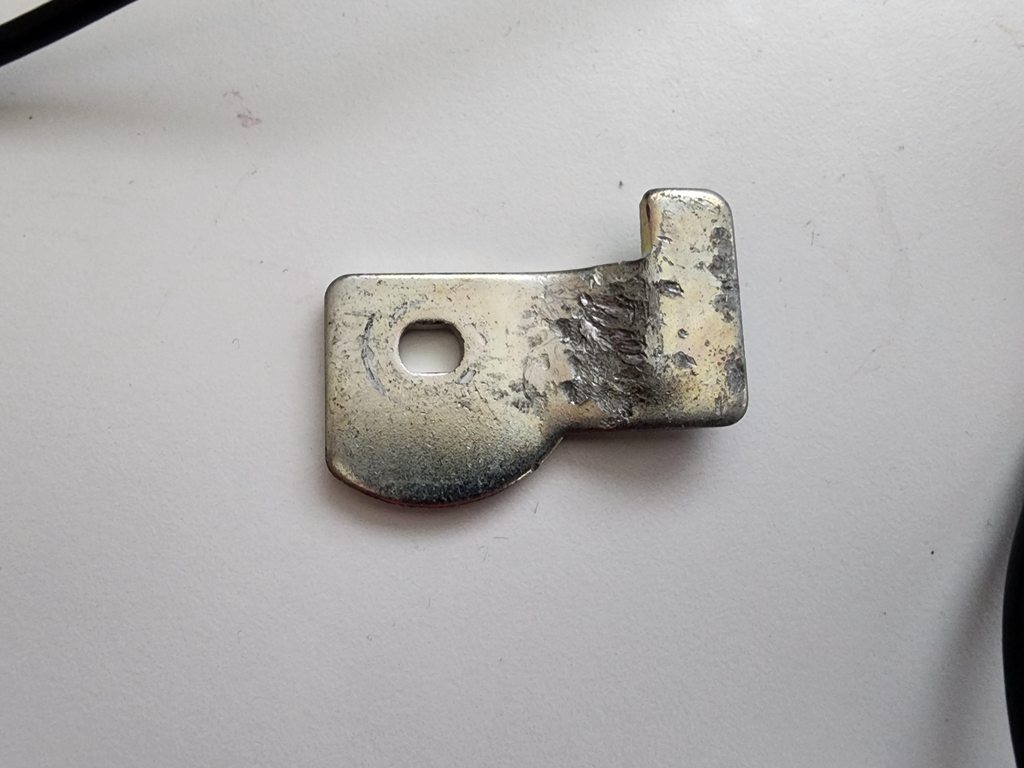
Once flattened with a hammer, using my lock the tang fit perfectly fine in the coin bucket
- install marquee (en route from Taito) – this is currently on surface mail, so it won’t be arriving anytime soon. Still trying to decide what artwork will go on it. I’ll have a few months to decide

- patch up a dodgy 12v and GND line the operators hacked up – go lazy, I just put some electrical tape on this. I will fix it up eventually

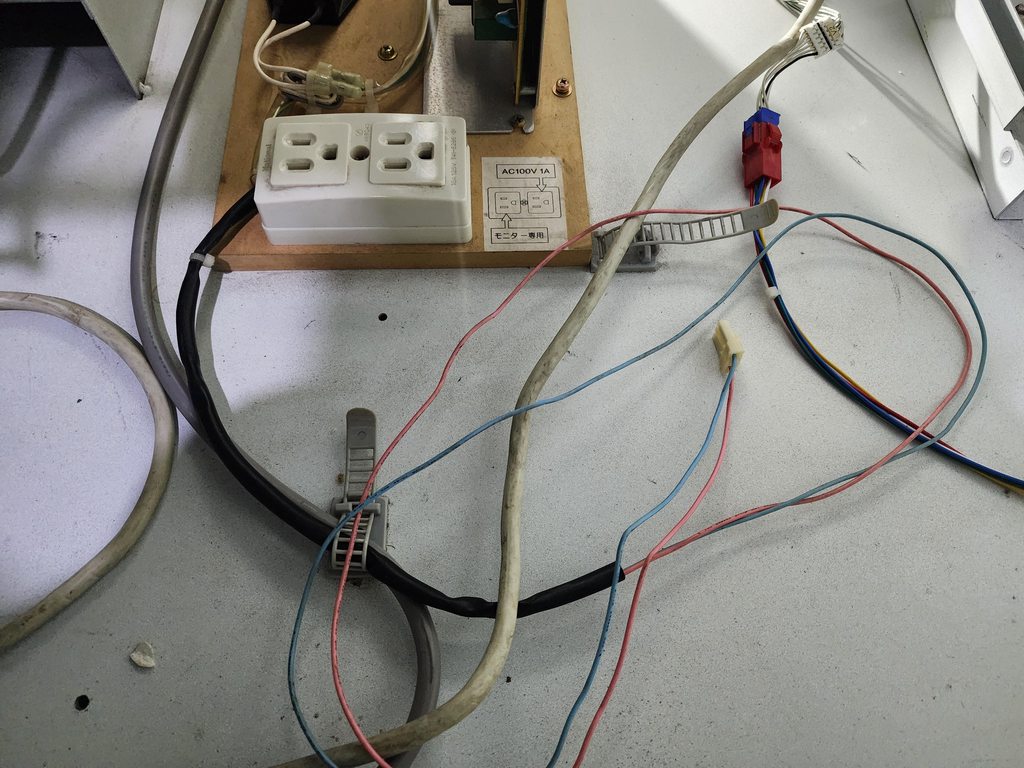
Other things I end up doing is wring the monitor power so it’s not using up one of the service plugs as I will need 3 in total (only have 2). The stereo amp is 100v and a ttx will also use the plug. Using Sega’s started pink and blue for power to keep the consistency on the Toshiba PF chassis
Also adjusted the monitor a little bit more to make the “blacks” really black and give a little more pop to colour. I think this is the best I can get it right now.
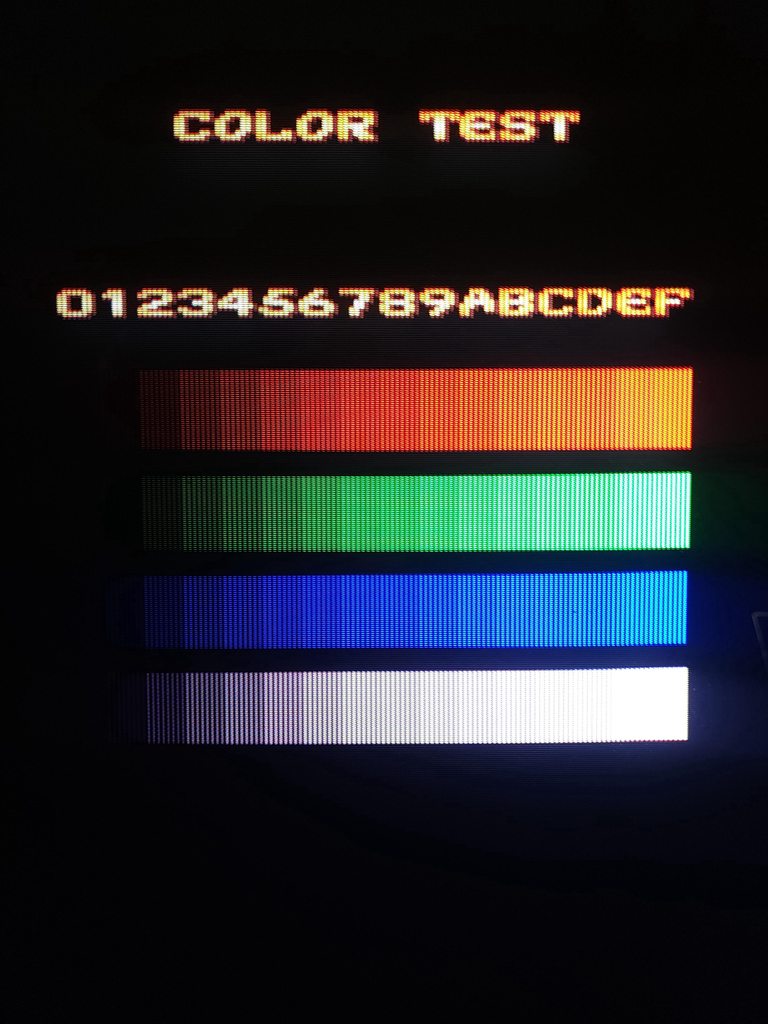
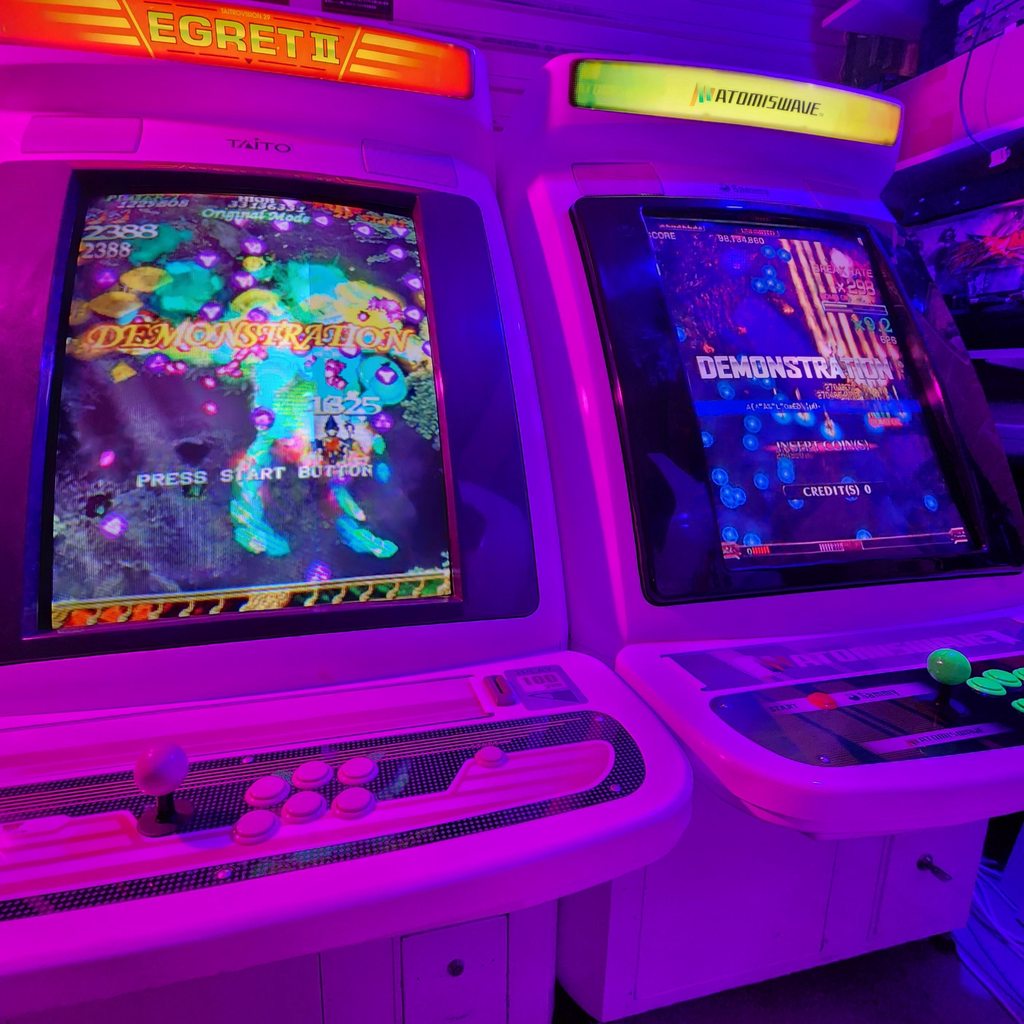
We have “pairs” again!!! 


