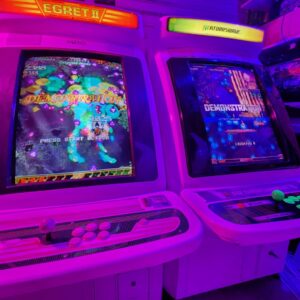
The cab has been cleaned as best as I can and the last thing to do is give it a cut and polish, but she’s definitely looking MUCH better than when I first got it.


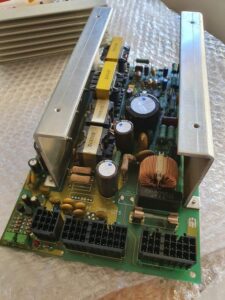
With the chassis arriving back from Joey the other day, it was time to put it all back together!
A freshly crimped J harness done by yours truly 

Chassis installed, control panel installed, stock speakers re-installed, first power on…..
Voila! She’s a beauty!!
The image is crisp, sharp, bright, colour is vibrant and honestly the only change I really need to tweak is the H/V size/position. There is no need for me to calibrate this thing, Joey has already done it and is plug and play. WOW this image!
Colour chart is spot on!! Blacks are deep black and the colour chart is as good as it gets

I quickly tested the CPS2 and noticed that buttons 4/5/6 wasn’t working. The kick harness for the E2 is different to what I’m used to with the Sega’s so again, the ever trusty schematic showed what needed to be done. Button 4 and 5 is already connected to the JAMMA edge, and Button 6 is done via an S connector.
Since I didn’t really want to have another cps2 harness from my current one, I rigged up a little fingerboard to re-route buttons 4 and 5 from the jamma edge to the cps2 connector and a female S connect to the same harness. I ended up with something like this – it’s not pretty but it works and uses my existing CPS2 harnesses that were designed for the Astro City.

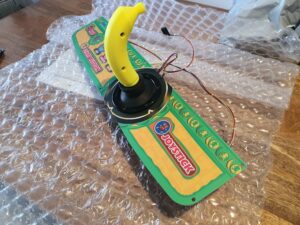
Next on the wiring agenda was to make my 360 controllers compatible with the E2 – so I did the same thing like the harness above and ended up with a few extra wires on this little rig that i’ve been using on the blast city

When I first turned the system on, I got picture, but none of the controls were working. I know 100% they were working on the JAMMA edge as CPS2 worked perfectly fine, so I had to trace out what the hell was going on.
After checking the grounds, I realised that the E2 nuances continue to get on my nerves. I had to install a ground jumper as grounds aren’t “common ground” on an E2. Took me about 5 mins of going “wtf isn’t it the controls working” when I was using the 360 to jamma finger board – everything worked fine with a normal pcb.. After pronging, I realised that the ground on the p1 connector, is “e” on the jamma edge, nothing else. Installed a jumper and everything seems to be working fine now.

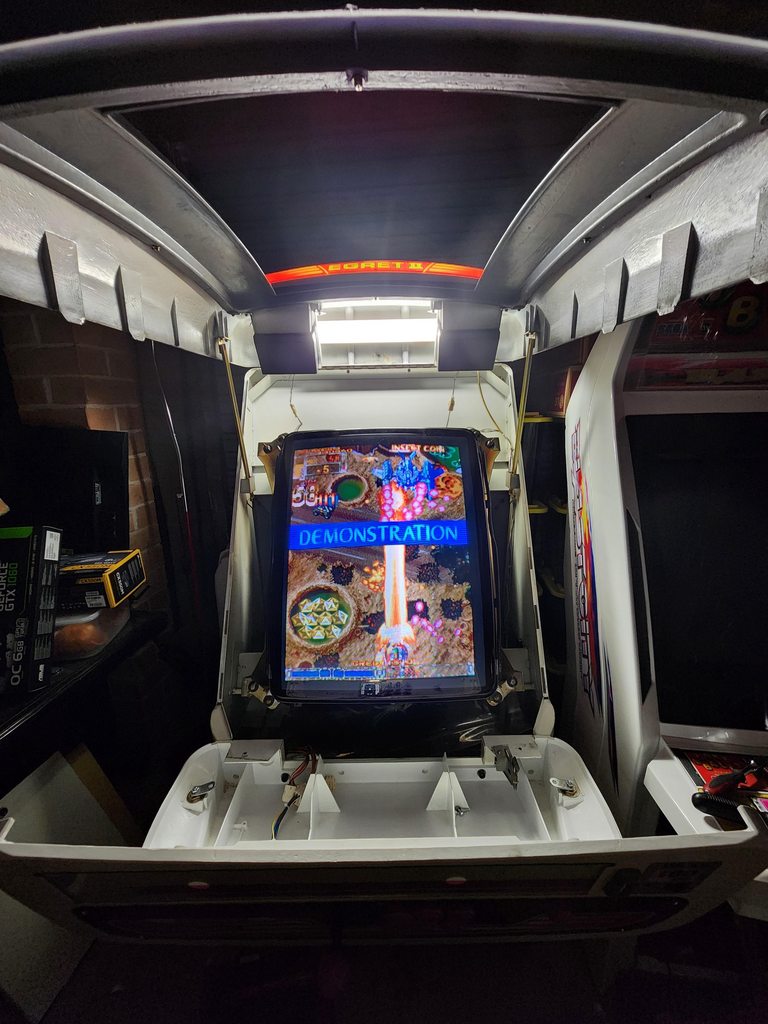
Here she is all ready to go with what I can only say is the possibility of me playing Futari 1.5 in 15khz without paying the 3k+ for the original PCB (and all the other CV1000 games)