Been working on the cab the last couple of nights looking at the “trivial” things 
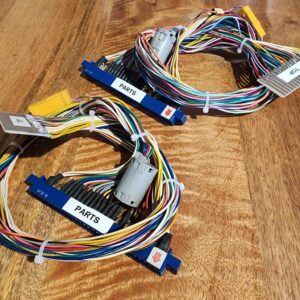
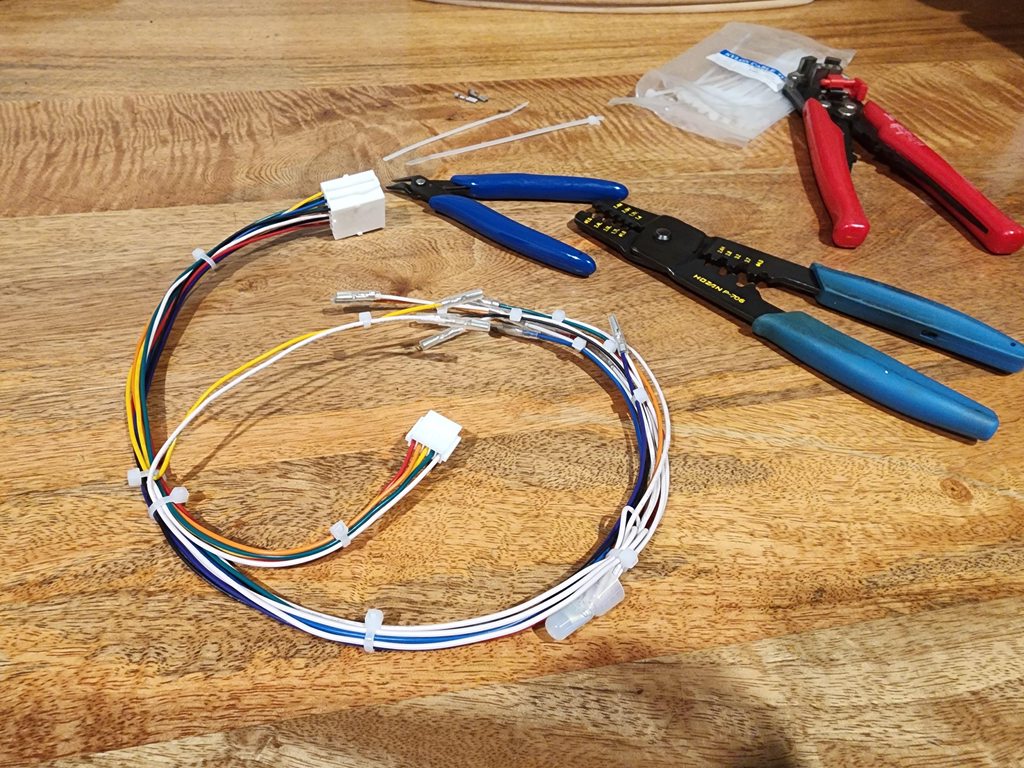
Harness is done – I made two as DRAGONKZ is also wanting a set. This is totally different from the normal “J” harness for the Egret or the Vewlix since the start button location is at the other side of the panel, so I couldn’t use my previous measurements. Pin location is the same though.
Unfortunately, none of the buttons that I was provided work so I’ve got some random sanwas on my panel atm – I’ll hit CQB soon enough.
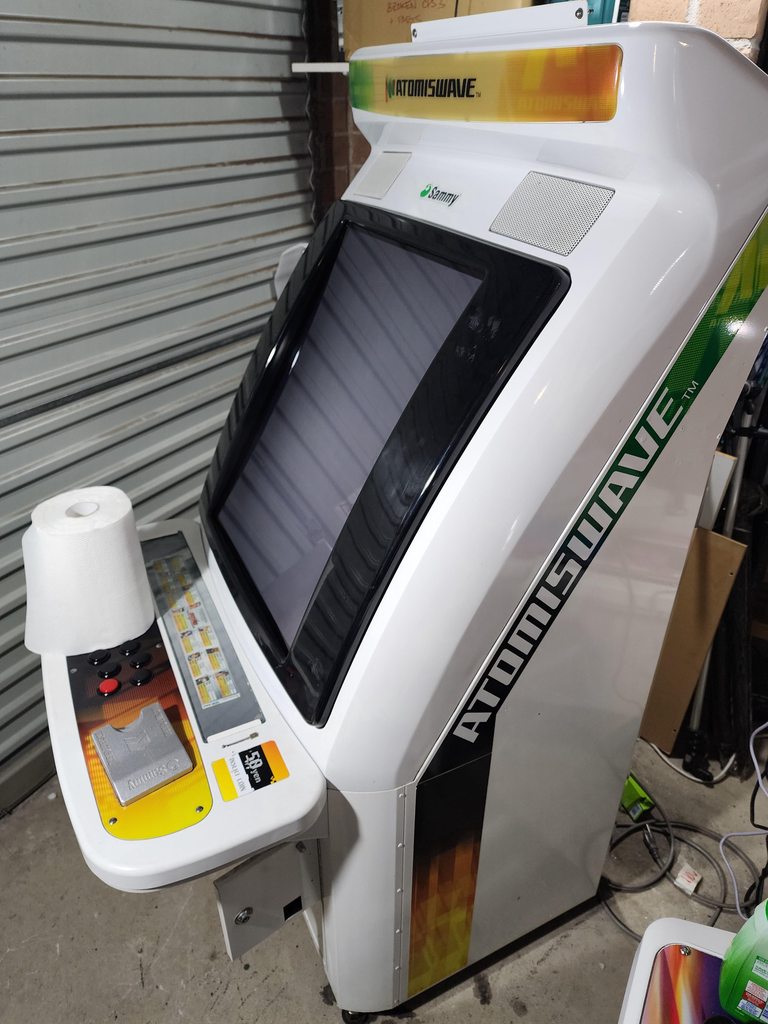
Game the cab a good clean and I will say, this is hands down the best condition cab I own! She looks like she’s come out of the factory! I will give it a pass through of a cut and polish, but I honestly don’t even think it’s required.
Externally this cab is great, no dents, no damage, a little paint chip here and there, but overall amazing.
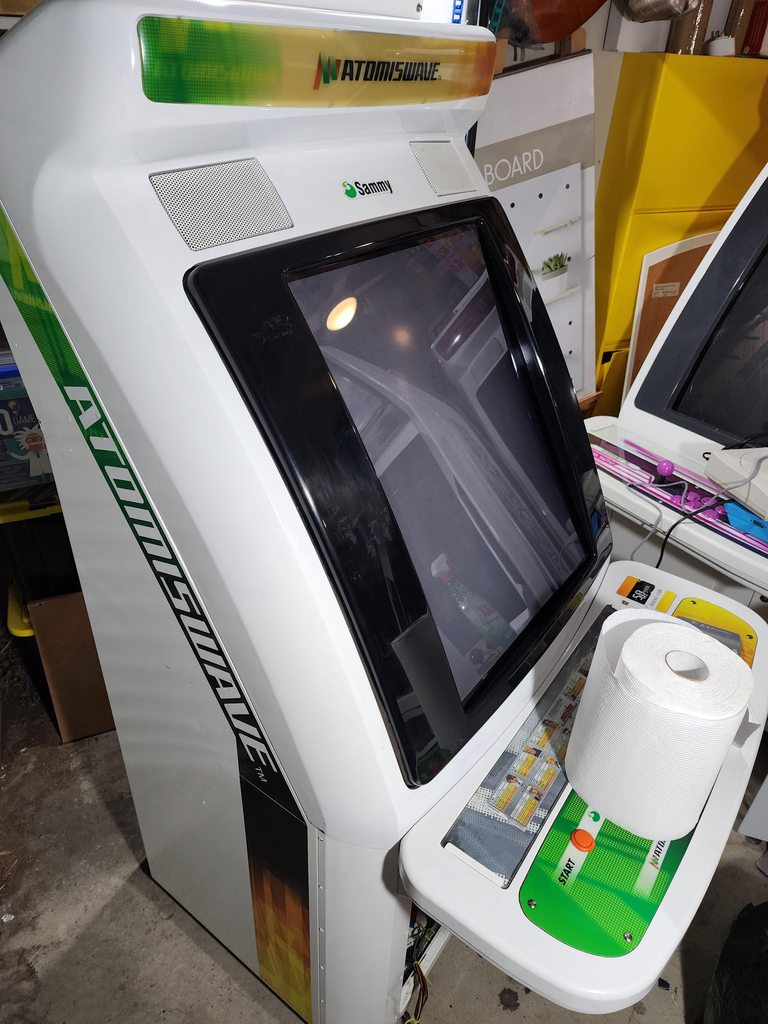
Internally, there’s no rust and really just needed some general cleaning.
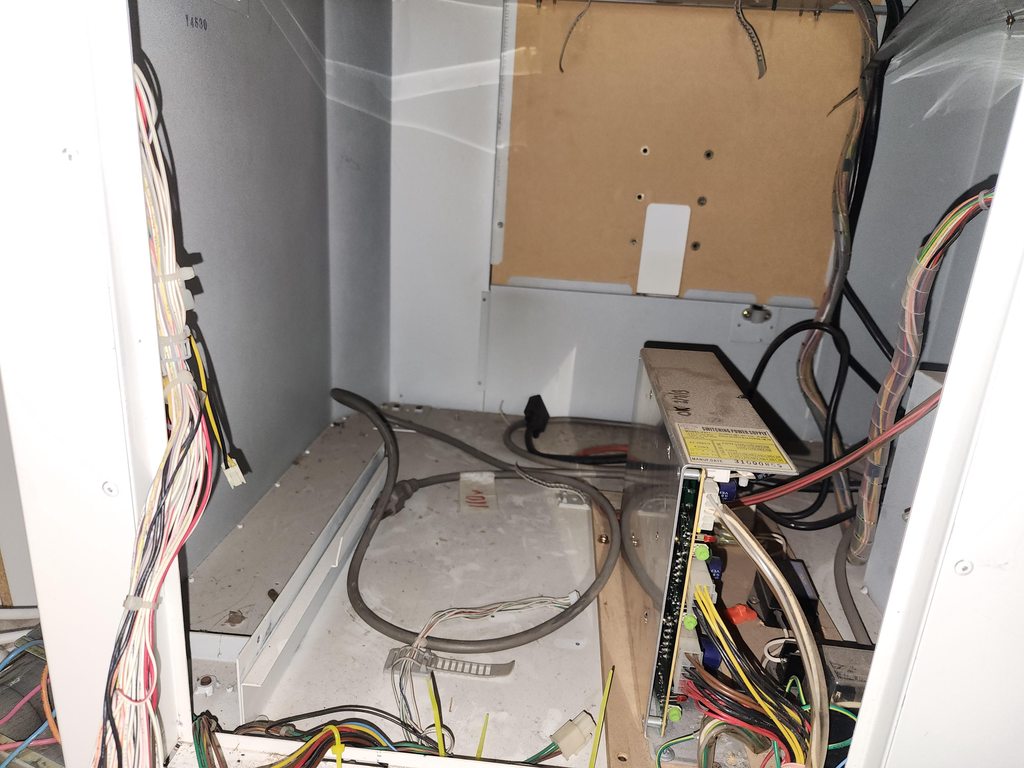
Before
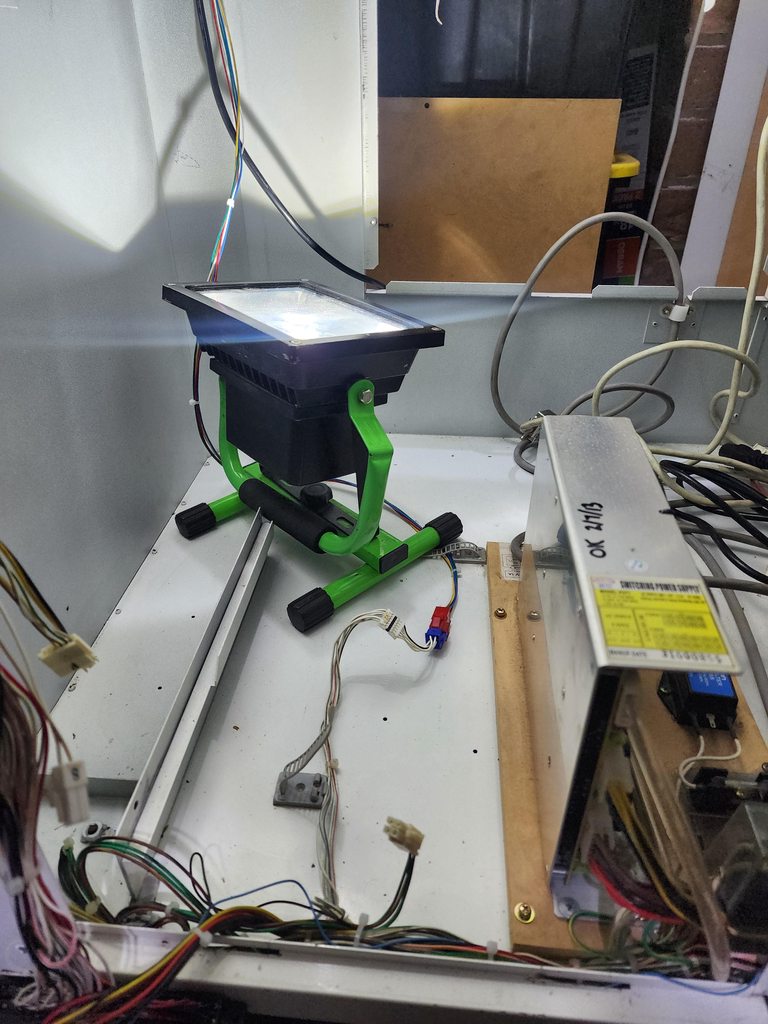
After. Again, quite trivial. There’s was nothing to it. Some spray and wipe, and it’s lemon fresh
Next up, CRT calibration. Fortunately, I had the special remote board to allow the extra options as the stock remote board only allows size, position, brightness and contrast to be modified.
What I was working with before the adjustments
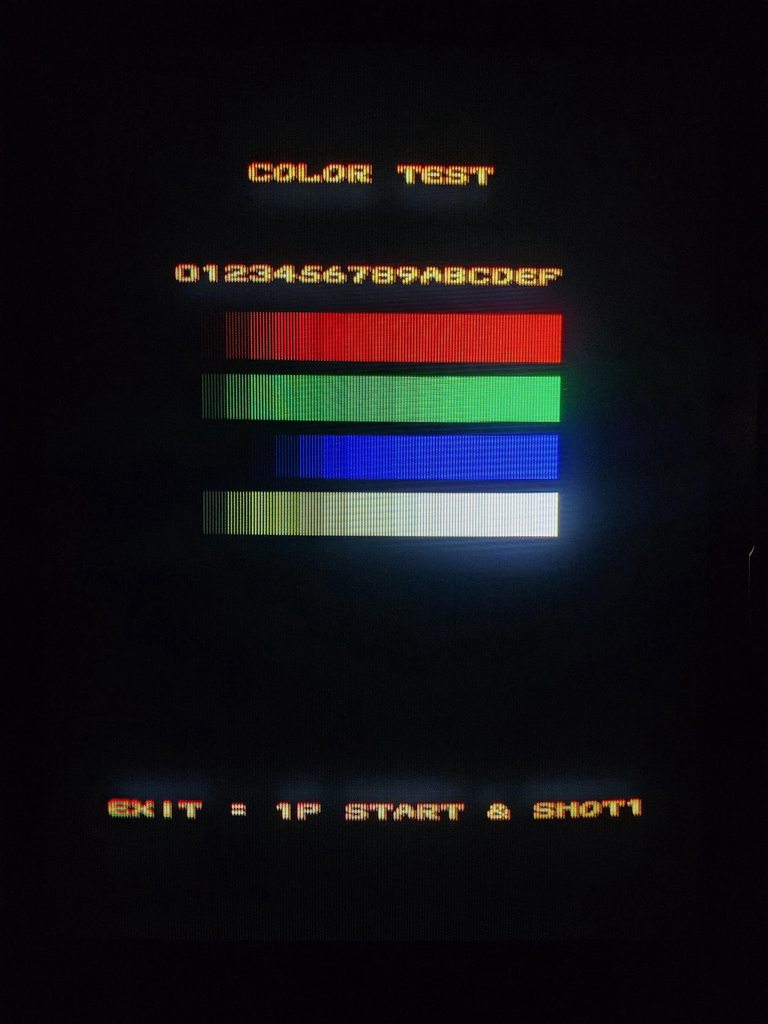
Post calibration. Only went for colour and size for the time being. Geometry needs a lot more time (if i can be bothered )
I might dial it down to start the gradient at 2. Blacks are quite black, but I feel if I start from 2, it just adds a little extra pop!
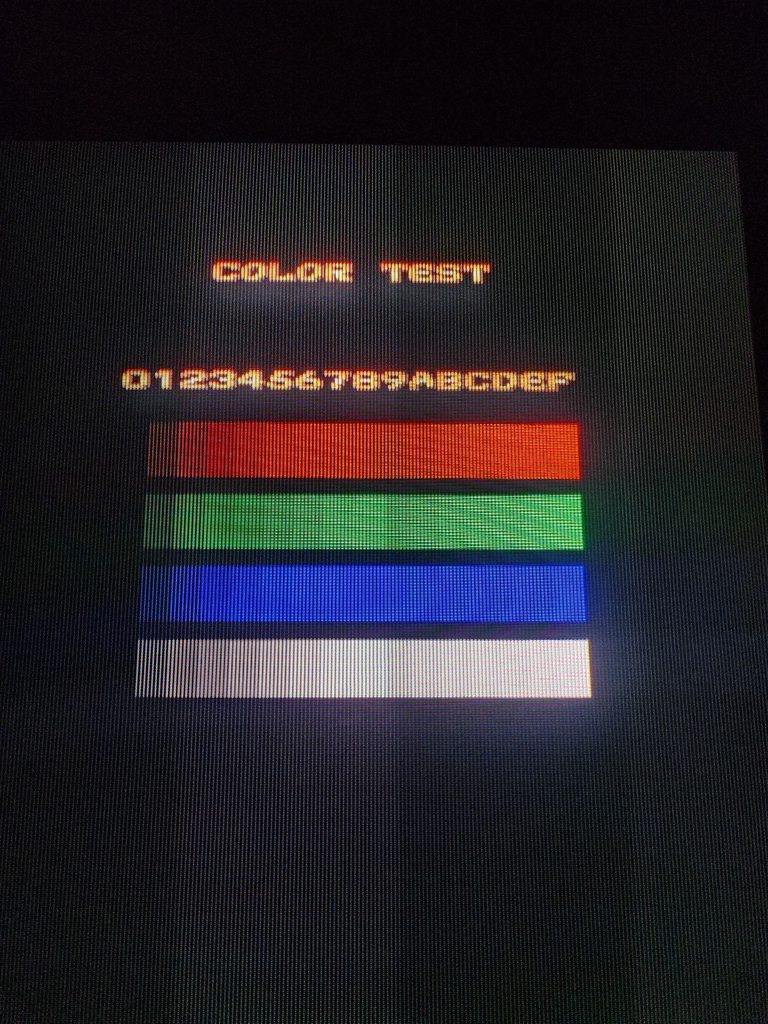
And the reason we play on CRTs….. SCANLINES!!!
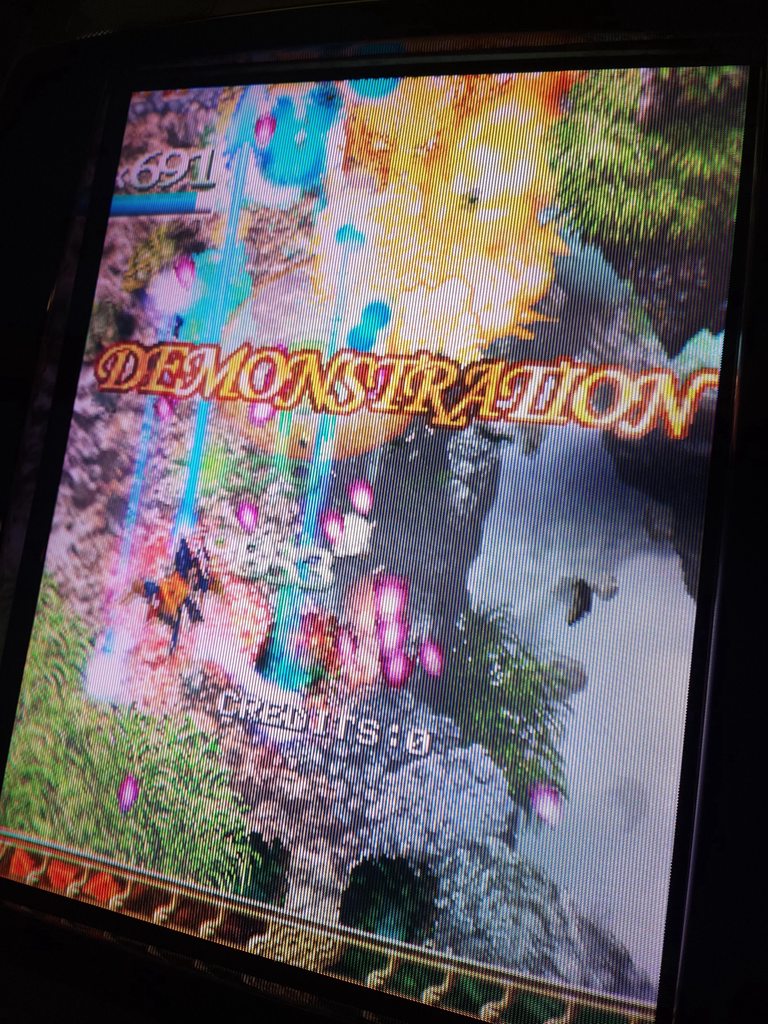
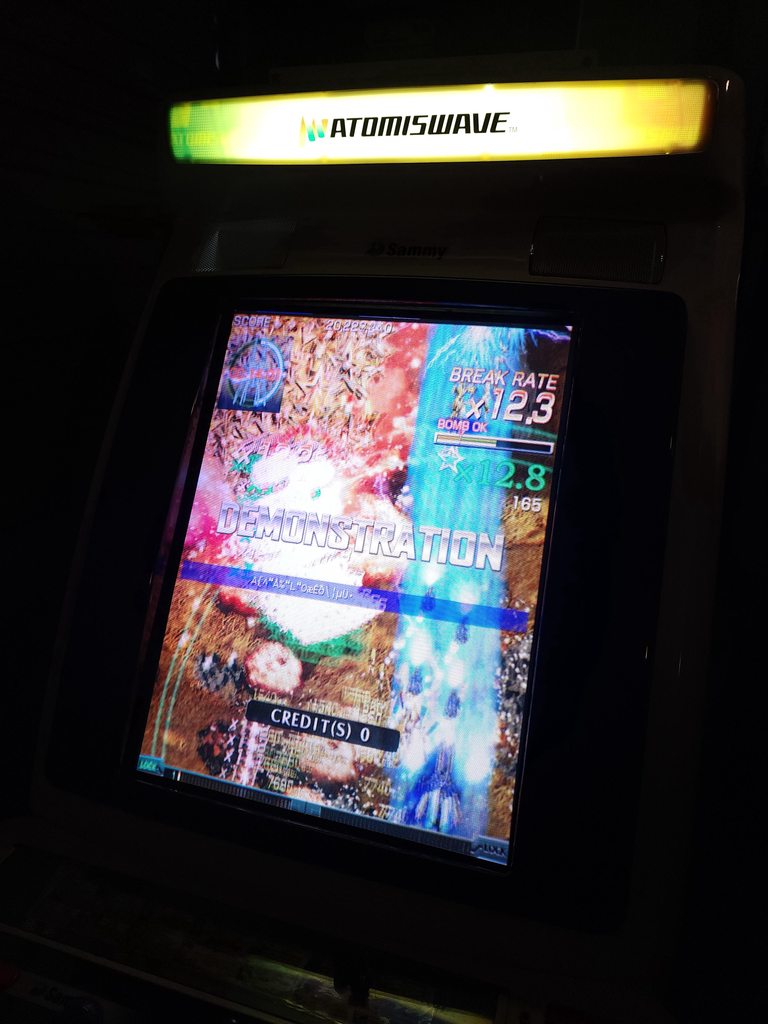
480P doesn’t look too shabby as well – god I love this monitor!!
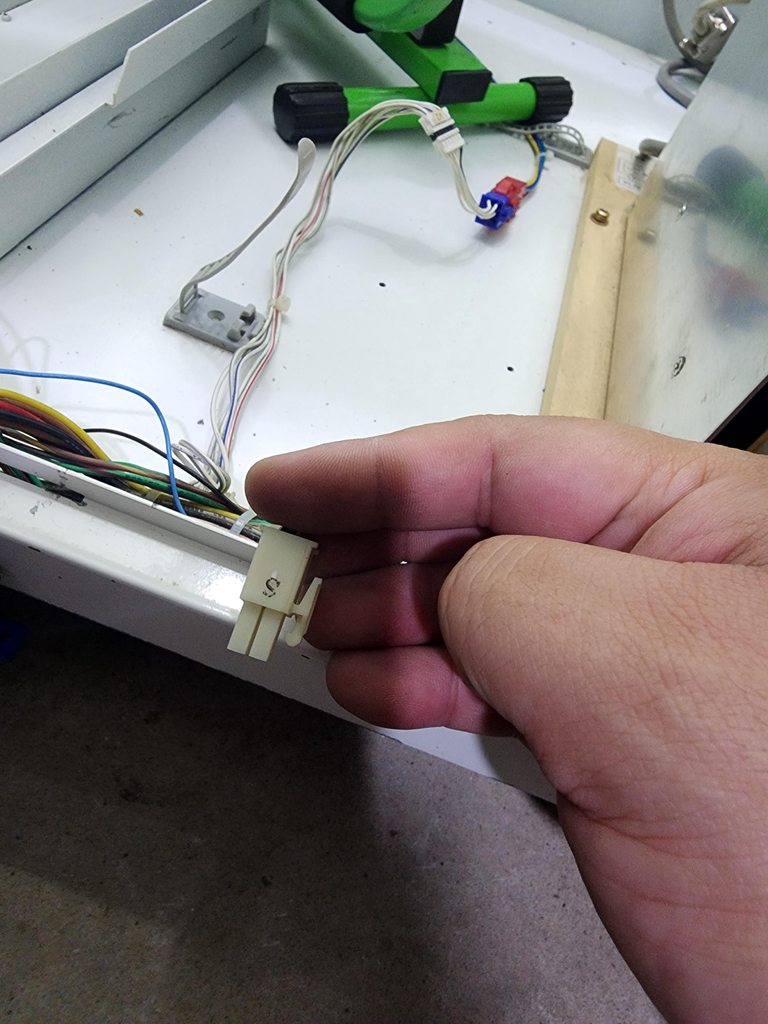
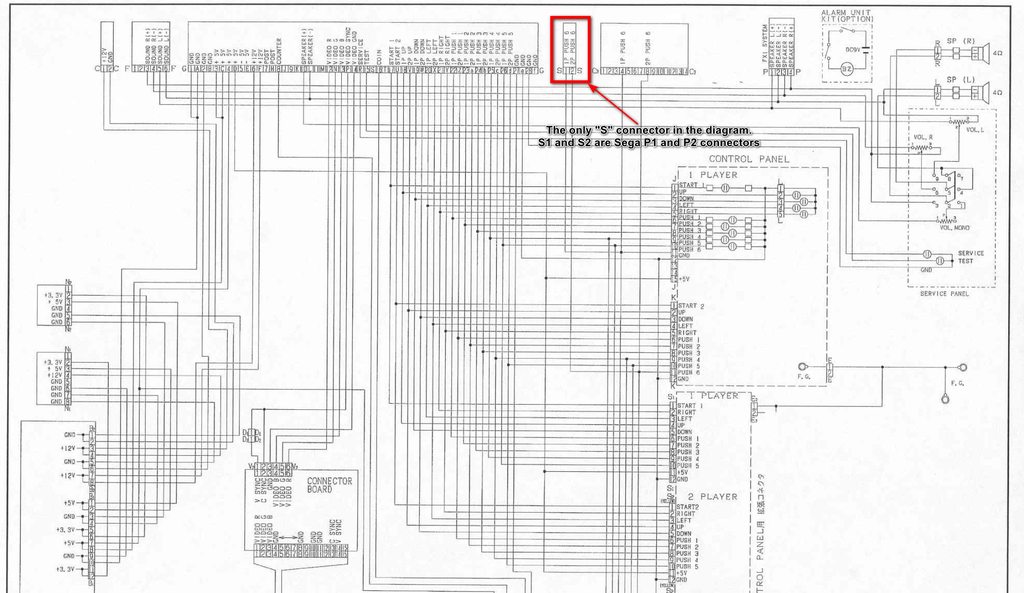
Found a mysterious connector that I have NFI what it’s for. Manual doesn’t say anything about it. I lie, there’s an “S” connector in the manual, but that S connector is for P1 and P2 B6. I’ll have to trace out the wires and determine where it leads to. If anybody knows what it’s for, that’d be helpful. TIA
To do:
– install Sega AMP (part ordered from zax)
– Maybe upgrade the speakers?
– order and install LS32 and sanwa buttons
– make a finger board for the kick harness
– probe wires for an “S” connector that is not documented anywhere in the manual. The normal S connector is P1 and P2 button 6.
– replace all the adhesive backing on all the wire management ties that are loose in the cab
– get the VGA breakout board (unless I just keep my rigged up harness?)
– Fix scratches on the bezel
– order/install new locks
– install marquee (en route from Taito)
– patch up a dodgy 12v and GND line the operators hacked up