It’s been a minute since I posted, mainly because most of the cabs are functional and I’m spending most of the time normally for tinkering on SF6 since my Next Gen upgrade above.
For those that aren’t aware, I recently purchased an Atomiswave SD with the plan of it being the direct replacement of my Blast City which handled the Sega Naomi which ran Monkey Ball and Rhythm Tengoku – essentially my “novelty cab”.
Since Tengoku had all custom wiring specific to the blast city, I knew it was going to be a massive PITA to rewire for the AWSD and the panel itself would look weird on the AWSD as it’s sega style instead of the taito bubble style – it does fit though.
It only made sense to make the AWSD a tri sync shmups cab which my New Net City currently functions as and then move everything to the NNC. My hope is not a major rewire as the NNC is wired for JVS already. That said, the NNC has Sega Type 1 JVS and the IO I use for the Tengoku panel is a Type 3 so I can have the LED lights work when the buttons are pressed in game. No biggie, we push on and figure it out as we go 
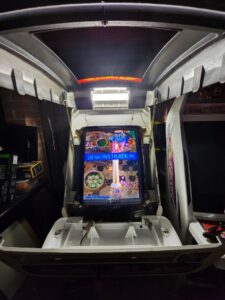
First step is to rotate this cab back from vertical to horizontal orientation

Remove the back, remove some cabling, make sure nothing gets necked and it’s simple enough

From my experience, I’ve always found it easier to use some tea towels to get that extra leverage when removing and installing the monitor on sega cabs

Next step was to install the IO and control panel. The IO went on existing mounts, however, I was only able to use two screw holes as the type 3 is slightly larger than the type 1. It’ll do. I spent a good 30 minutes probing and making sure everything was to spec and fortunately for me, the only thing that was missing was one of the JST RA connector to control the LED and provide some power to the buttons (as expected since Type 1 didn’t have this particular connector)

CP fits like a glove – as it should!

First power on, and everything is working as it was on the blast city! *phew*

Last part of the build is to dress the cab up for the specific game and my old marquee wasn’t the correct size and was a bit of a head doer, so I ordered some new artwork for the marquee

The marquee artwork fit much better than the older one, but there’s still a few tweaks that might need a reprint. Since this artwork is printed on backlit translite paper, they’re not as cheap as normal paper so the multiple prints do eventually add up. I’ll delay a reprint for a little while 

The instruction panel section and bezel section.

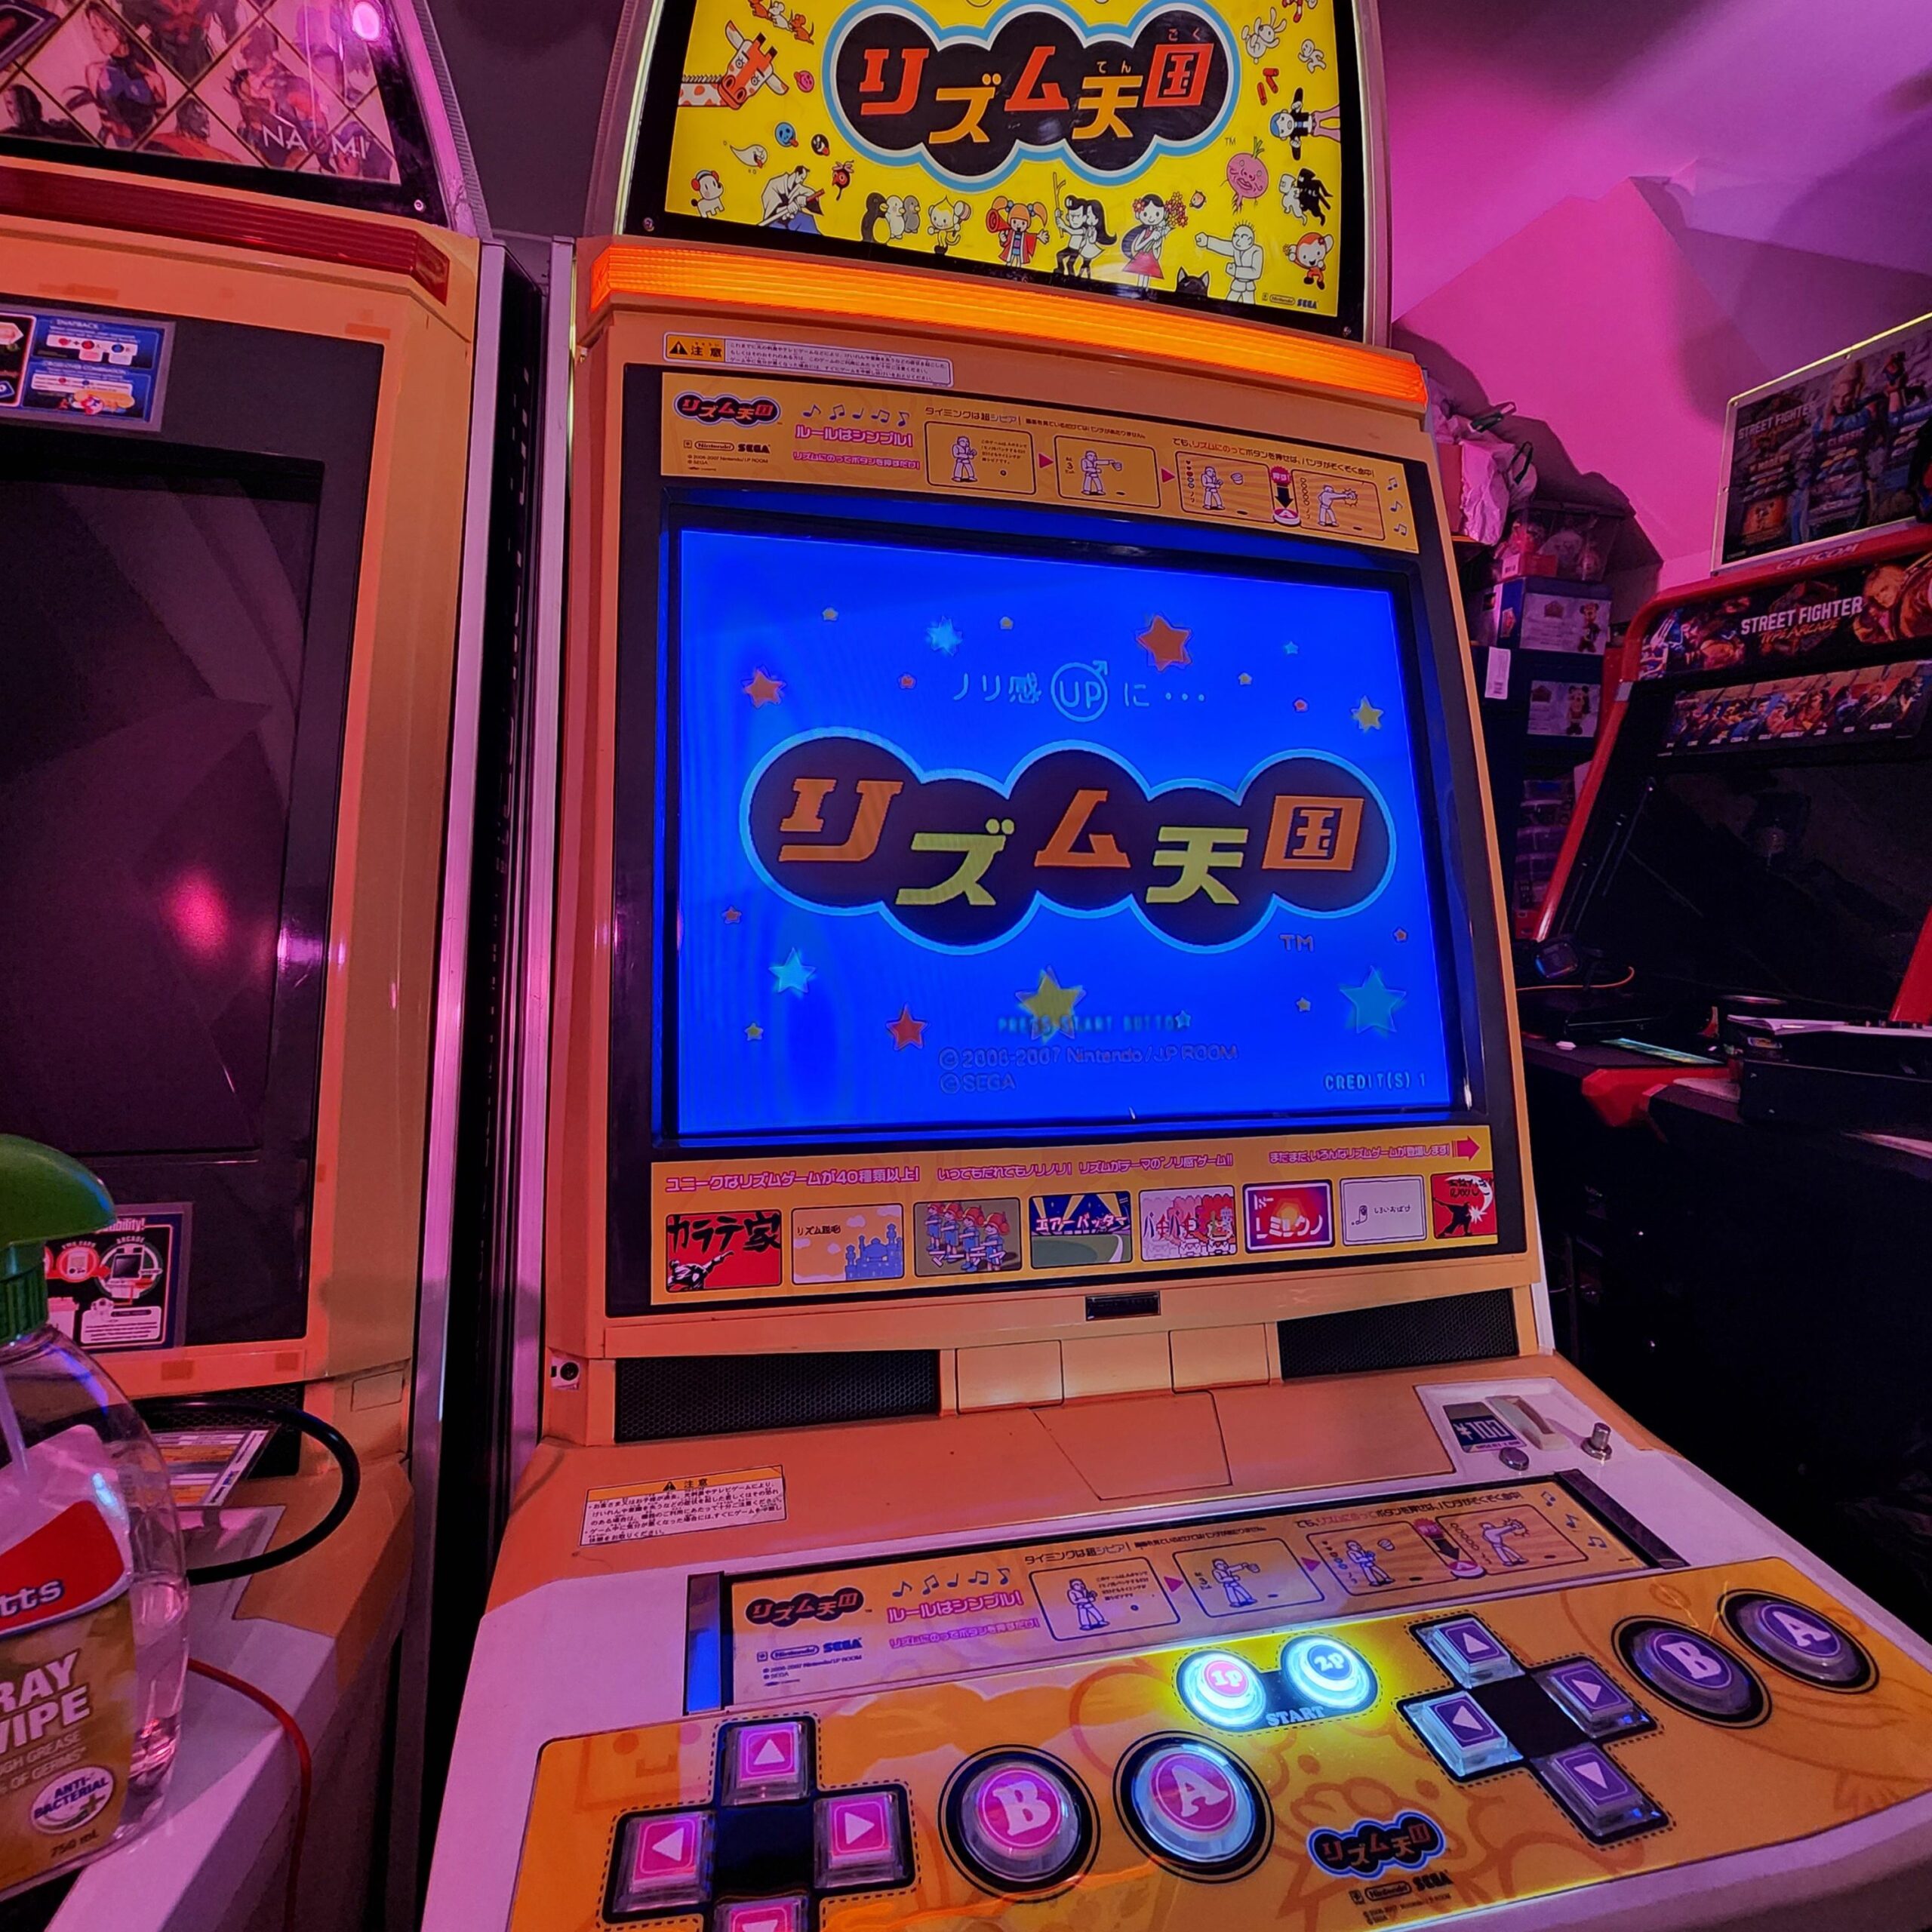
All dressed up and ready to party! 
It’s the one and only time the Yellowing of the bezel on the NNC actually works for the game hahaha – it’ll work for Monkey ball too 


