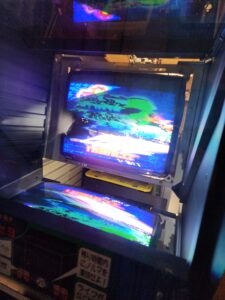
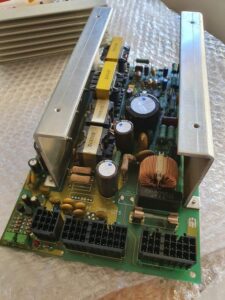
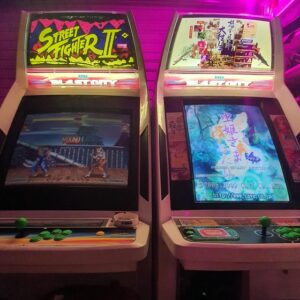
The last major part is the Stereo Amp. Enter Sega’s 601-10369 Stereo Amp! It’s in a nice cage and has the step down transformer built into it.
Prefer to use arcade amps instead of the 12v leppy ones from ebay on these candies if I can. The taito one would been an option, but sadly, I can’t find them anywhere let alone being the price of the Sega.
Had a spare ID3 service panel, so it was easy to just wire the pot up and then eventually wire up the additional buttons to give me the same service buttons.
Wired it up as per this diagram
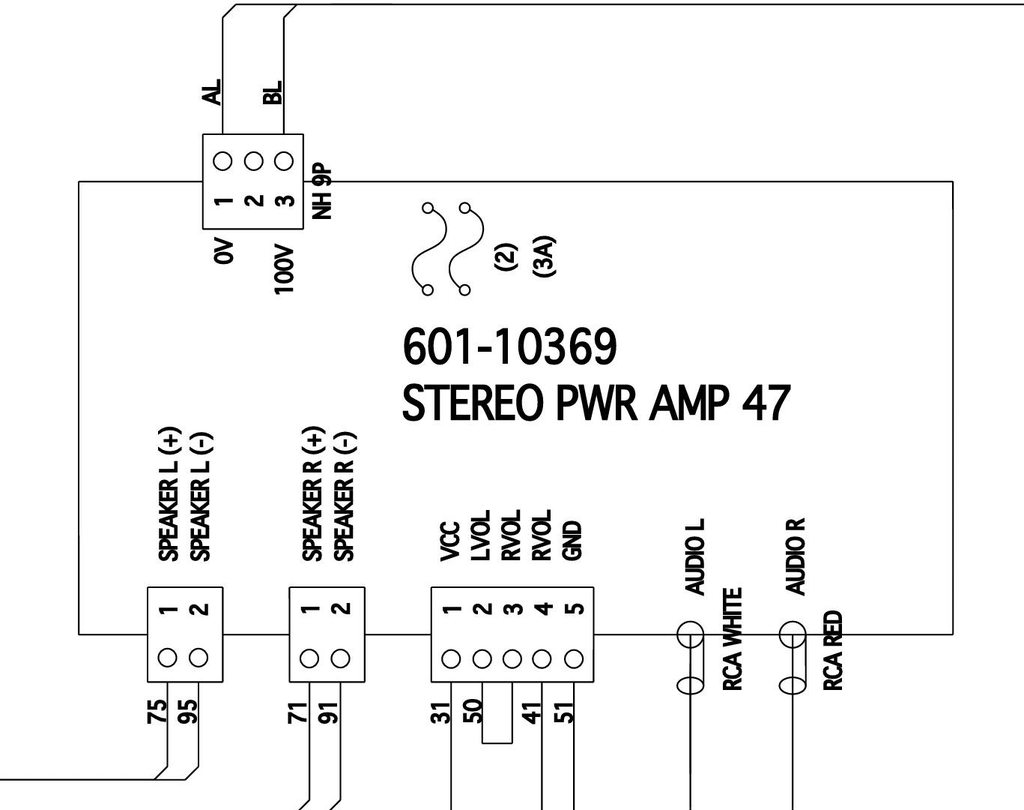
And this is what it looks like.
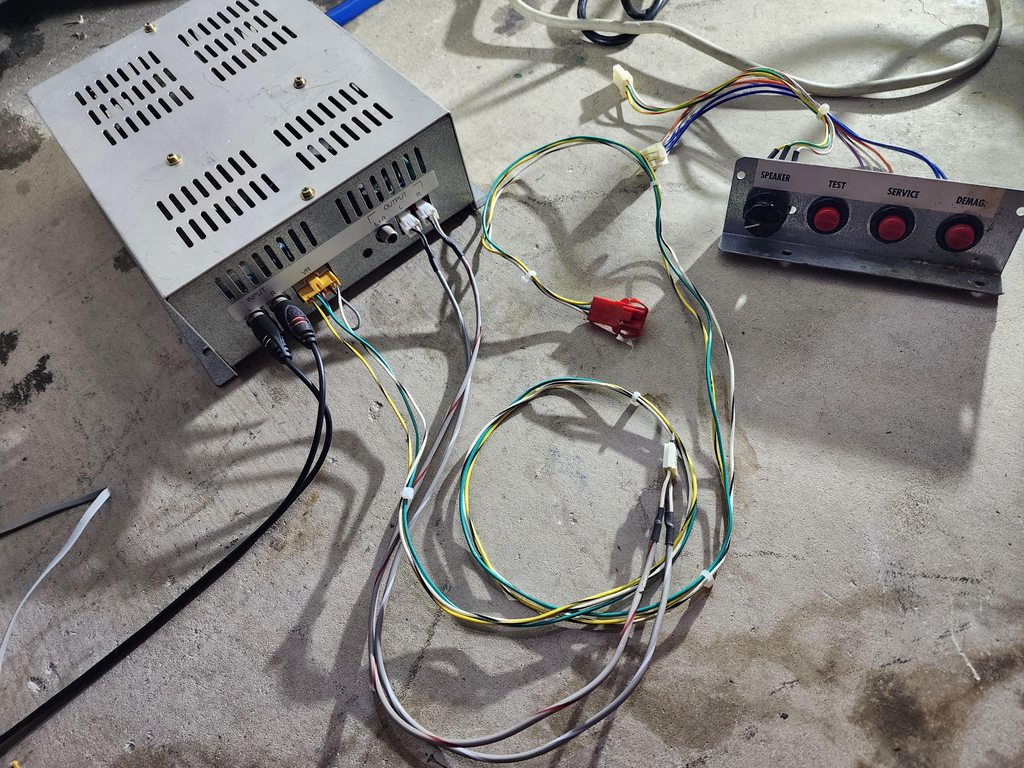
I accidentally mixed the orientation of the pot as volume up was counter clockwise. Easy enough fix with a pin swap and it’s back to clockwise for volume up!
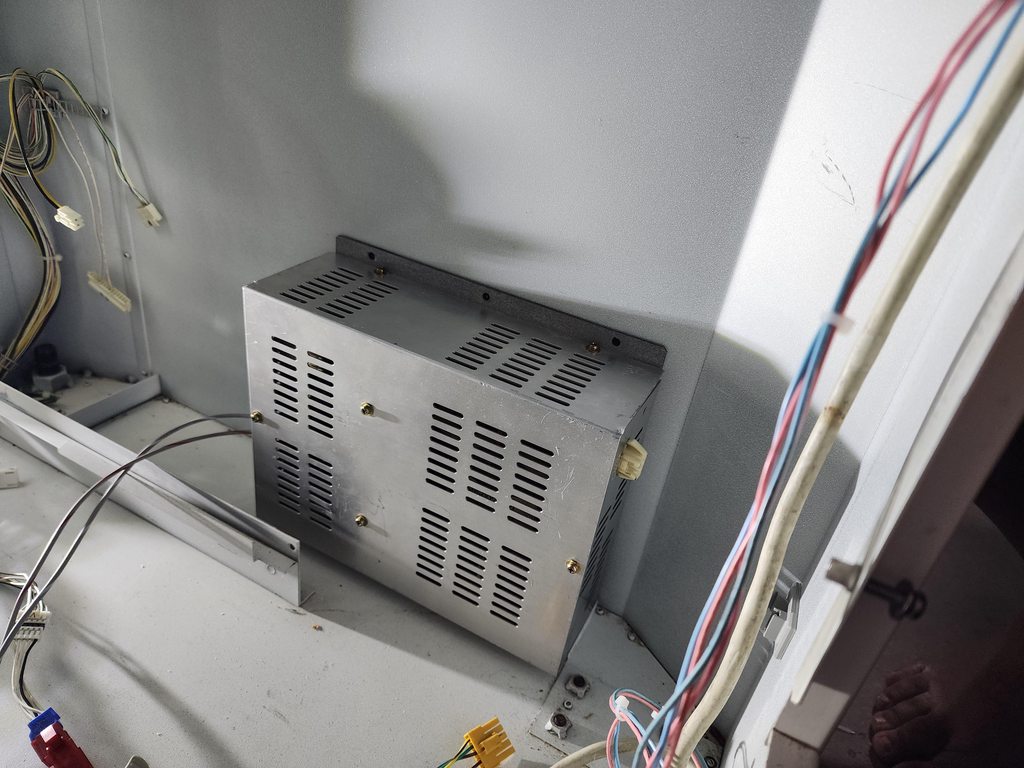
The E2/AWSD has a perfect spot for this amp on the side tucked in which can’t be seen once the PCB holder board is slotted into place.
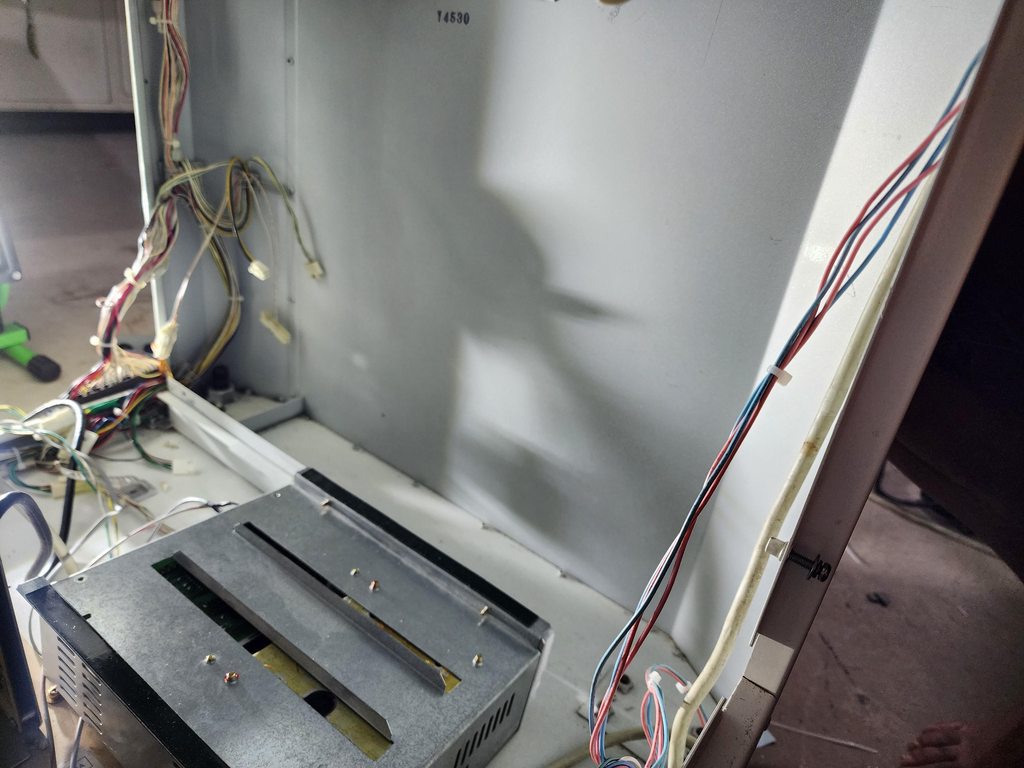
These days, I always aim for a zero cut mod and try to keep wiring as OEM as possible, the only way to securely mount the amp is with some heavy duty double sided tape, but because the enclosure is so heavy and the way it is shaped, you can’t just sit it on the side, it naturally had a lean. Enter some dodgy cardboard spacers covered in electrical tape! 
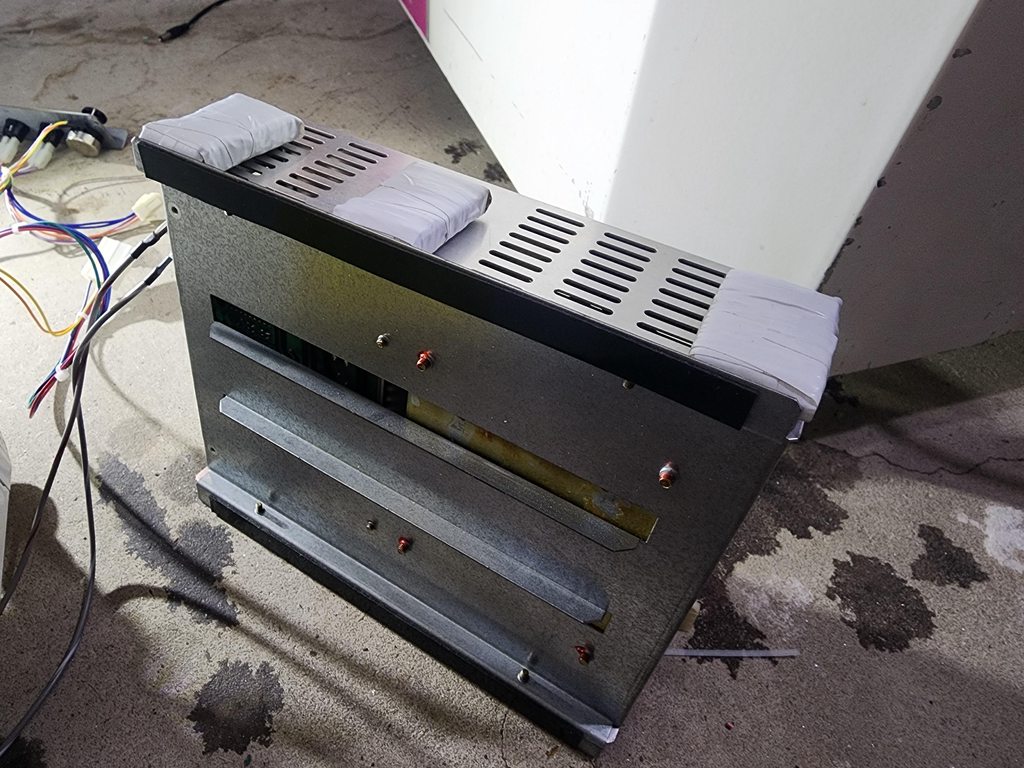
Now it perfectly lines up without a lean so the weight is distributed giving the double sided tape less work yet heavily secured!
I promise there’s a methodology to this madness of a rats nest! It’s all simply testing to ensure all my wiring was correct
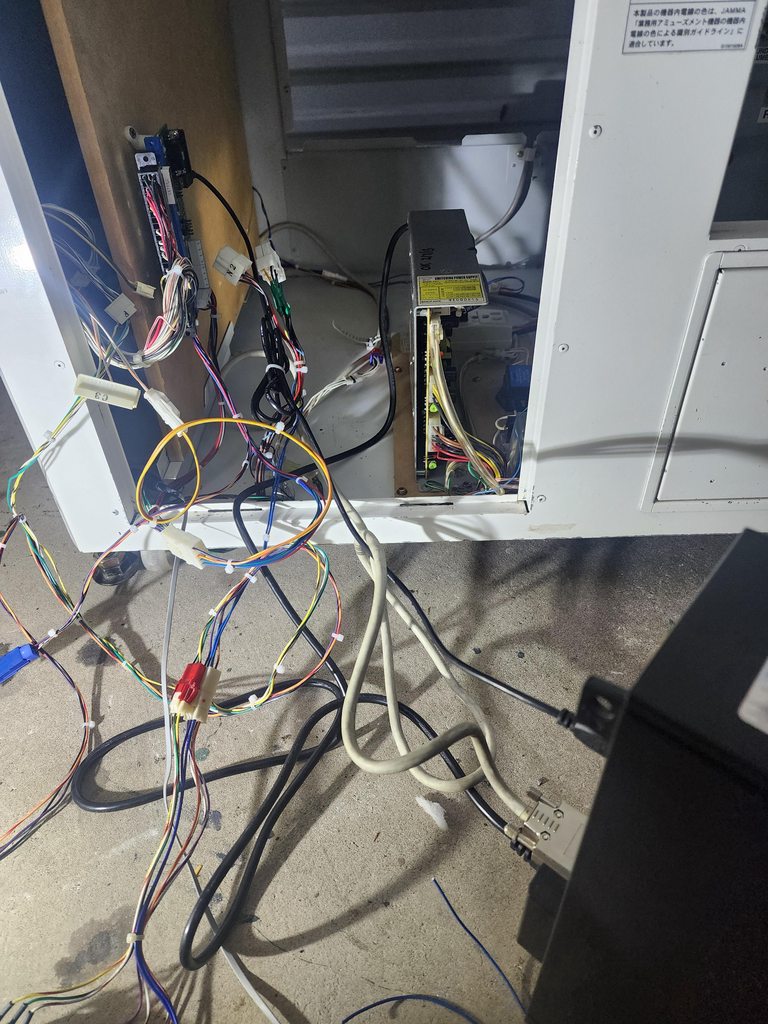
Since the DEMAG button on the service panel wasn’t connected to anything and I wanted that zero cut option, I rigged up a way to use the existing connector since I had no spare headers that fit this particular style connector. It’s ugly, but it works. Also piggy backed another set of wires to accommodate for the other DEMAG button
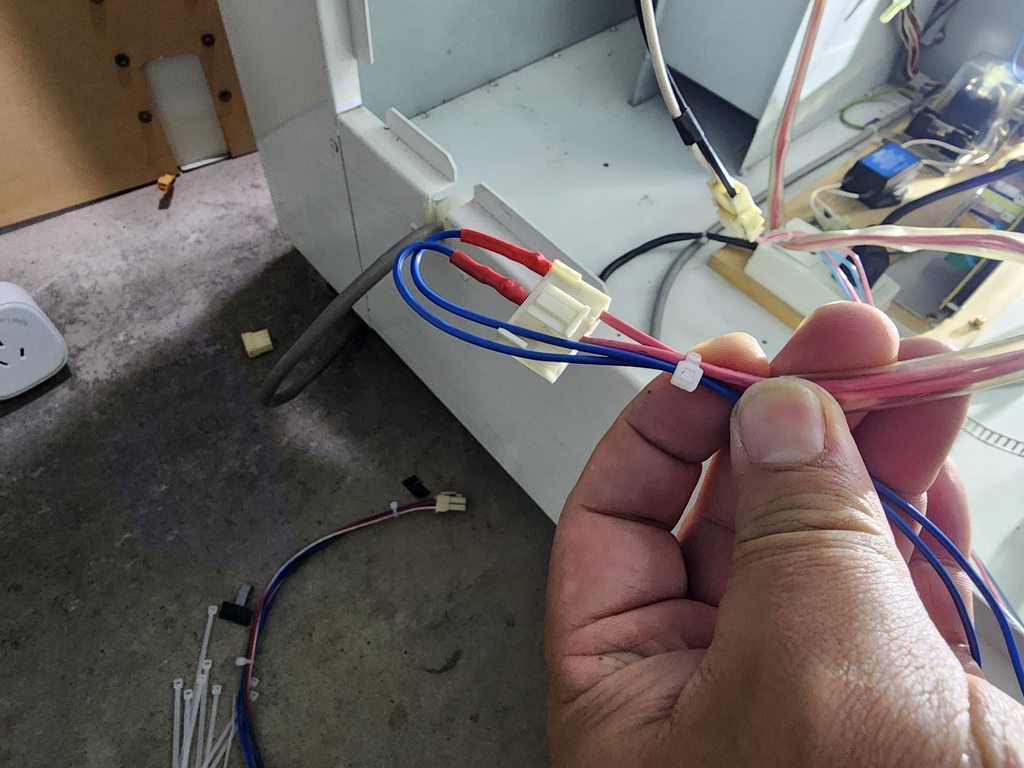
How it’s all wired up!
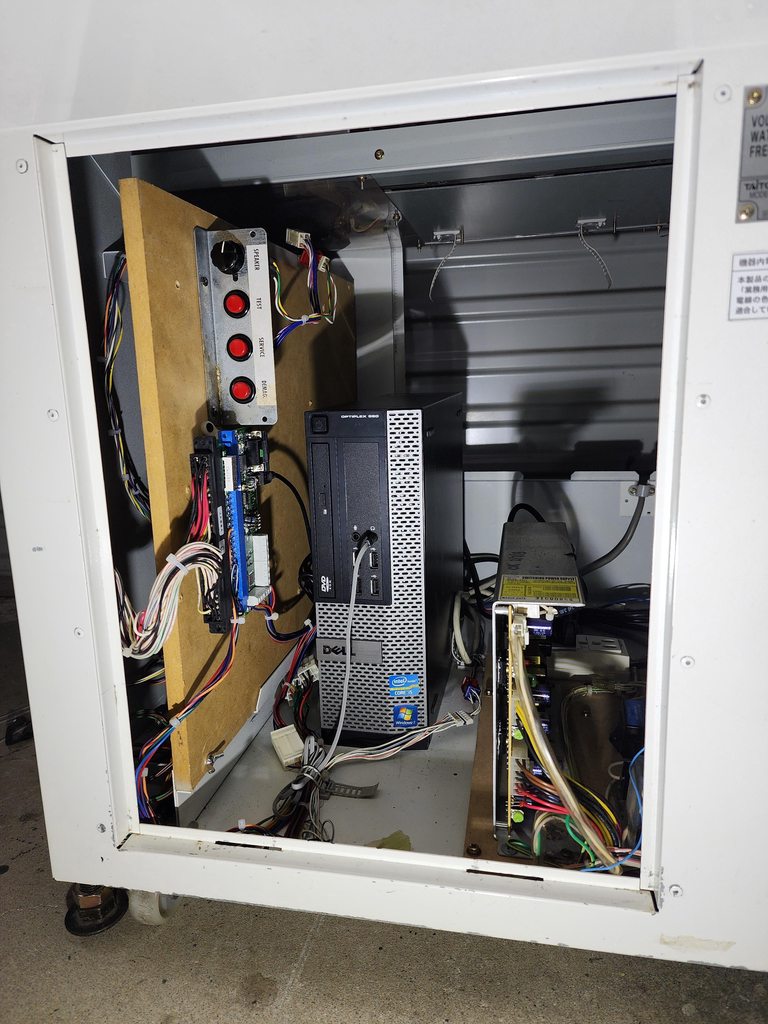
Yes, I know. Don’t judge me because I’ve got a PC in there. This PC is essentially a TTX3 (same chipset) so I’m running TTX2 shmups along with Naomi shmups and 15khz games – the beauty of auto switching.
Until I am rich enough to get all my favourite shmups (likely never), then this will suffice as I am only a casual shmuper.
Maybe one day I’ll put a mister in there, but then I lose the ability to play ttx2 shmups – in particular Crimzon Clover!! I actually think this cab is going to get Crimzon Clover artwork to “dress it up”
One thing I forgot to list initially was the coin mech. A big chunk of my cabs always came with these Wei Ya HI-09UCS coin mech and I always “binned” them for another set of chinese ones that I’ve always used as it was easy to program and I always thought these coin mechs needed an external programmer. I was told that these particular ones can have a range of coins that can be programmed via dip switches.
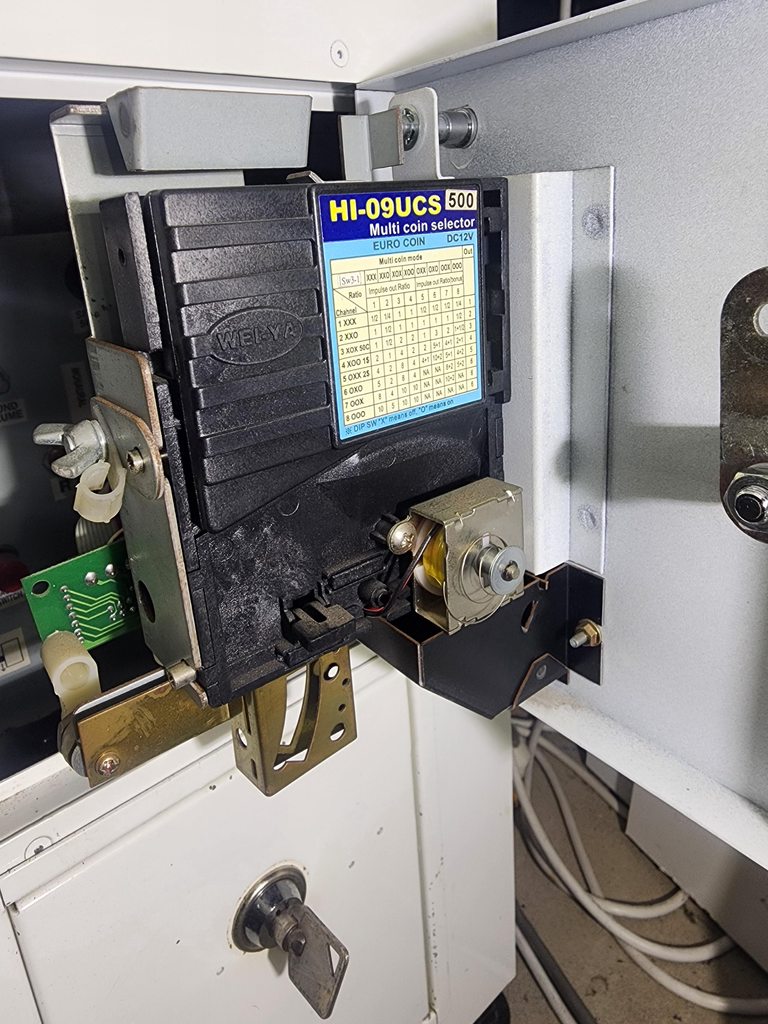
It’s amazing what happens when you RTFM! 

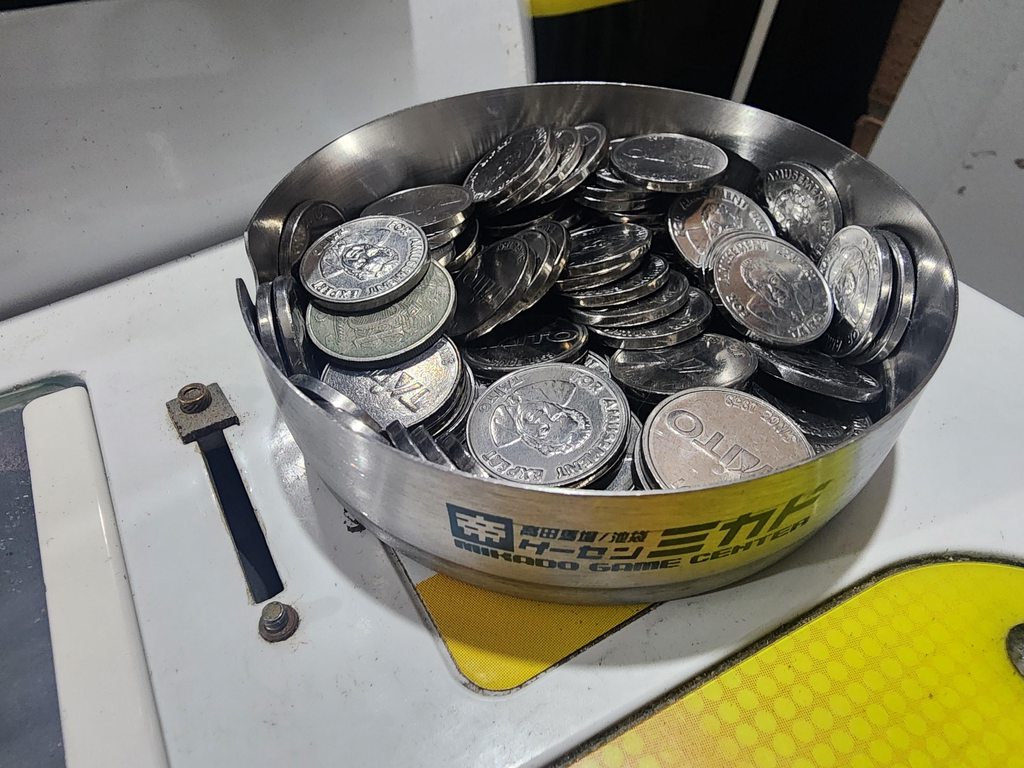
I was able to configure the coin mech for channel 3 to accept 1 credit for 1 token. Of course it was only fitting I configured for Taito Tokens using an ashtray from Shmup capital Mikado Game Center – thanks for the hook up @samura1k!!
Not much else left to do on this cab except the really trivial items
– RGB to VGA breakout board (which I literally just got this morning in the mail. Thanks phokkun!
– Marquee from Taito is now in AU, should see it in a couple of days
– Will need a coin slot
– I had listed potential speaker upgrade, but I don’t think it’s really required at this point in time.
– Over the next few months, I’ll probably get the chassis serviced as I really don’t like having a chassis that doesn’t have the “JOMAC” sticker on it 
