With all my recent obsession with the Dreamcast, I managed to win a Yahoo Auction for 4 DC’s at a really low price. I shipped via surface mail so it took quite some time, but I was in no rush.
A quick test showed they all worked, but only 1 had a working GD Drive. It also happened to be the “whitest” one so I decided to send that DC over to a mate who’s never had a DC.
Of the 4x DC’s, 3x were VA1’s and 1x was a VA0. This is the real reason I wanted to get this set. I wanted to “test” the resistor mod on these machines to see if I could get a GDEMU working on it.
I came across this youtube video and figured “why not” What’s the worst I could do? Screw up one of the DC’s that I got really cheap?
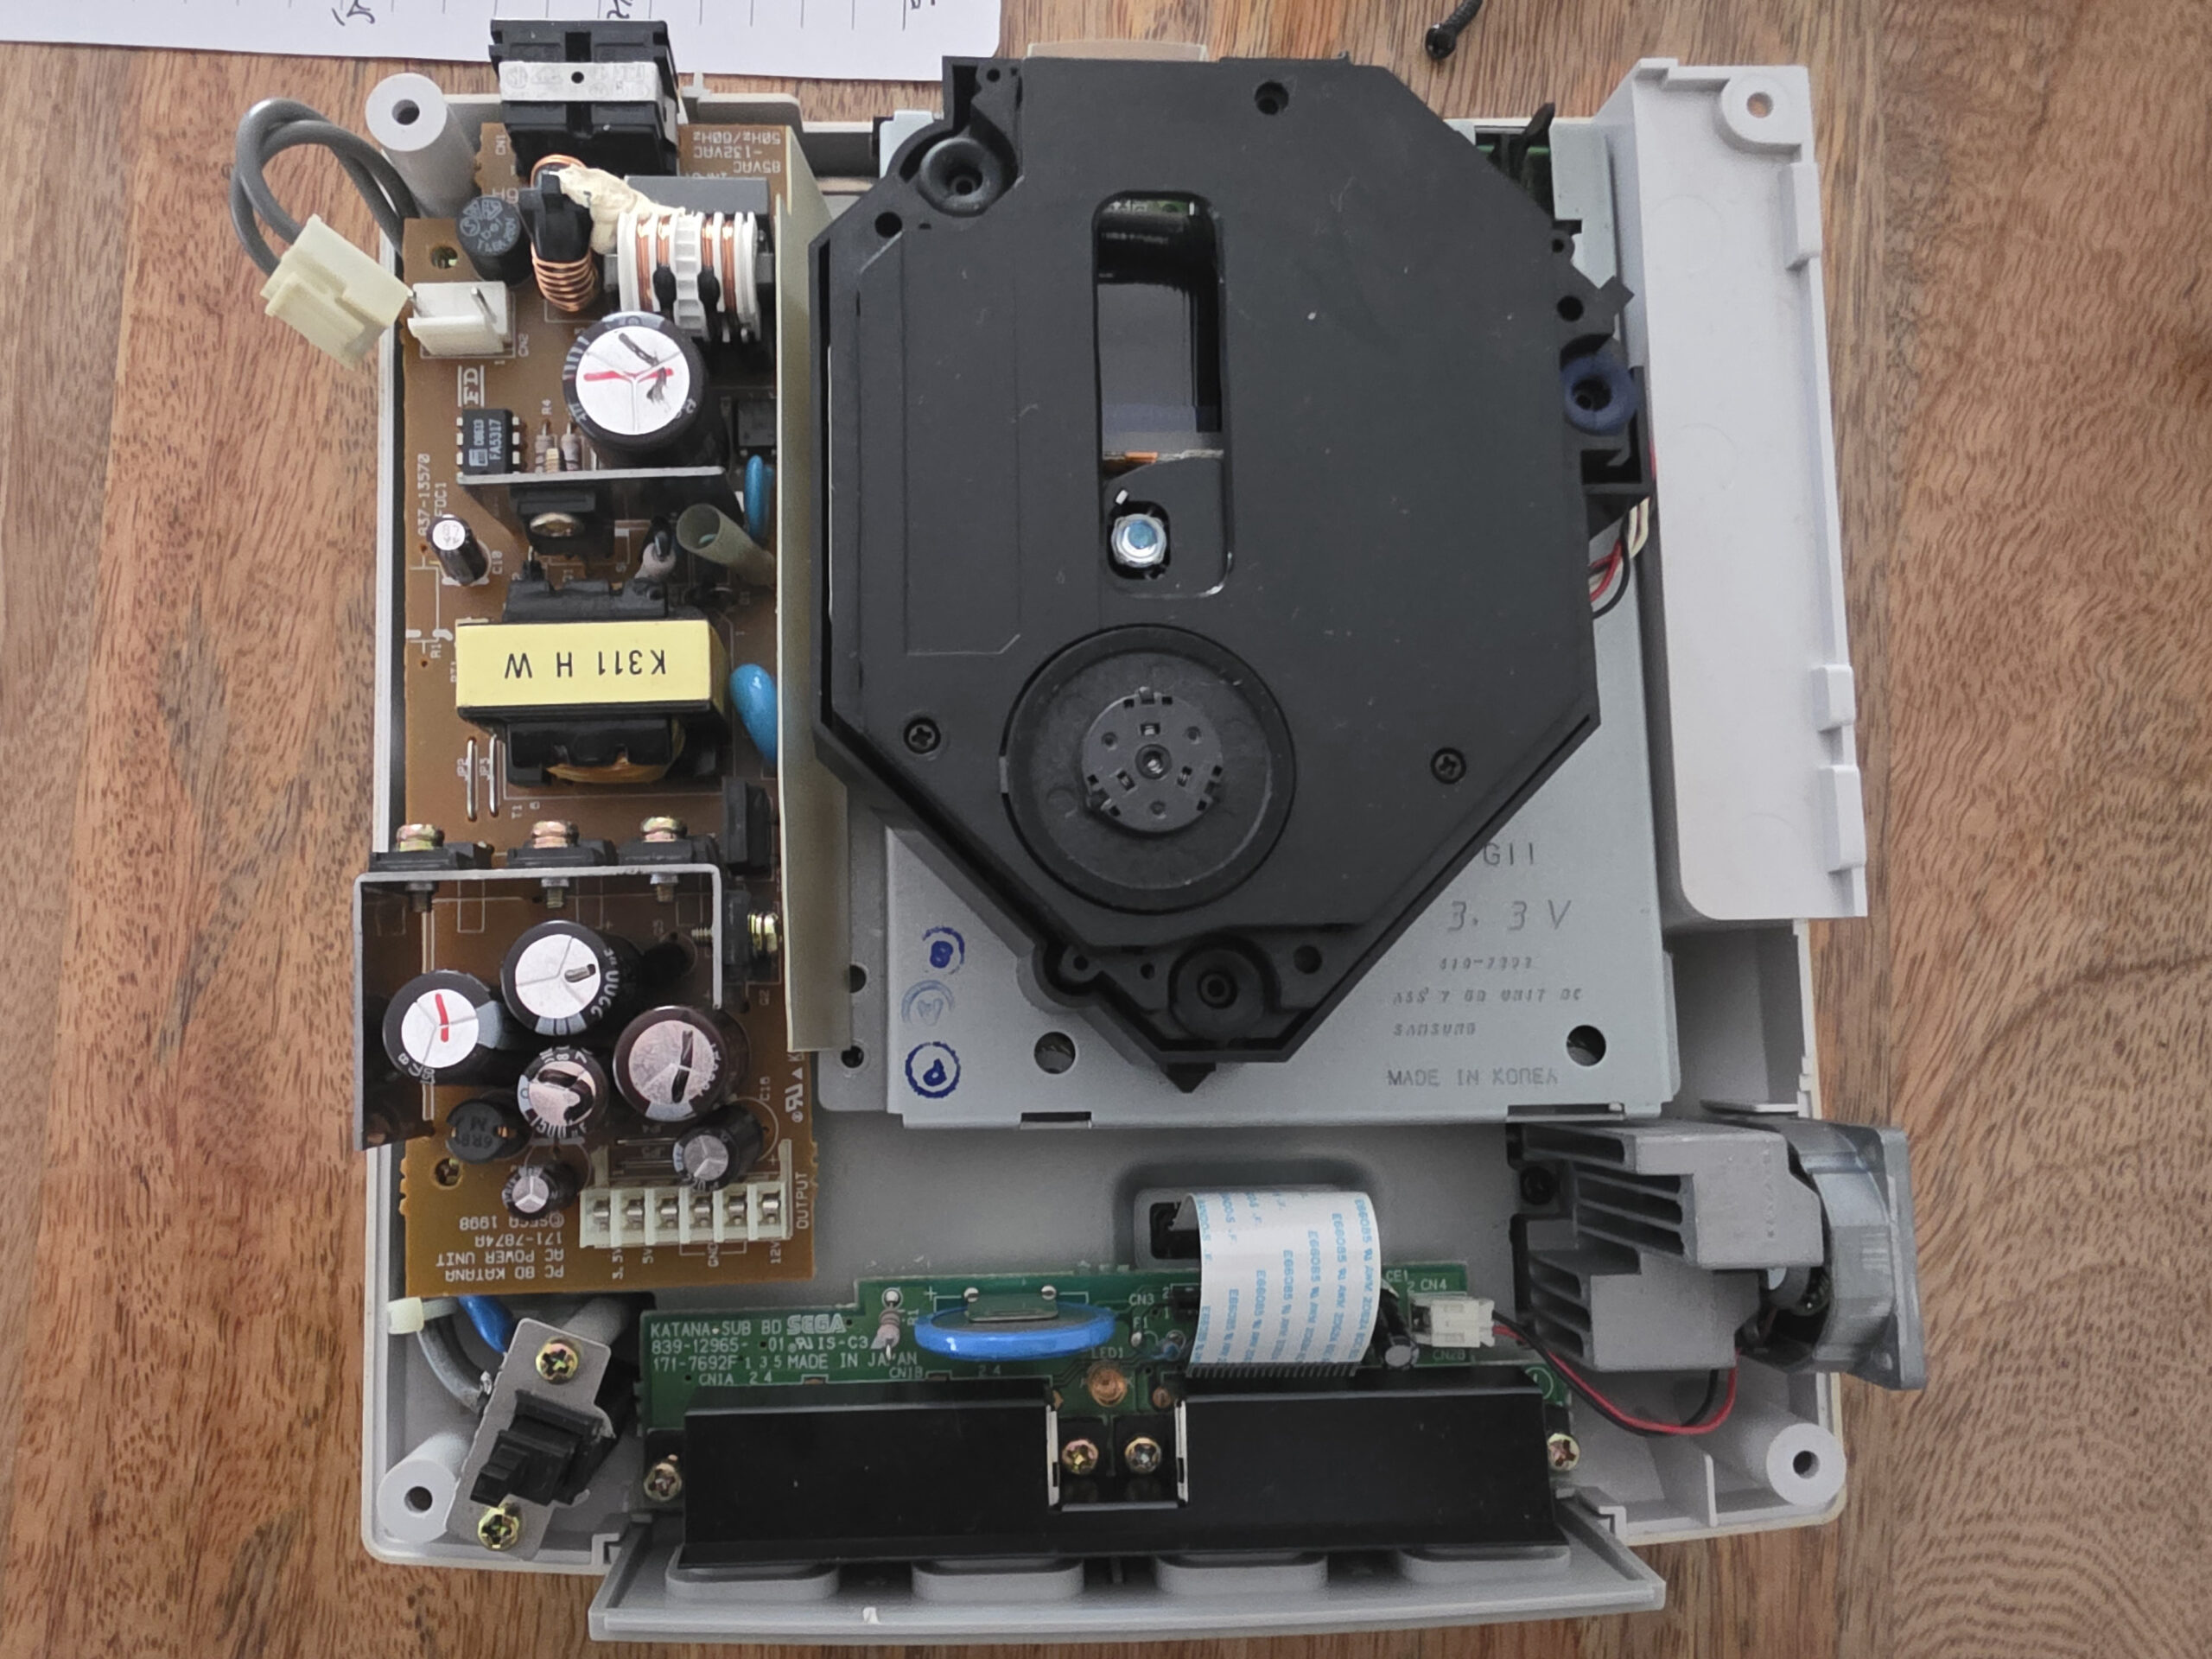
Disassembly of the unit is pretty self explanatory and was covered in my replacement shell post. The distinguishing difference between the VA0 and VA1 boards are way the fan is installed directly to heatsinks
Located the resistor that I need to change for RA515
And also the 6x resistor cluster at the bottom of the pcb – RA510, RA509, RA507, RA515, RA514, RA513. I placed one of the screws next to the resistor array to show how small area is.
I’ve never done any soldering on components this small and no microscope! This is definitely going to be challenging.
I managed to solder all 7 resistor arrays which I wasn’t too bad. I went crazy with flux and purchased a really find J Tip for my iron. 100 ohm resistors now installed!
Upon testing, all I got initially was a black screen. Nothing. I had to disassemble again and check the soldering as I probably bridged a few points. More flux and a number of touch ups and 30 mins later, we had a successful boot! The GDEMU was working as expected.
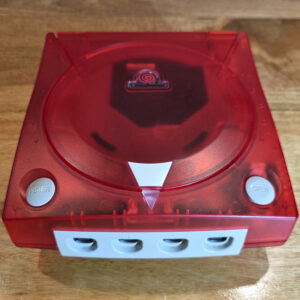
Now the internals are done for this VA0 DC, the case needed some work. I could easily get a new coloured shell, but I purchased these DC’s as an experiment for 2 things, VA0 resistor mod test and retrobright test.
The shell was probably second worst shell of the 4x that I got, so it was a good candidate for testing.
Gave the shell a good wash prior to the retrobrighting process and got my storage bin, 40 vol peroxide and then waited
After 1 day, I was quite surprised at the difference, but there’s a long way to go
After 5 days, the case was starting to get close to the original colour, but I didn’t take into account the label, as you can see, it’s now gone green compared to the grey it was originally – note to self, mask out the label for the next one.
At day 9, I took it out (probably only 5 full days of sunlight though as the other 4 days rained or was quite cloudy). I’m quite happy with the way it turned out. The process far exceed my expectations
The next retrobright project will be the worst one of the lot I purchased.